3D Mapping - Clothing
STEP 1 : Editing the UV
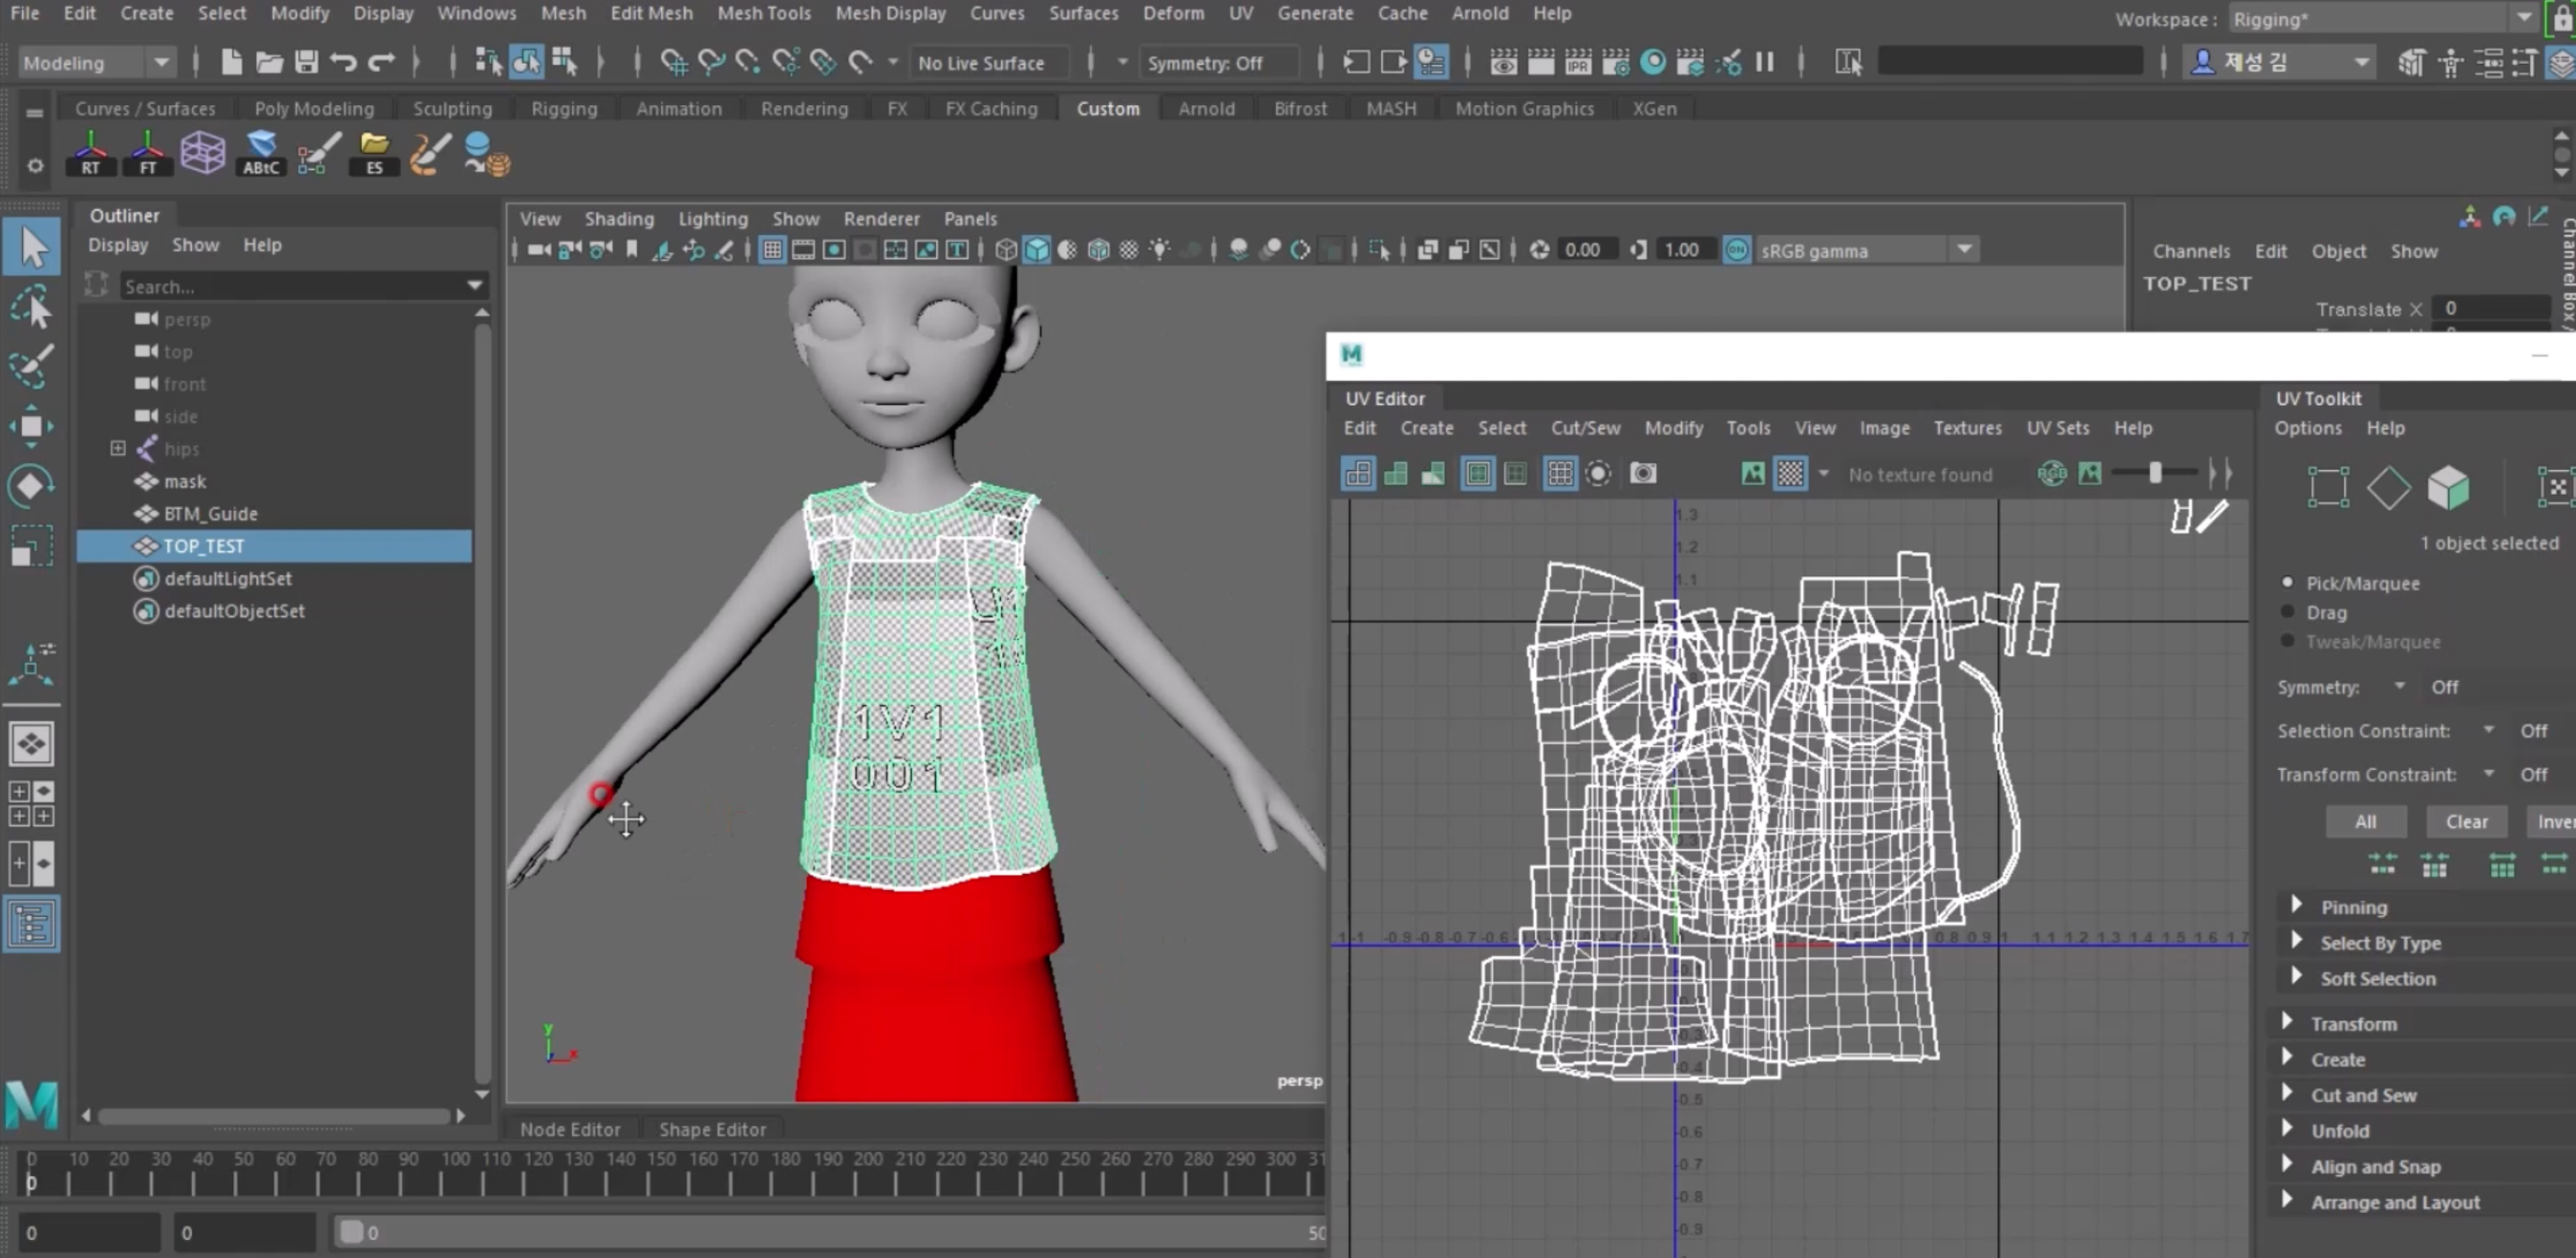
When you have completed modeling, select the object and select UV Editor from the UV menu on the top.

In the UV Editor screen, select Create > Camera-based to change the form of the UV and cut the UV.
- Cut the UV as you would cut a piece of clothing following the sewing pattern to make the process easier.
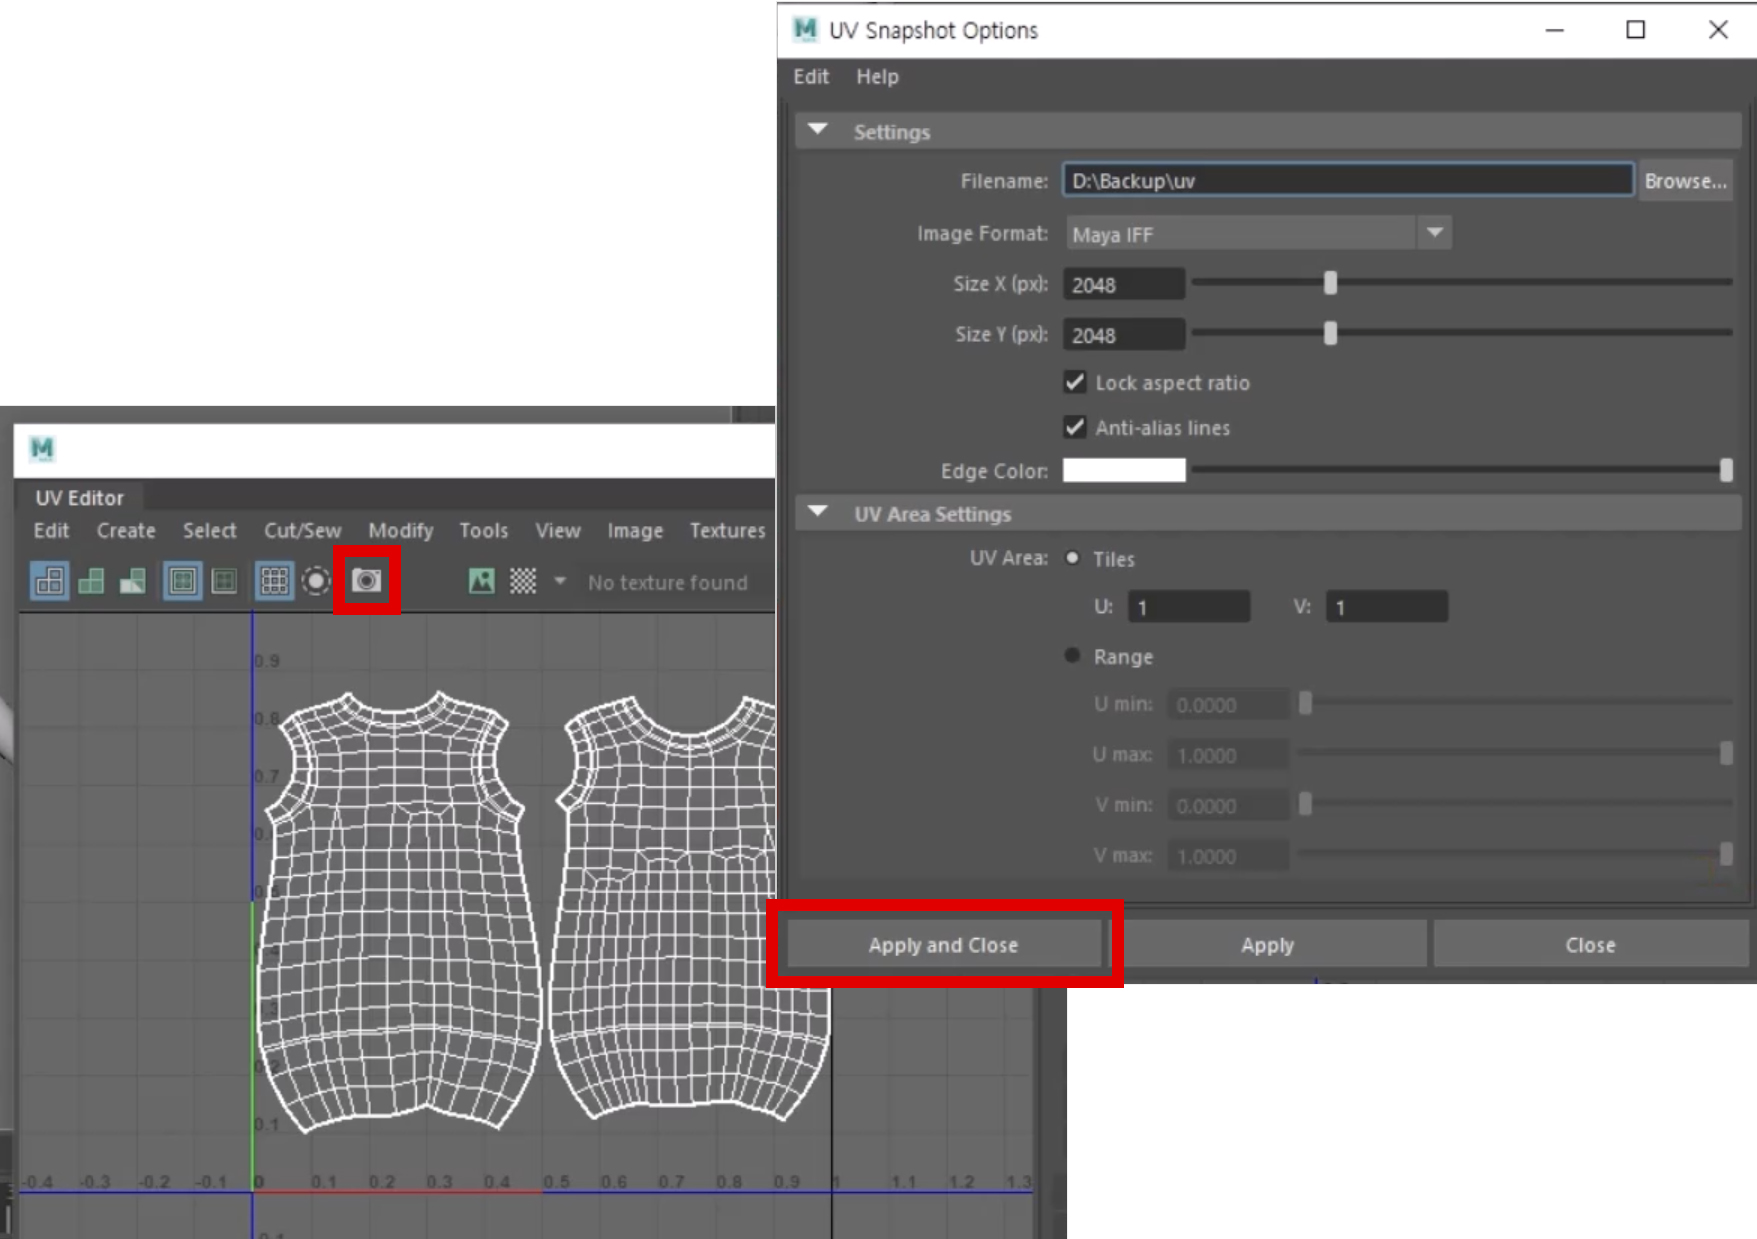
- The created UV can be saved by clicking the camera icon on the top of the UV Editor.

You can only use 1 UV for outers, tops, and bottoms. Only in cases where the object is large you can use 2 UVs, such as making a set of clothing.
STEP 2 : Creating a texture
Open the saved UV file in Photoshop and start the texture process.
- When you are finished, save it as a .PNG file.
When creating a texture, it is recommended that the image size be 256 x 256 pixels. The maximum size possible is 512 x 512 pixels.
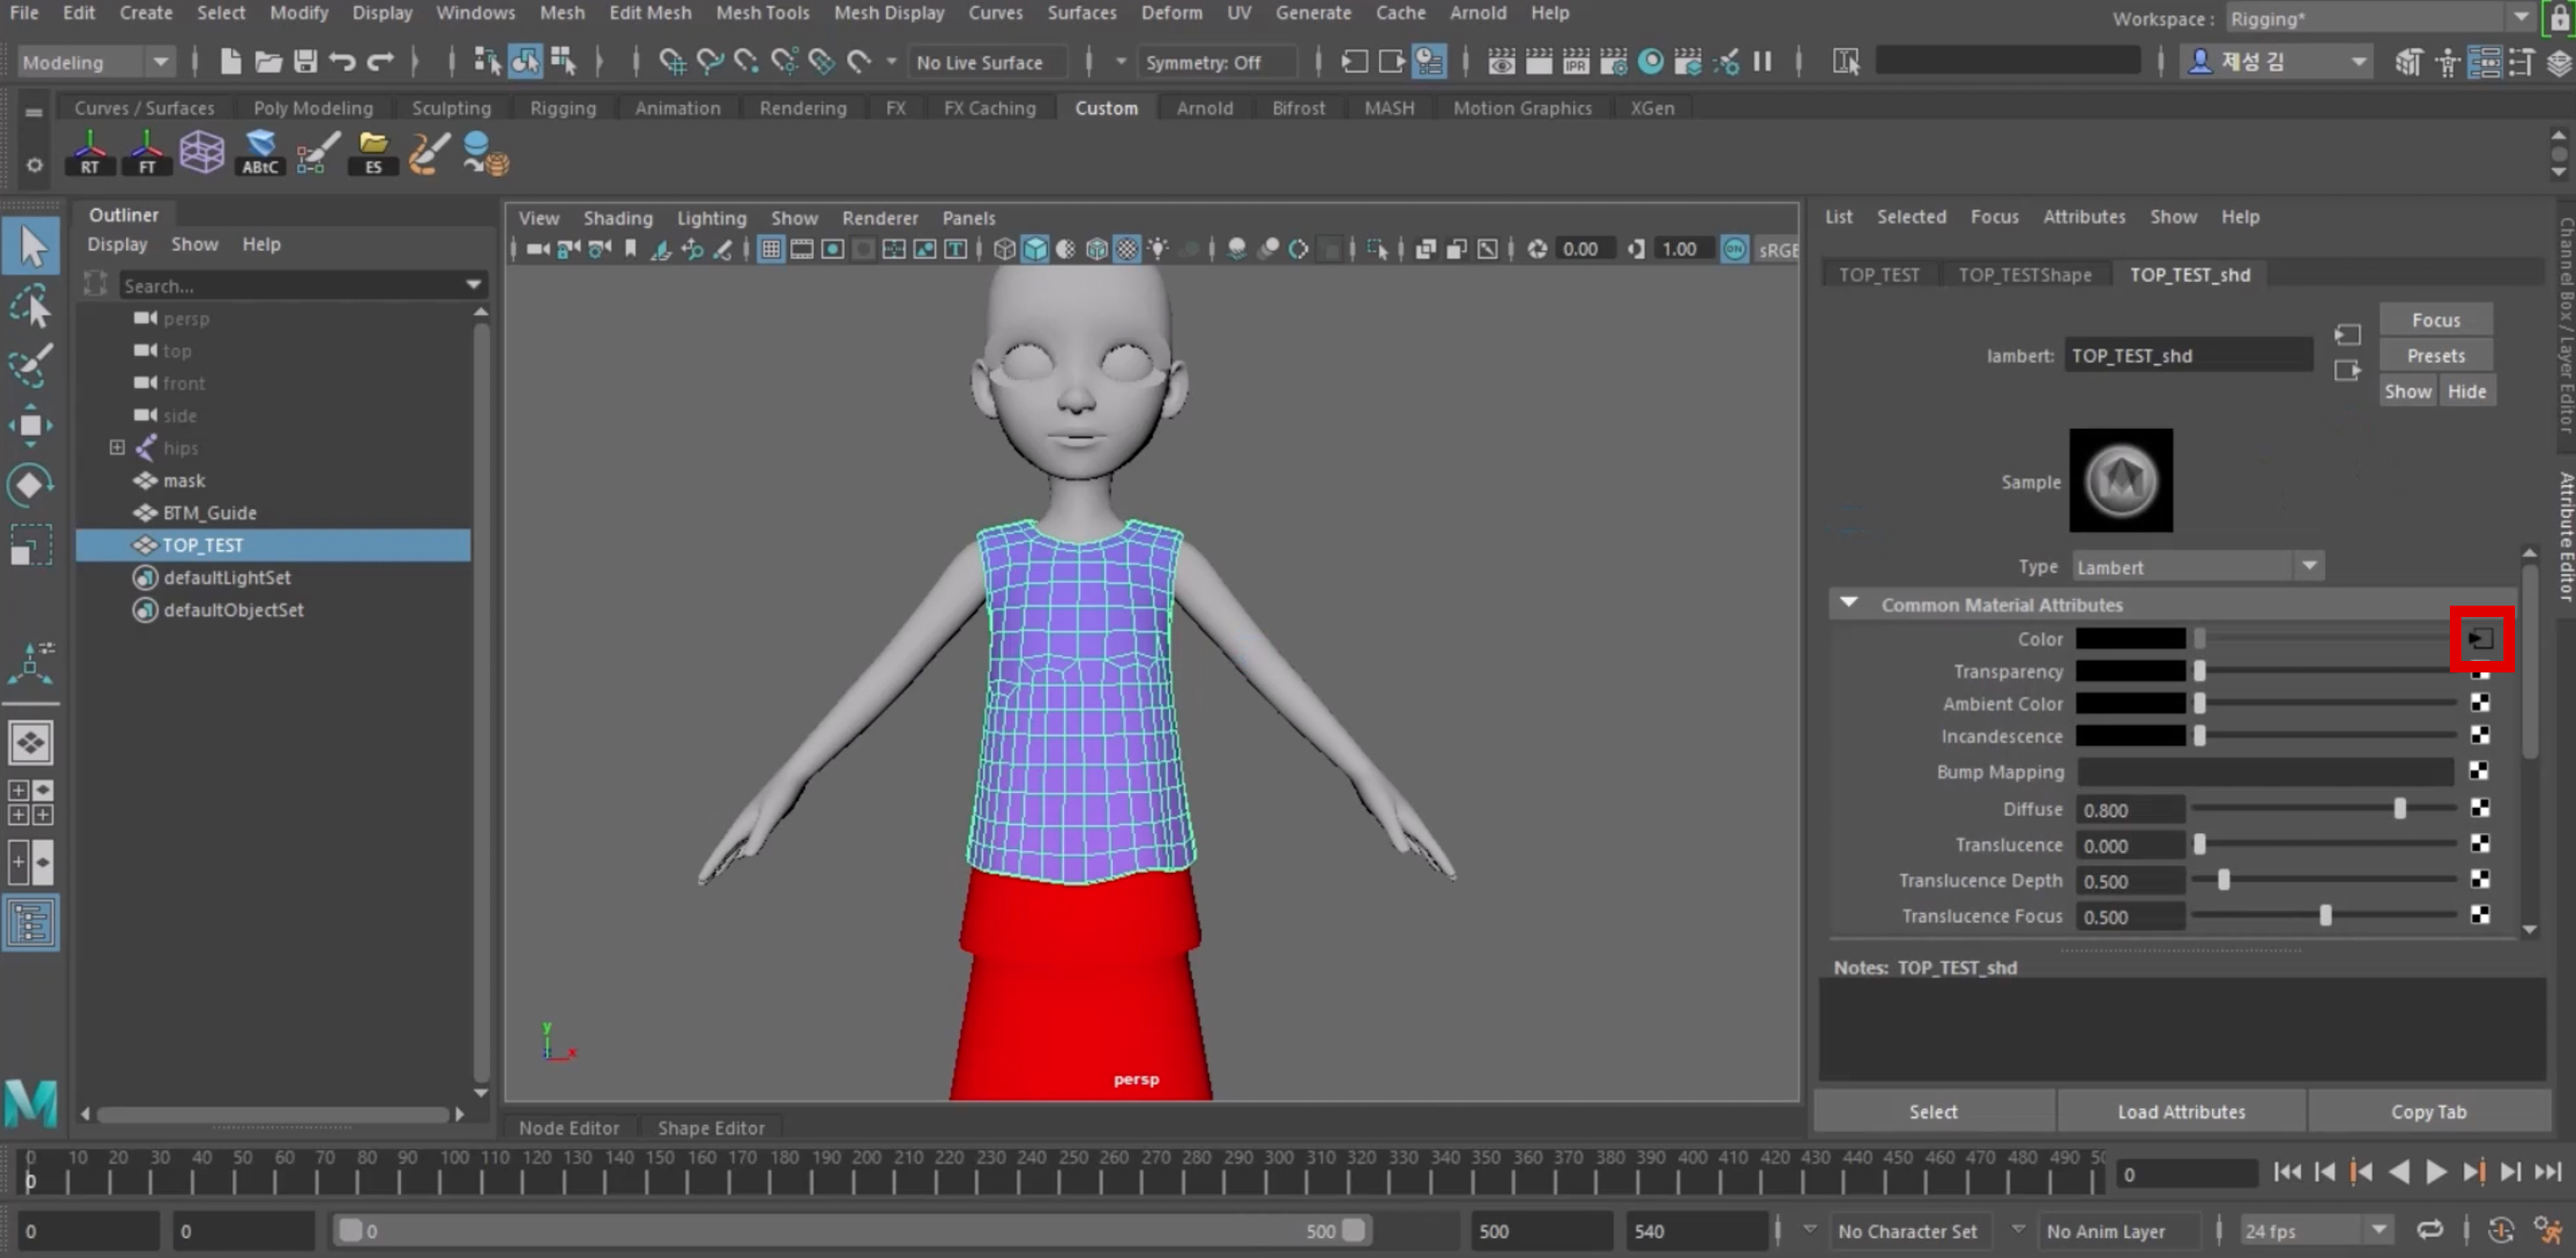
Load the created texture in Maya and apply it to the object.

When the process is over, unlink the texture.
- The texture will be linked in Unity after all other processes are completed.
In order to make connecting in Unity afterward easier, designate the shader name with the suffix _shd behind the object name. ex) TOP_shd
Remove the BTM_Guide which served as a guide during the modeling process.
Updated 4 months ago
