
Deformation Custom
STEP 1 : Preparing for Deformation Customization
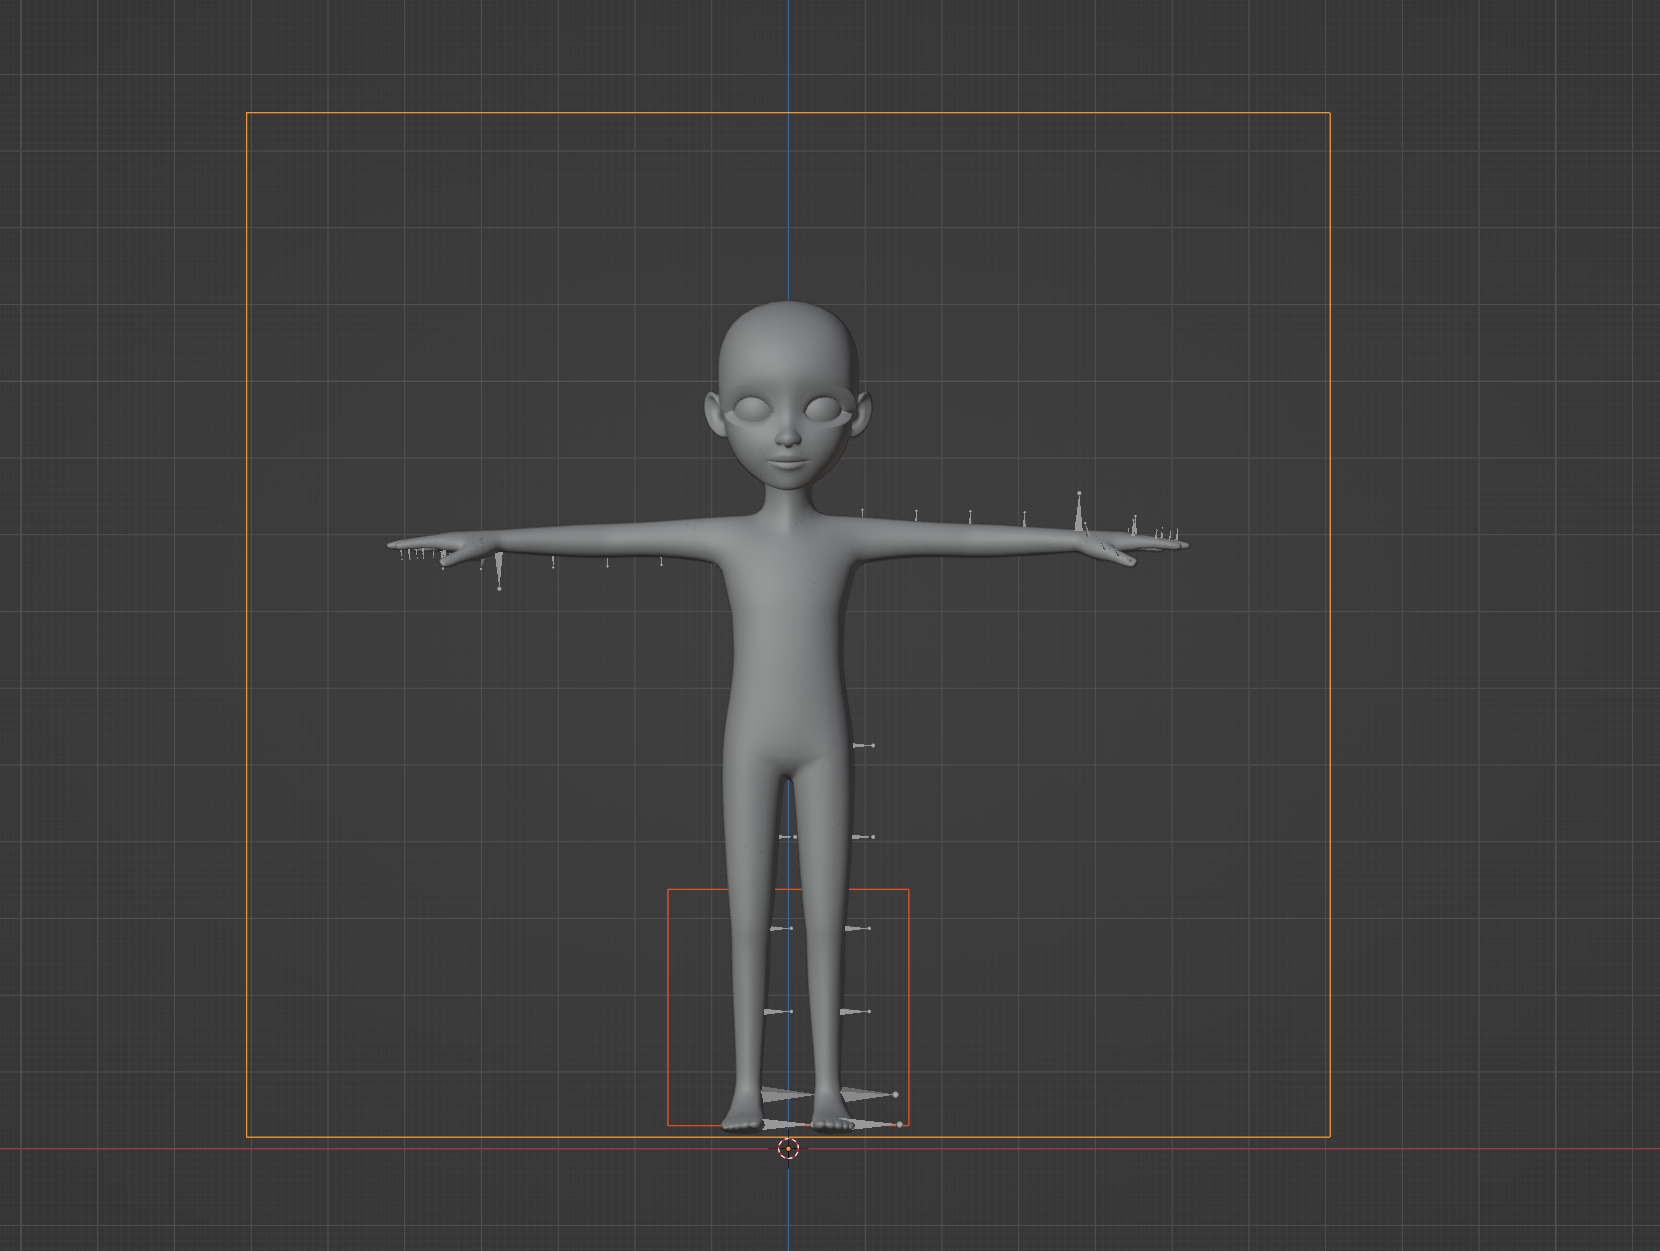
Click File > Import > deformations.fbx to load the downloaded Body type change guide file.
- The sample file contains the size guidelines.
caution
When creating outerwear, make sure the end of the corresponding body type does not exceed the maxSize in the guideline or falls short of the minSize. (You cannot upload objects that are outside this range.)
Select all the joints and enter a key on frame 1 (Maya shortcut key: s).
- This is a key saved as a record to find out the changed values after the character's form has been made.
- Hide the mask objects that are not immediately in use.

Move the joints that need body type change and enter a key in frame 2 (Maya shortcut key: s).

After completing the above steps, calculate the new values for the joint position.
- You can calculate the new value by deducting the frame 1 value from the frame 2 value.
- The new joint position value is the data value that will be added to each joint area after body type change.
- Once you have calculated all new values, delete all keys for all joints in frame 2.

STEP 2 : Entering the final joint values
Make a deformations group under the hips joint and create empty groups inside this group set with names that contain an underscore and corresponding joint name. ex) _root
The final value of each joint is the previous value added with a new value.
ex) the final value of _foot_L
Translate X = 14.338 (new value) - 10.9 (previous value) = 3.438
Translate Y = 0
Translate Z = 0.4 - 0 = 0.4
Scale X = 1.302 Scale Y = 1.302 Scale Z = 1.302 (Enter the new values in the scale values slot.)
Make sure to read the following information.
- If you wish to adjust the overall size, enter the scale value on the root. Here, the scale X, Y, and Z must be identical values.
- If the _root contains translate or rotate values, this becomes a cause for rejection.
- Do not adjust the scale values on the _hips. (You can adjust the overall size from _root).
- You can delete the names of the joints that do not have values.
- When you intend to modify a part of the body such as the legs, arms or torso, adjust the translate value. (Entering an incorrect scale value will cause problems after the animations are applied)
- Entering a rotate value or excessive modification and resizing can be causes for rejection. (The _root scaleAll values of ZEPETO characters are limited to values between 0.3 to 1.35.)
- You cannot use joint names other than the joint names under deformations within the provided fbx file.
- For scale values, please stick to scale joints if possible. (Some items may not be able to stay attached.)
- If you have elongated the legs, adjust the _hips height so that the position of the foot does not drop below the previous value. (Having the feet clip into the ground can be a cause of rejection during the evaluation process).
Enter the calculated final value of each joint.
- If you look at the deformations group, there are empty joint groups. Enter the calculated new values of each joint here.

STEP 3 : Exporting
Delete everything excluding the mask, deformations_mesh, hips joint, and the deformation group. Then export the file as .fbx.
- Remove the key values in the joints and take out the hips joint from the root group.

After finishing all texture processes in Unity, convert the .fbx file into a prefab through the Convert to ZEPETO style menu.

Uncheck Skinned Mesh Renderer in the created prefab.
- Because the units of the size of each axis in the 3D tools and Unity may be different, you must edit the deformations group values in the prefab in the 3D tool before importing it to Unity instead of editing it in the Unity Editor.

caution
The deformations value does not stack with the body type. Normally it should not change when the body type is changed.
Play the scene and apply the modified prefab. If it is applied correctly, select the prefab and create a .ZEPETO file through the ZEPETO Studio -> Export as ZEPETO menu.

Updated about 1 month ago