Using Renderer method
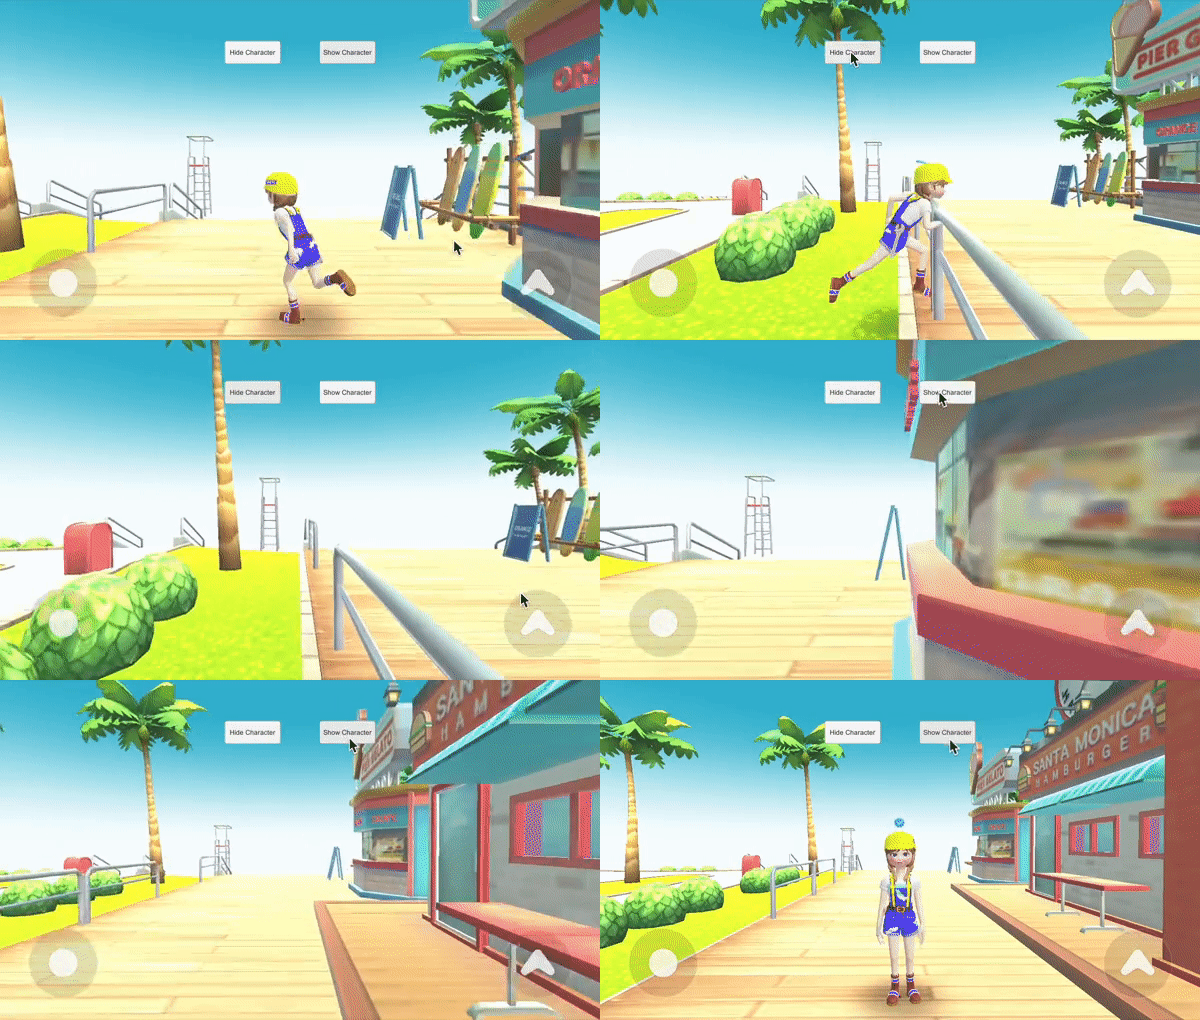
You can disable the ZEPETO Character's Renderer to make it invisible to the camera.
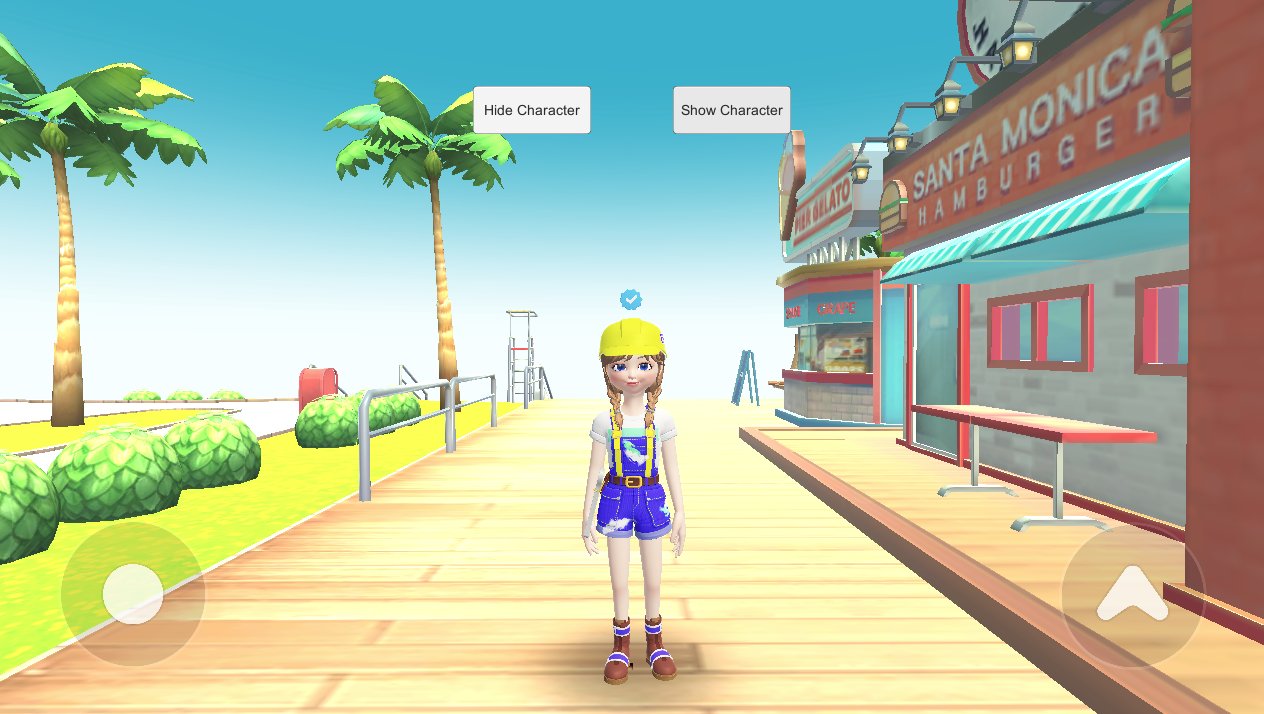
The following is an example code to hide and show the character's appearance with the press of a button.

-
Create a Hierarchy > Create Empty Object and rename it to HideShowCharacter.
-
Create Project > Create > ZEPETO > TypeScript and rename it to HideShowCharacter.
-
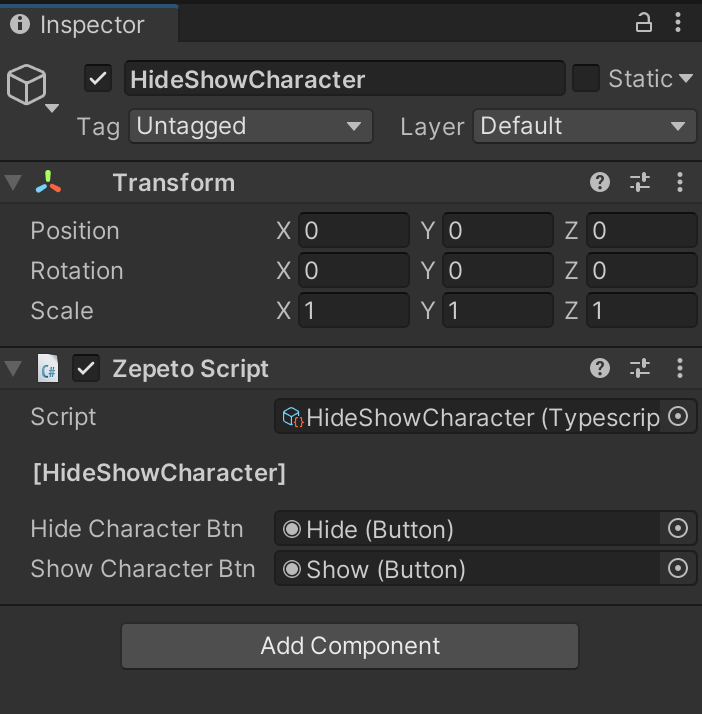
Add a script to the HideShowCharacter object.
-
Write the sample script as shown below.
import { Renderer } from 'UnityEngine';
import { Button } from 'UnityEngine.UI';
import { SpawnInfo, ZepetoPlayers } from 'ZEPETO.Character.Controller';
import { ZepetoScriptBehaviour } from 'ZEPETO.Script';

export default class HideShowCharacter extends ZepetoScriptBehaviour {

    public hideCharacterBtn: Button;
    public showCharacterBtn: Button;

    Start() {
        ZepetoPlayers.instance.OnAddedLocalPlayer.AddListener(() => {
            this.hideCharacterBtn.onClick.AddListener(() => {
                // Disable the Renderer of the Zepeto Character to make it invisible to the camera
                ZepetoPlayers.instance.LocalPlayer.zepetoPlayer.character.GetComponentsInChildren<Renderer>().forEach(r => {
                    r.enabled = false;
                    console.log("Hide");
                });
            });

            this.showCharacterBtn.onClick.AddListener(() => {
                ZepetoPlayers.instance.LocalPlayer.zepetoPlayer.character.GetComponentsInChildren<Renderer>().forEach(r => {
                    r.enabled = true;
                    console.log("Show");
                });
            });
        });
    }

}
- Use Canvas > Button to add each button to the screen and assign them to the script inspector.

- Press the [▶︎(play)] button to run it.

Change the character's layer to handle hiding
In addition to disabling the character's Renderer, you can also hide and show the character's appearance.
This is done by utilizing the Culling Mask in the ZEPETO Camera.
The Culling Mask allows you to treat specific layers as invisible.
When a ZEPETO character is created, there are no Layers set by default.
The following example code shows how to make a specific layer invisible in the ZEPETO Camera, and then change the layer of the ZEPETO character at the click of a button to hide and show it.
import { ZepetoScriptBehaviour } from 'ZEPETO.Script';
import { Camera, LayerMask, Transform } from "UnityEngine";
import { ZepetoCharacter, ZepetoPlayers } from "ZEPETO.Character.Controller";
import { Button } from "UnityEngine.UI";

// A function that changes the layer of all sub-objects of a character
function ChangeLayersRecursively(transform: Transform, layer: string, fromLayer?: string): void {
    if (!transform || !layer || layer.length === 0) {
        return;
    }

    if (fromLayer) {
        if (transform.gameObject.layer === LayerMask.NameToLayer(fromLayer)) {
            transform.gameObject.layer = LayerMask.NameToLayer(layer);
        }
    } else {
        transform.gameObject.layer = LayerMask.NameToLayer(layer);
    }
    for (let i = 0; i < transform.childCount; i++)
    {
        let child = transform.GetChild(i);
        ChangeLayersRecursively(child, layer, fromLayer);
    }
}

export default class ChangeCameraLayer extends ZepetoScriptBehaviour {

    private zepetoCamera : Camera;
    public hideCharacterBtn: Button;
    public showCharacterBtn: Button;

    Start() {
        ZepetoPlayers.instance.OnAddedLocalPlayer.AddListener(() => {
            let character = ZepetoPlayers.instance.LocalPlayer.zepetoPlayer.character;
            this.zepetoCamera = ZepetoPlayers.instance.LocalPlayer.zepetoCamera.camera;
            // Add layer to culling mask
            this.zepetoCamera.cullingMask |= (1 << LayerMask.NameToLayer("Player"));
            // Remove layer from culling mask
            this.zepetoCamera.cullingMask &= ~(1 << LayerMask.NameToLayer("TransparentFX"));

            this.hideCharacterBtn.onClick.AddListener(() => {
                this.SetHiddenLayer(character);
            });

            this.showCharacterBtn.onClick.AddListener(() => {
                this.SetPlayerLayer(character);
            });
        });
    }

    SetPlayerLayer(playerObject: ZepetoCharacter) {
        ChangeLayersRecursively(playerObject.transform, "Player");
    }

    SetHiddenLayer(playerObject: ZepetoCharacter) {
        ChangeLayersRecursively(playerObject.transform, "TransparentFX");
    }
}
