By disabling the built-in ZepetoCamera and using a custom camera, you can implement different camera perspectives.
STEP 1 : Setting the Camera View
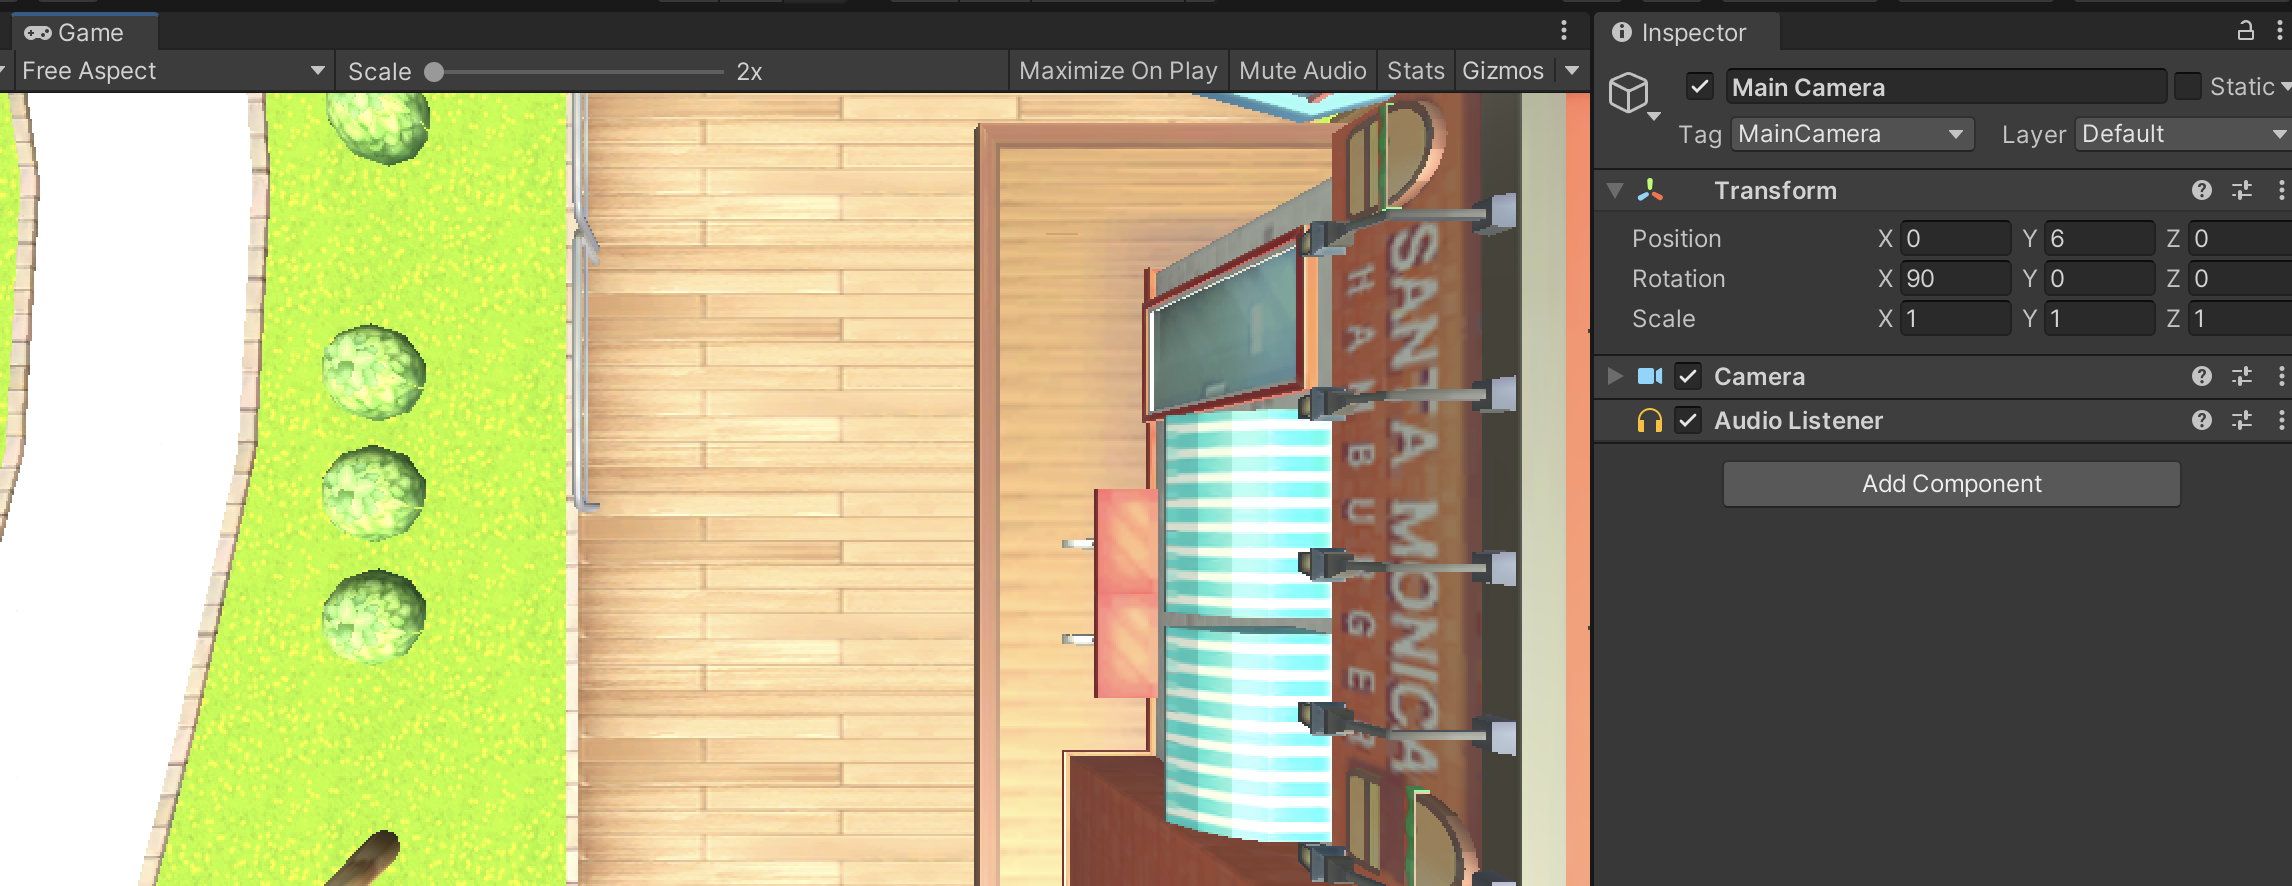
Adjust the Custom Camera's Transform to configure the view at the desired angle.
In our guide, we used the Main Camera as our custom camera.
For Top View, please refer to the settings below.

STEP 2 : Write a Script
Implement the basic ZEPETO character creation code in your Scene.
Please refer to the following guide. [Create a ZEPETO Character]
Create a script that disables the ZEPETO Camera and creates a custom camera to follow the ZEPETO character.
Select Create > ZEPETO > Typescript and rename it to TopViewController.
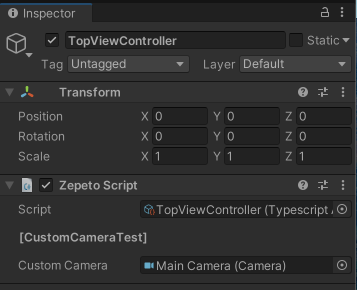
Add the script to the TopViewController object.
Write the following code to make the custom camera follow the character.
import { Camera, Transform, Vector3 } from 'UnityEngine';
import { SpawnInfo, ZepetoPlayers } from 'ZEPETO.Character.Controller';
import { ZepetoScriptBehaviour } from 'ZEPETO.Script';

export default class TopViewController extends ZepetoScriptBehaviour {

    public customCamera : Camera;
    private localPlayerTr : Transform;

    Start() {
        ZepetoPlayers.instance.OnAddedLocalPlayer.AddListener(() => {
            this.localPlayerTr = ZepetoPlayers.instance.LocalPlayer.zepetoPlayer.character.transform;
            // Disable the ZEPETO camera
             ZepetoPlayers.instance.LocalPlayer.zepetoCamera.gameObject.SetActive(false);
        });
    }

    LateUpdate() {
        if(this.localPlayerTr != null) {
            this.customCamera.transform.position = new Vector3(this.localPlayerTr.position.x, this.customCamera.transform.position.y, this.localPlayerTr.position.z);
        }
    }
}
Connect the camera object to the Inspector.

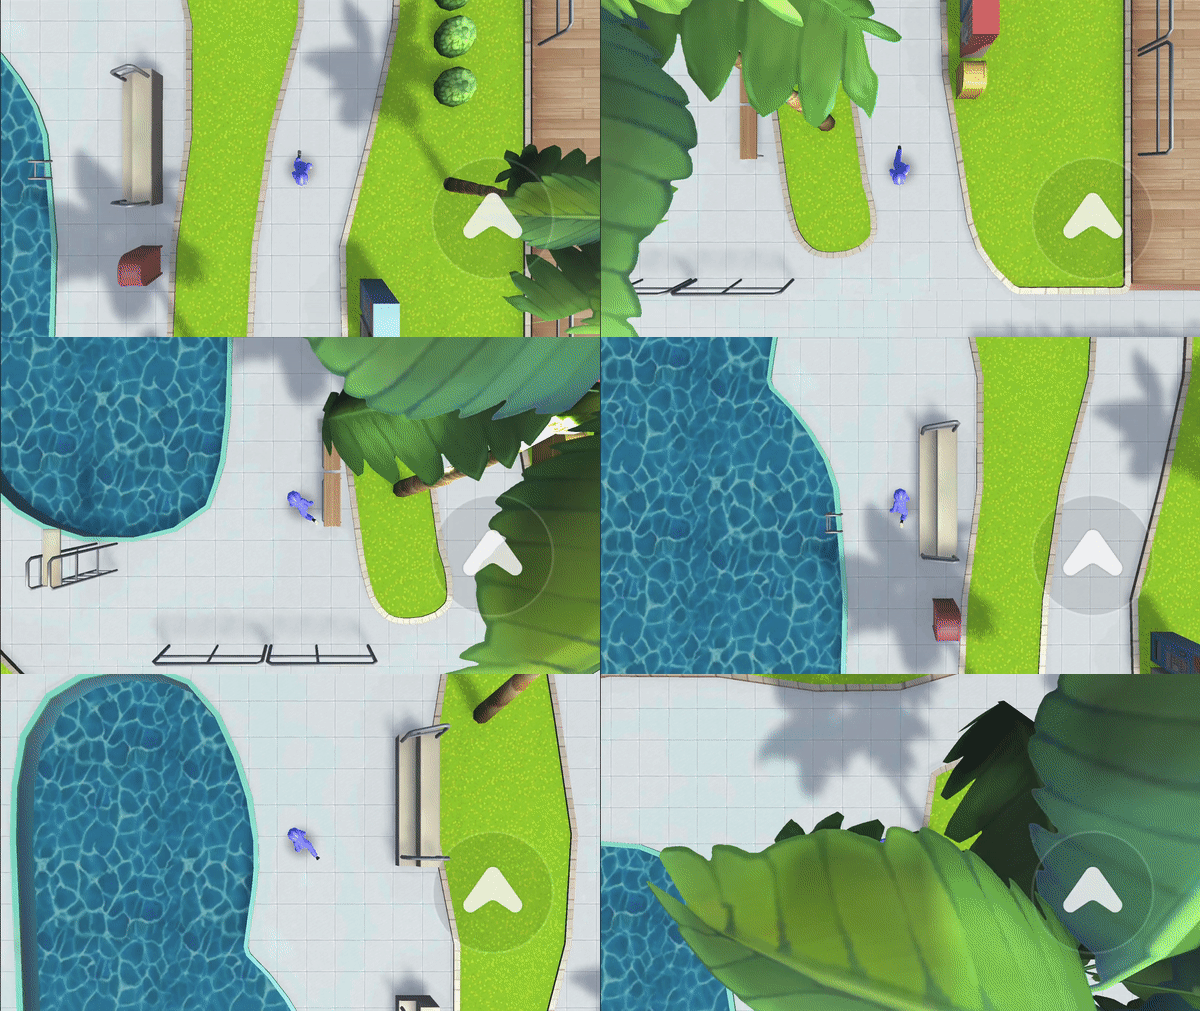
Now try running it by pressing the [▶︎(play)] button in the center of the screen.
You should see the existing ZepetoCamera disabled and the custom camera enabled.

