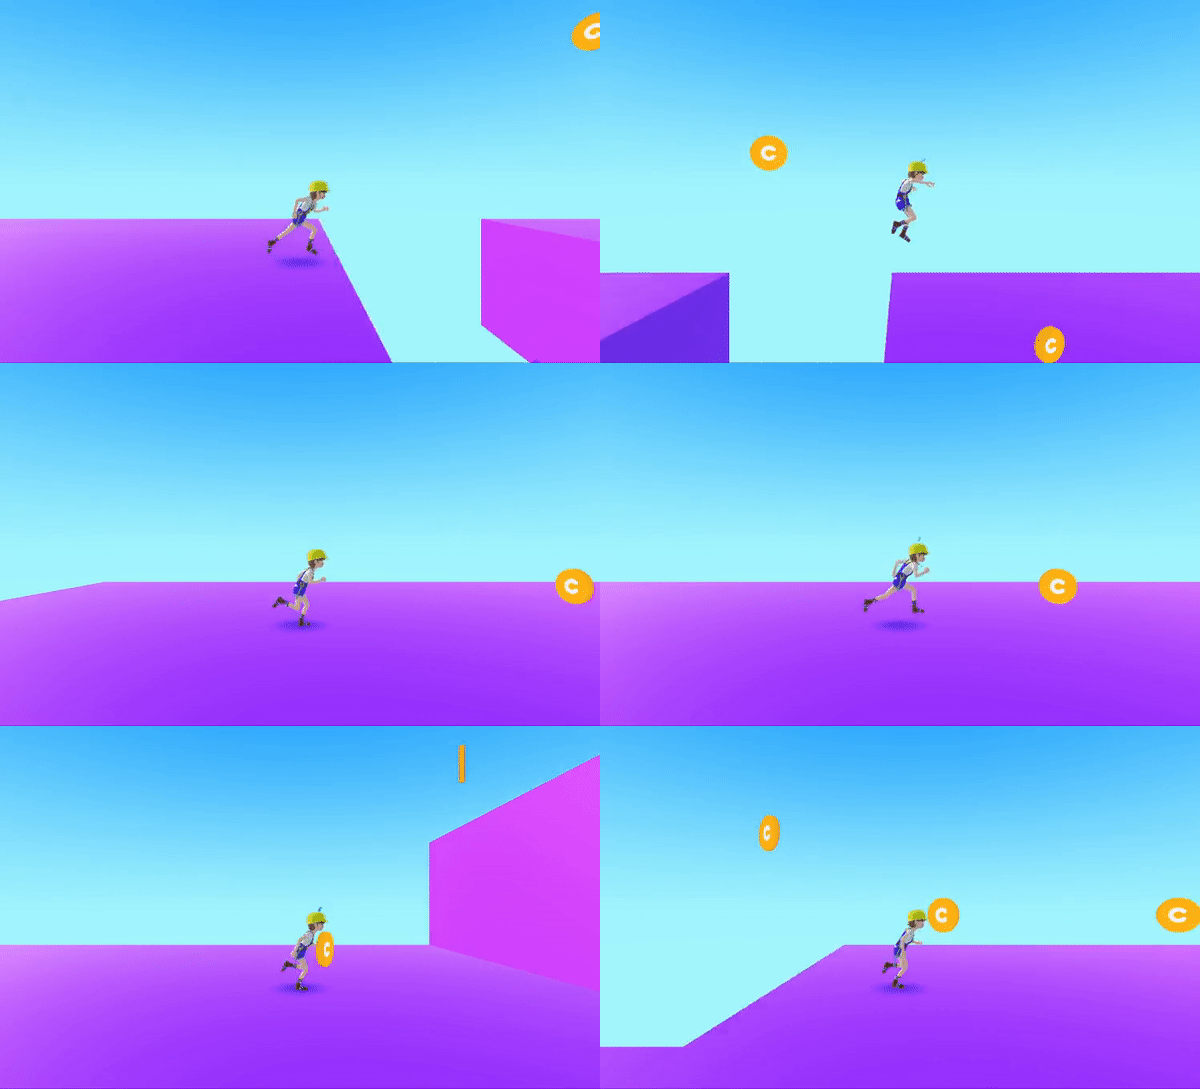
ตัวอย่างมุมมองด้านข้าง
นี่คือตัวอย่างการตั้งค่าการควบคุมมุมมองด้านข้าง.

ตั้งค่ากล้องให้เป็นมุมมองด้านข้าง (นี่คือตัวอย่าง ดังนั้นโปรดปรับการตั้งค่ากล้องตามโครงการของคุณ.)
ในจุดนี้ แท็กของกล้องควรตั้งค่าเป็น MainCamara.

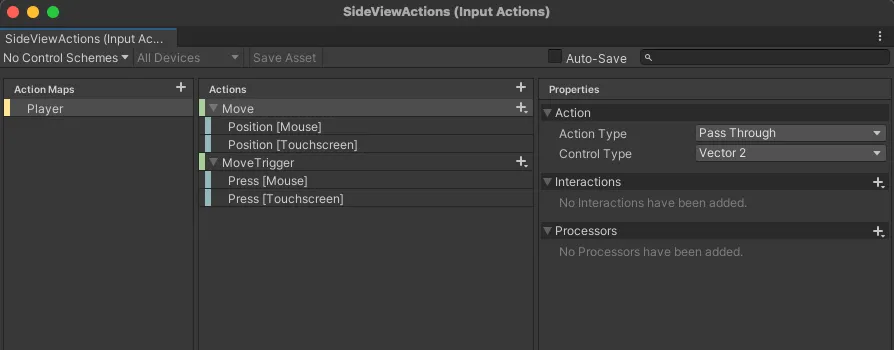
โดยการกำหนด InputAction ใหม่ที่เหมาะสมกับมุมมองด้านข้าง คุณสามารถควบคุมการเคลื่อนไหวของตัวละครผ่านหน้าจอสัมผัส.
เลือก สร้าง > การกระทำของ Input และตั้งชื่อไฟล์ว่า SideView Actions.
- เคลื่อนที่
- ประเภทการกระทำ : ผ่านเข้าไป
- เคลื่อนที่ Trigger
- ประเภทการกระทำ : ปุ่ม

สร้างลำดับชั้น > สร้างวัตถุเปล่าและเปลี่ยนชื่อเป็น SideView Controller.
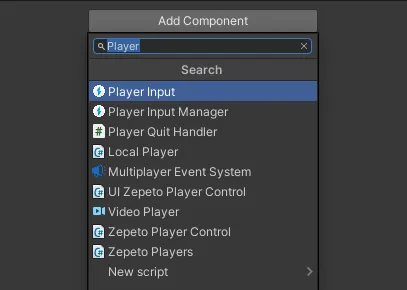
จากวัตถุ SideViewController ให้เลือก เพิ่มส่วนประกอบ และเพิ่ม Player Input.

ลากและเชื่อมต่อ SideView Actions ที่คุณเพิ่งสร้างไปยังรายการ Actions.
เปลี่ยนพฤติกรรมเป็นการเรียกใช้ Unity Events.

สร้างสคริปต์เพื่อควบคุมตัวละคร ZEPETO ให้เคลื่อนที่ไปมา และให้กล้องติดตาม.
เลือก สร้าง > ZEPETO > TypeScript และเปลี่ยนชื่อเป็น SideView Controller.
เพิ่มสคริปต์ไปยังวัตถุ SideViewController.
กรุณาตั้งค่ากล้องในผู้ตรวจสอบก่อนที่จะรันมัน.

