ブレンドシェイプ
❗️ 注意 ブレンドシェイプは単に2つの表情を追加するだけでなく、調整された値を持つさまざまな表情のコンピレーションです。最終的な表情を作成するために、複数のテストを実行することを強くお勧めします。
📘 アイテムを作成する前に、ファイルをダウンロードしてください Blendshape_creatorsBaseSet_zepeto.zip。
ベースメッシュから表情になるメッシュをコピーします。
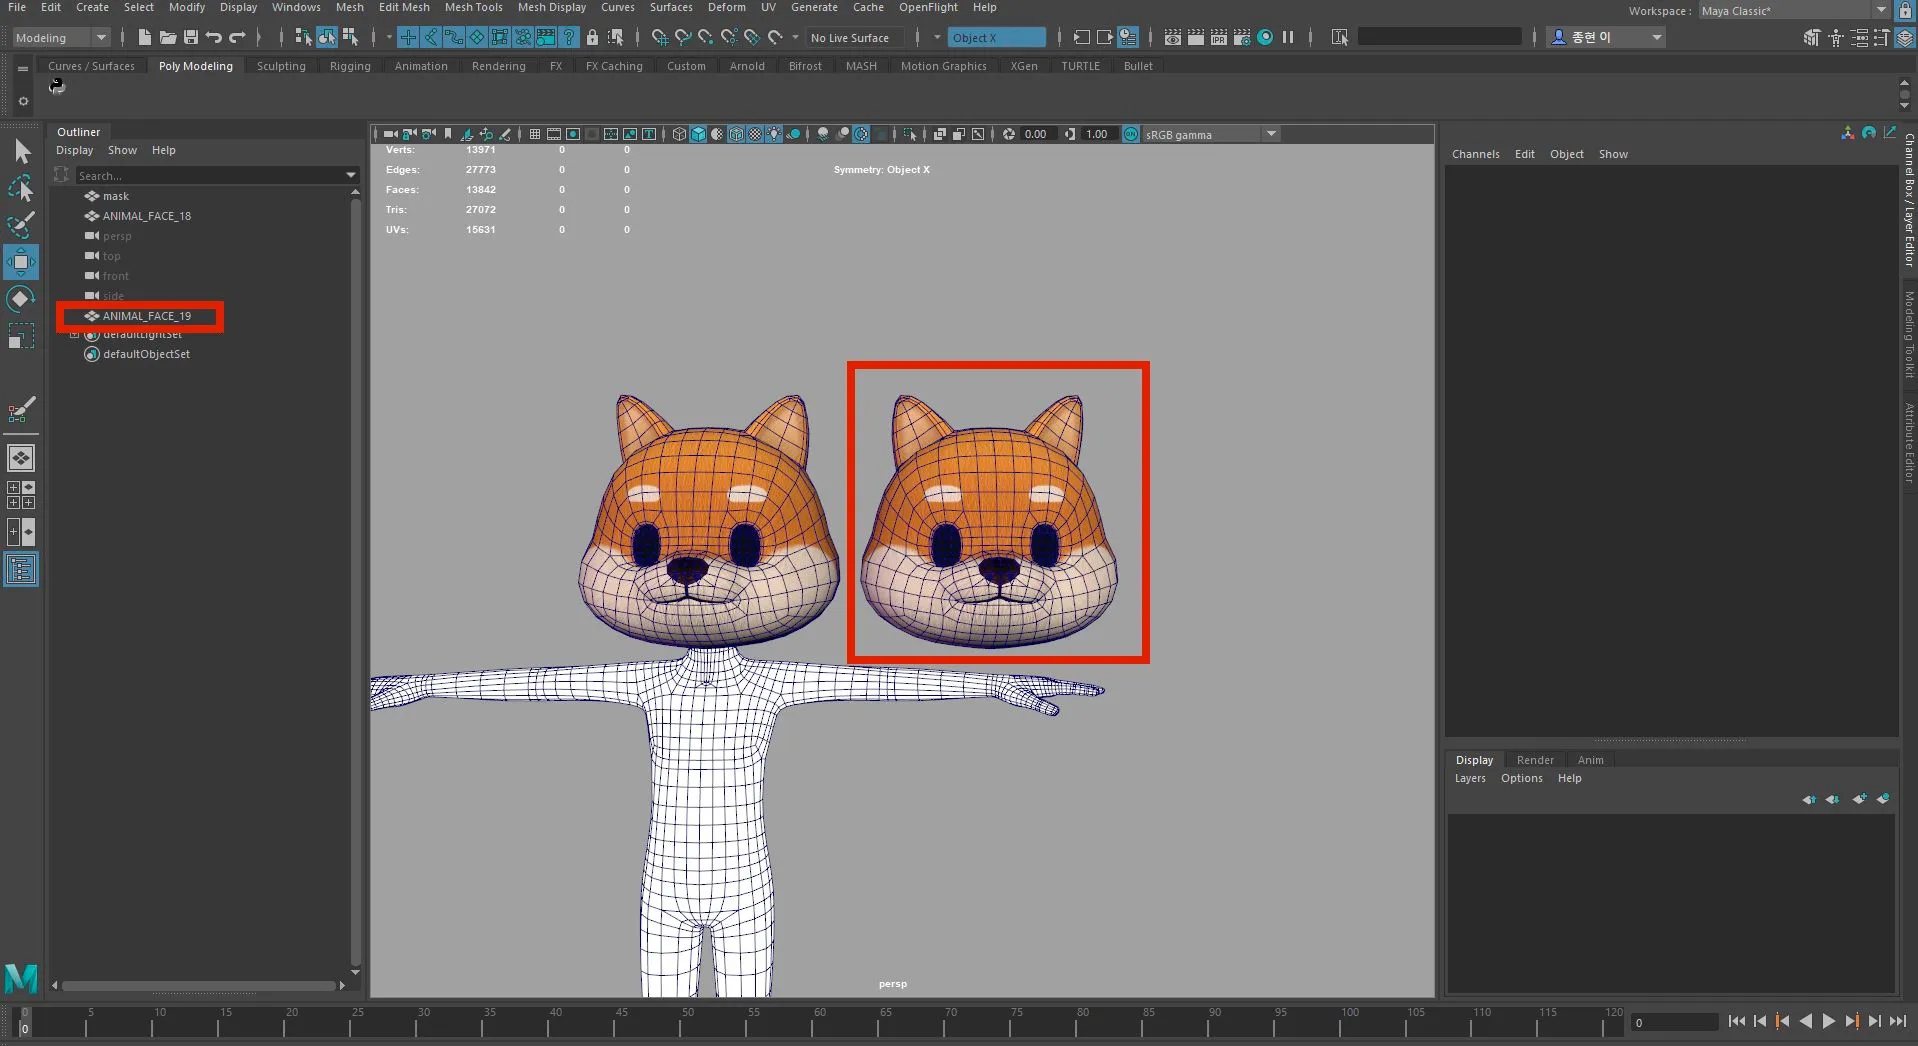
表情に名前を付けます。
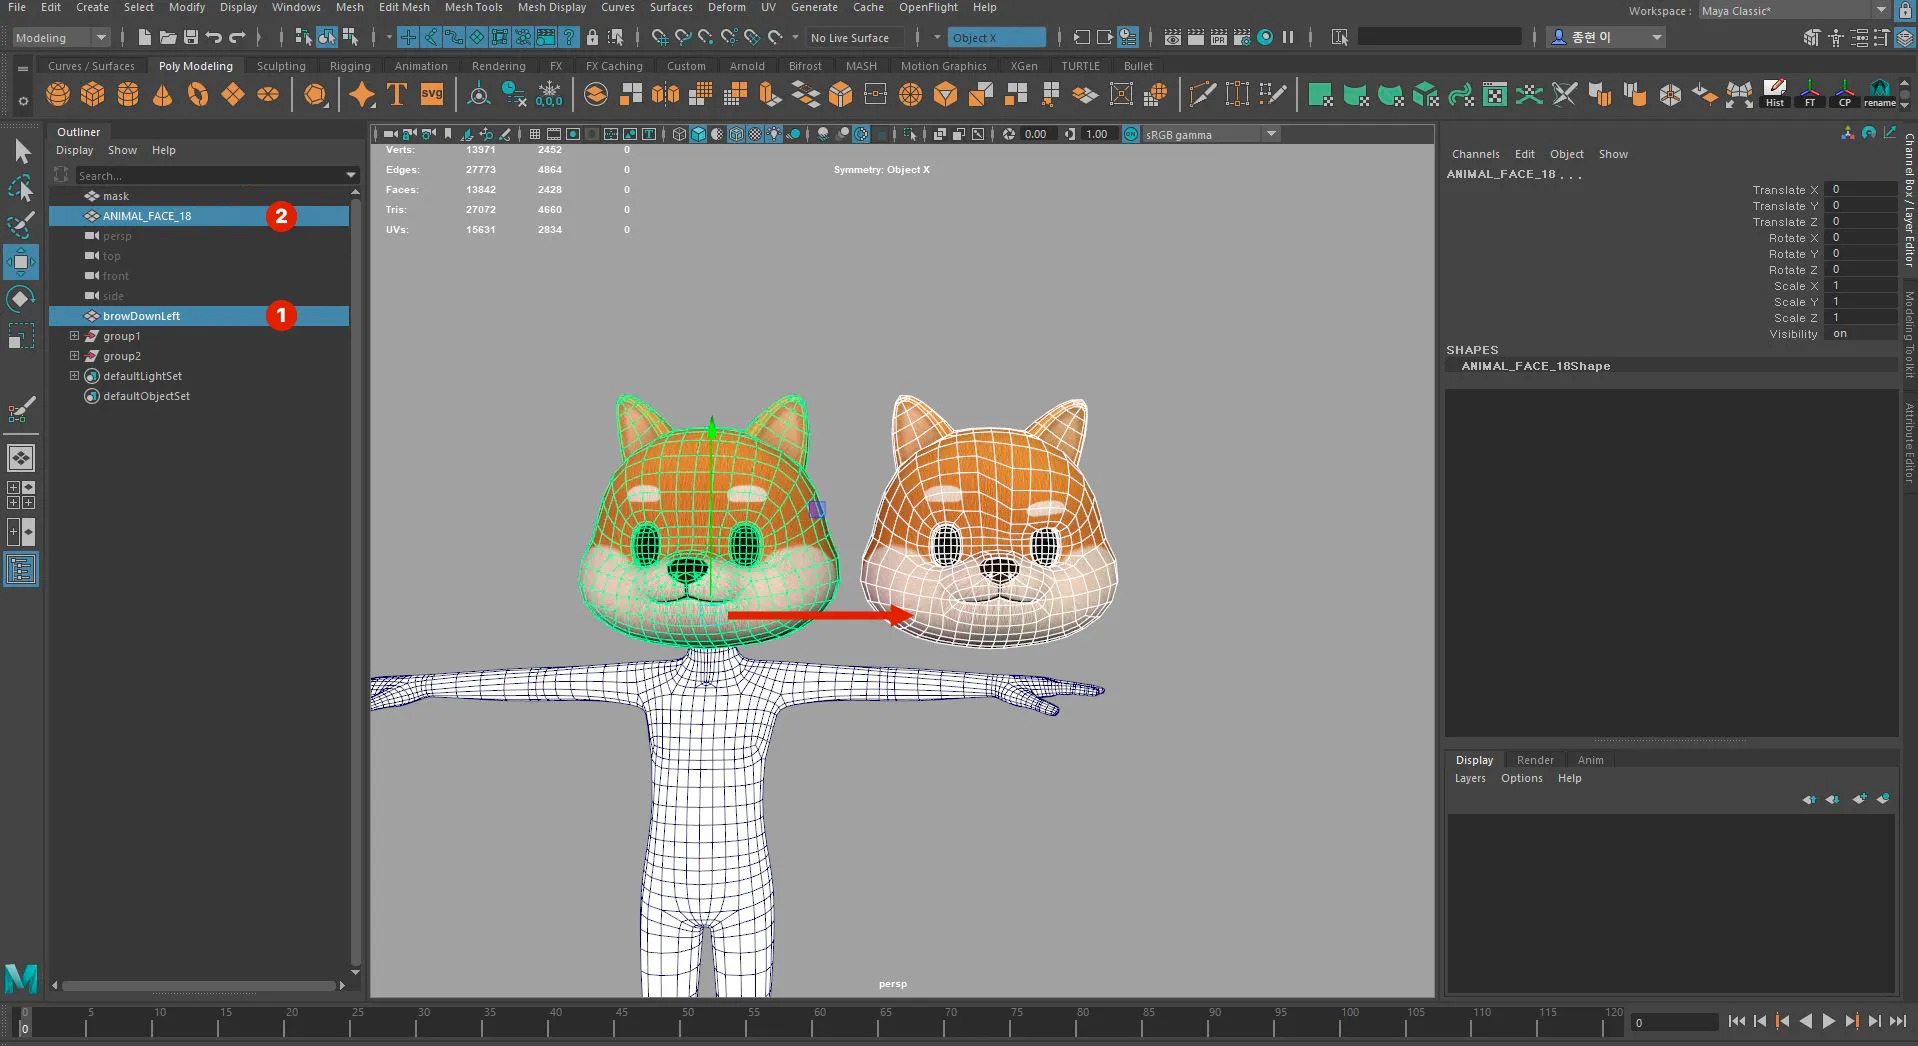
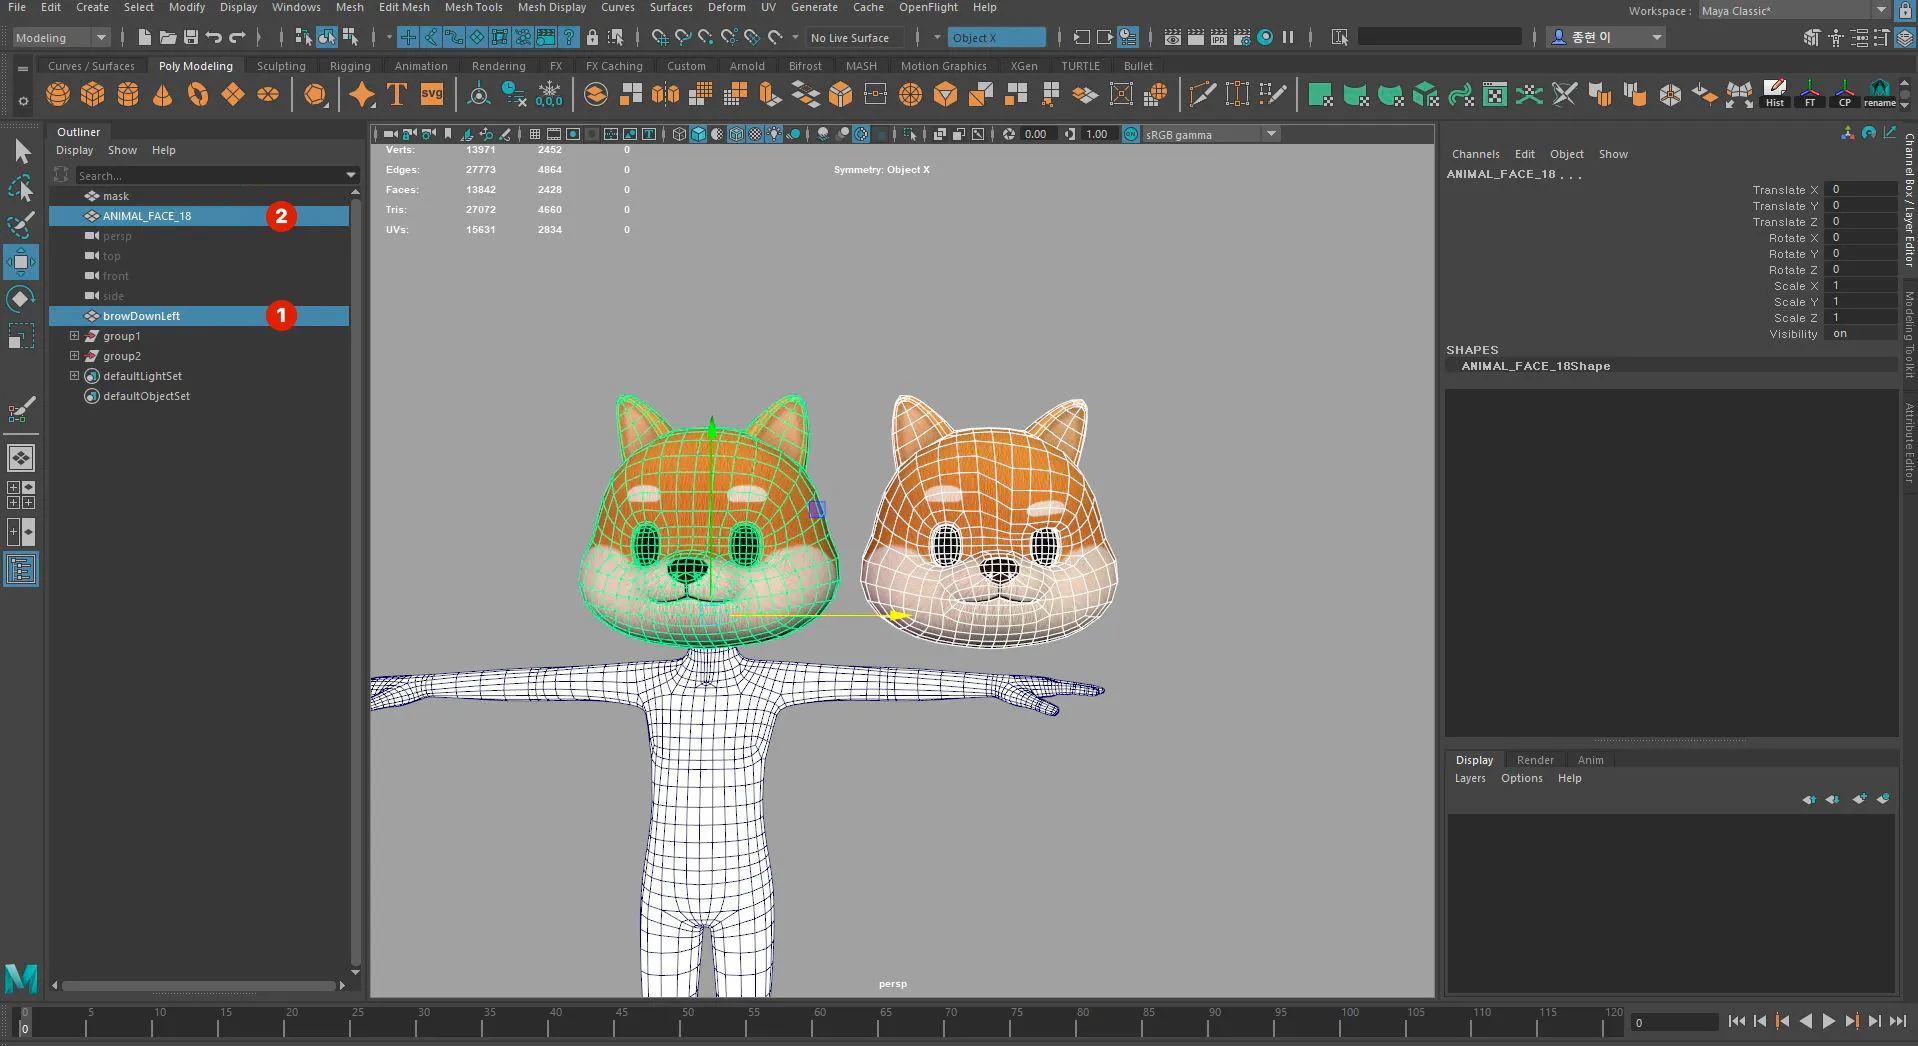
最初に表情メッシュを選択し、次にベースメッシュを選択します。
両方のアイテムが選択されている間に、ウィンドウ -> アニメーションエディタ -> シェイプエディタに移動します。
ブレンドシェイプを作成するボタンをクリックして、画像に示されているように「blendShape1」と呼ばれるブレンドシェイプを作成します。作成した表情は「blendShape1」に含まれます。
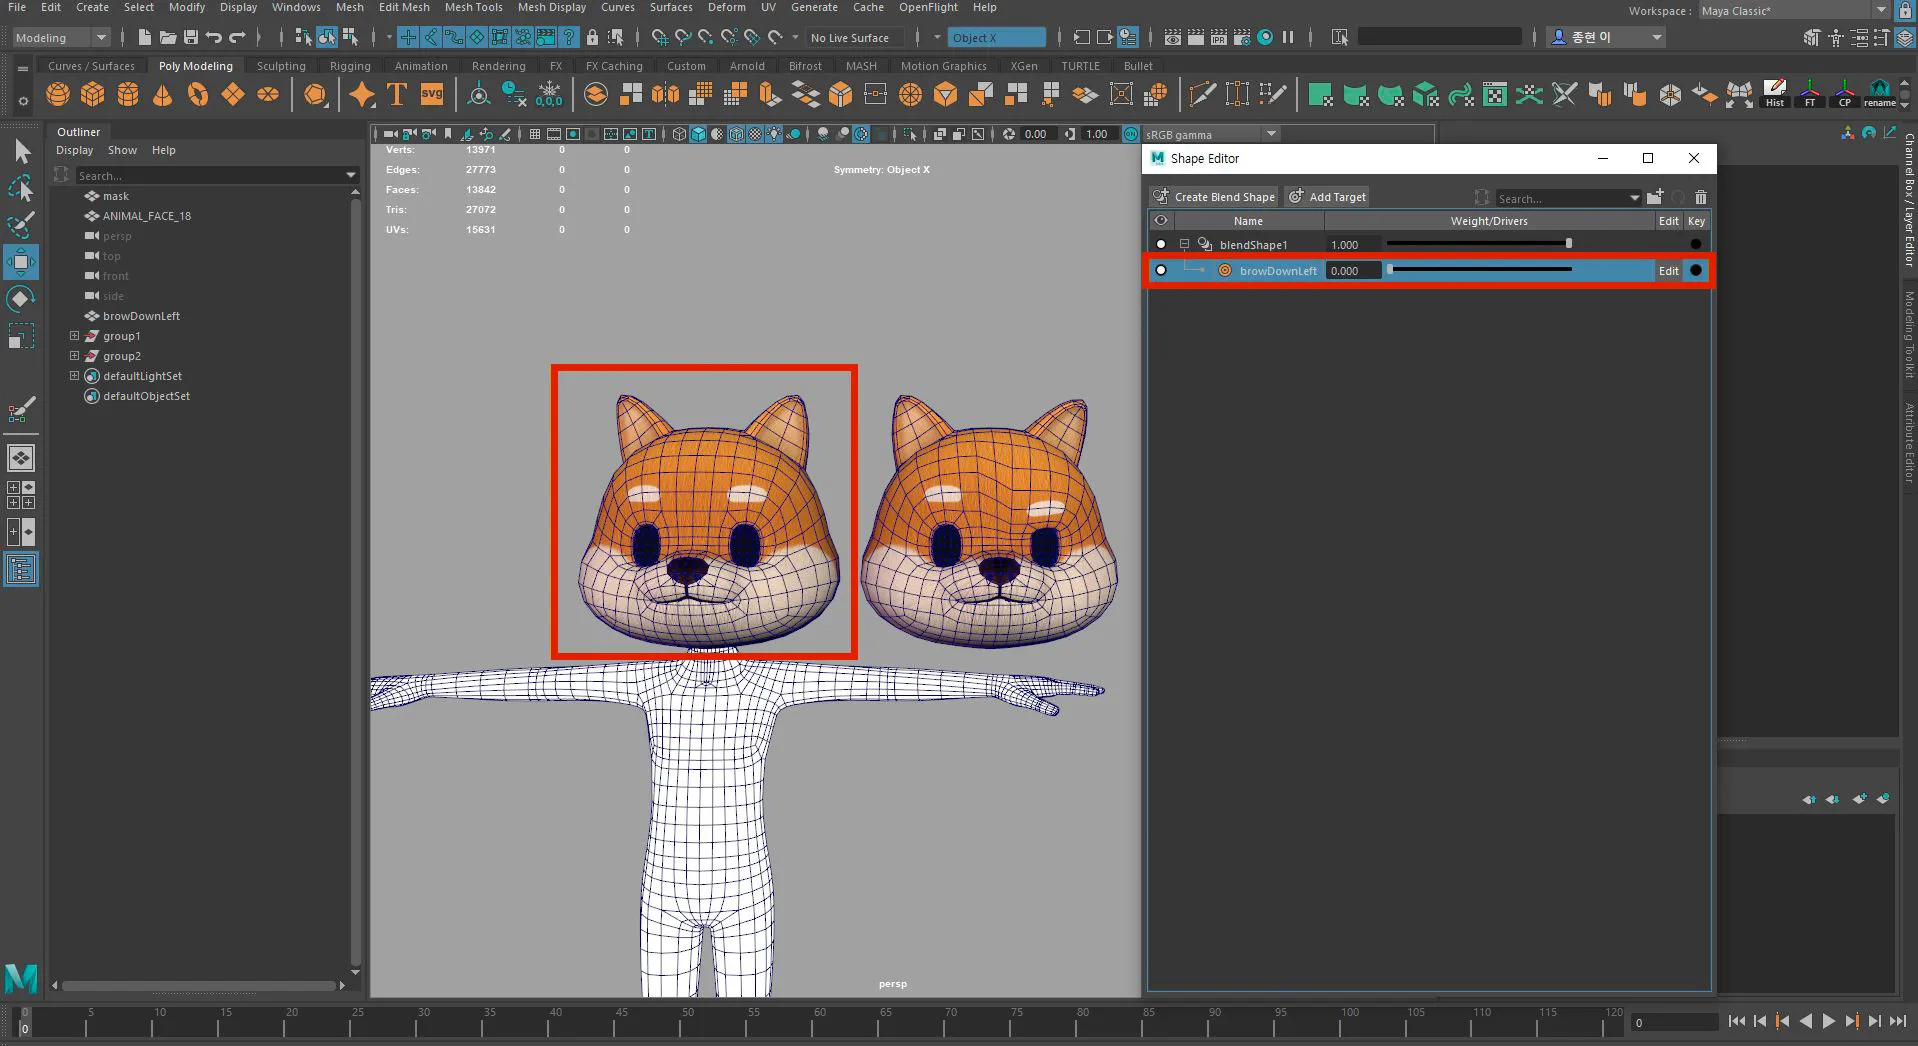
コントロールバーを使用して、0.000 -> 1.000 を調整し、このプロセス中に確認します。
すべての表情が完了したら、順番に表情を選択し、次にベースモデルを選択します。 ブレンドシェイプを作成する手順を繰り返します。
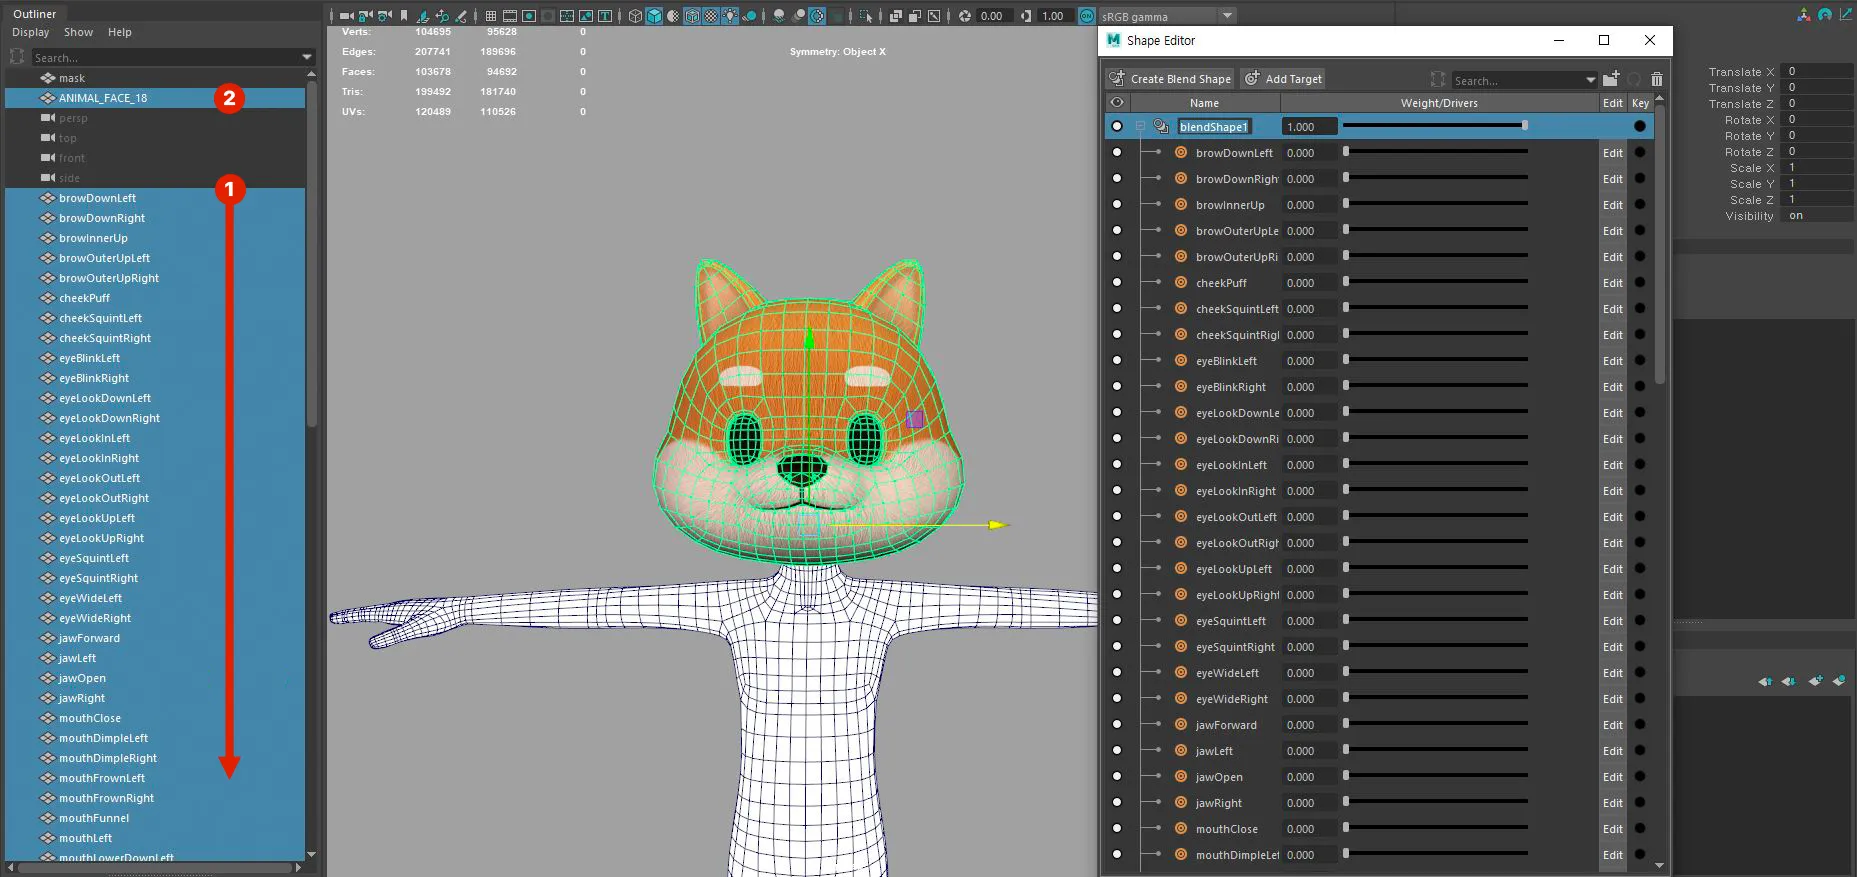
ブレンドシェイプ名を 'blendShape1' から 'zepeto' に編集します
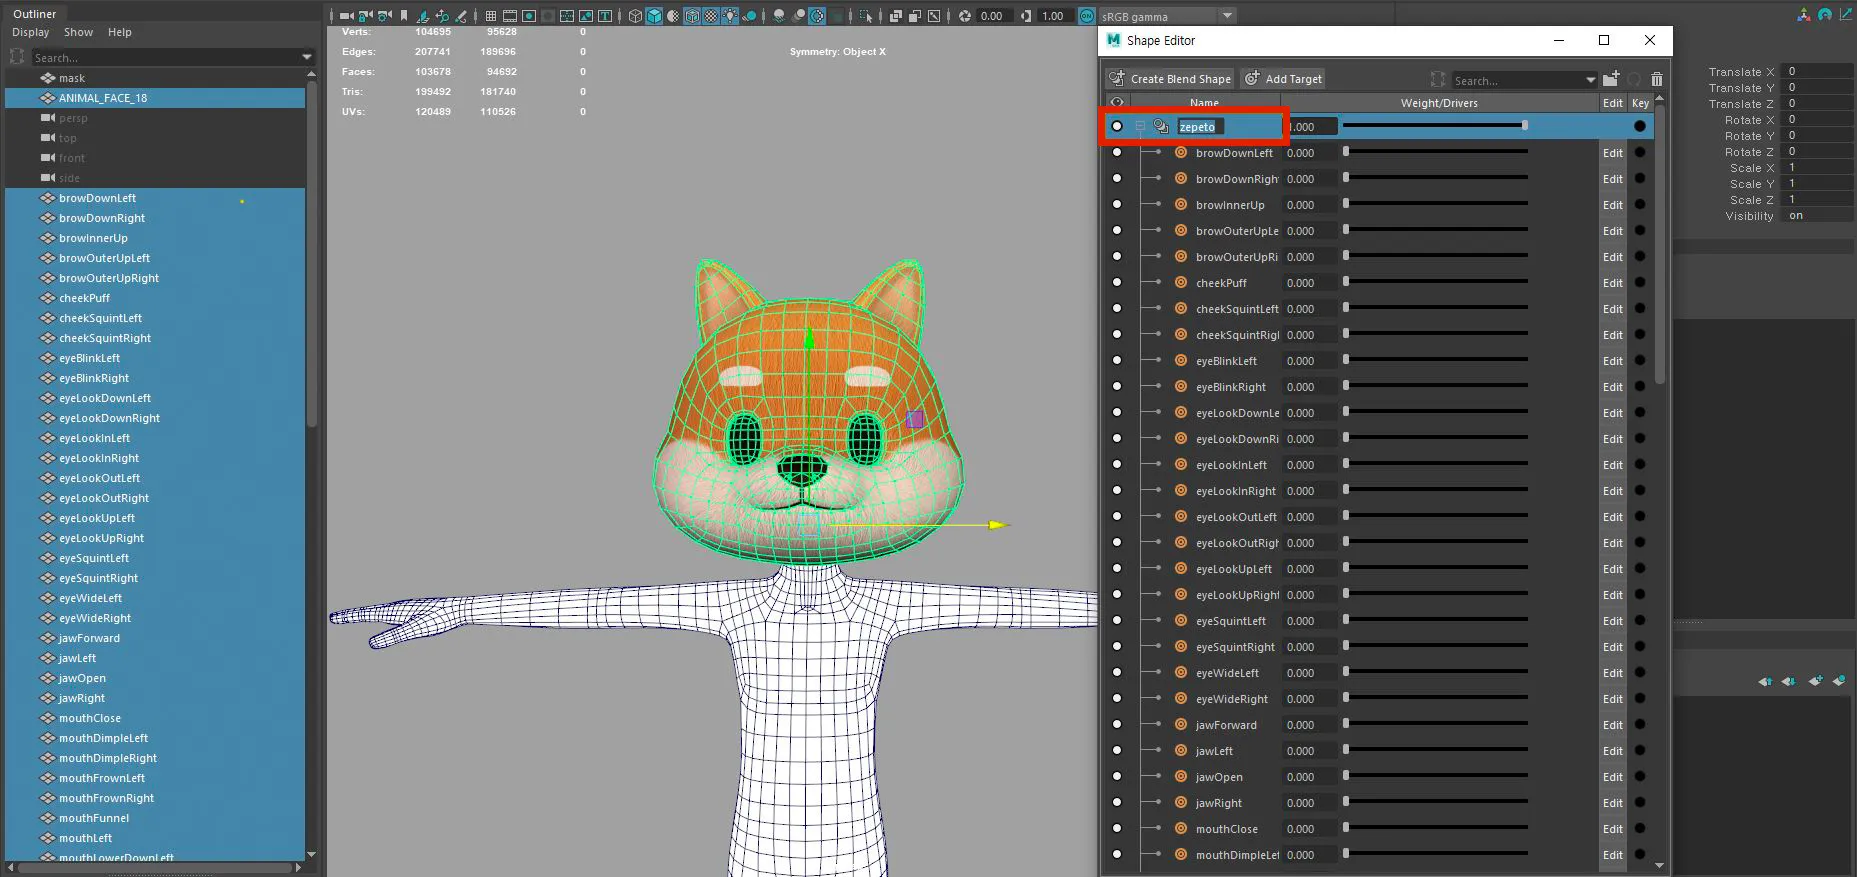
❗️ 注意他の名前では表情は機能しません。
ベースメッシュを選択し、入力画面で 'zepeto' ブレンドシェイプがリンクされていることを確認して作業が完了したことを確認します。次のステップはリギングです。
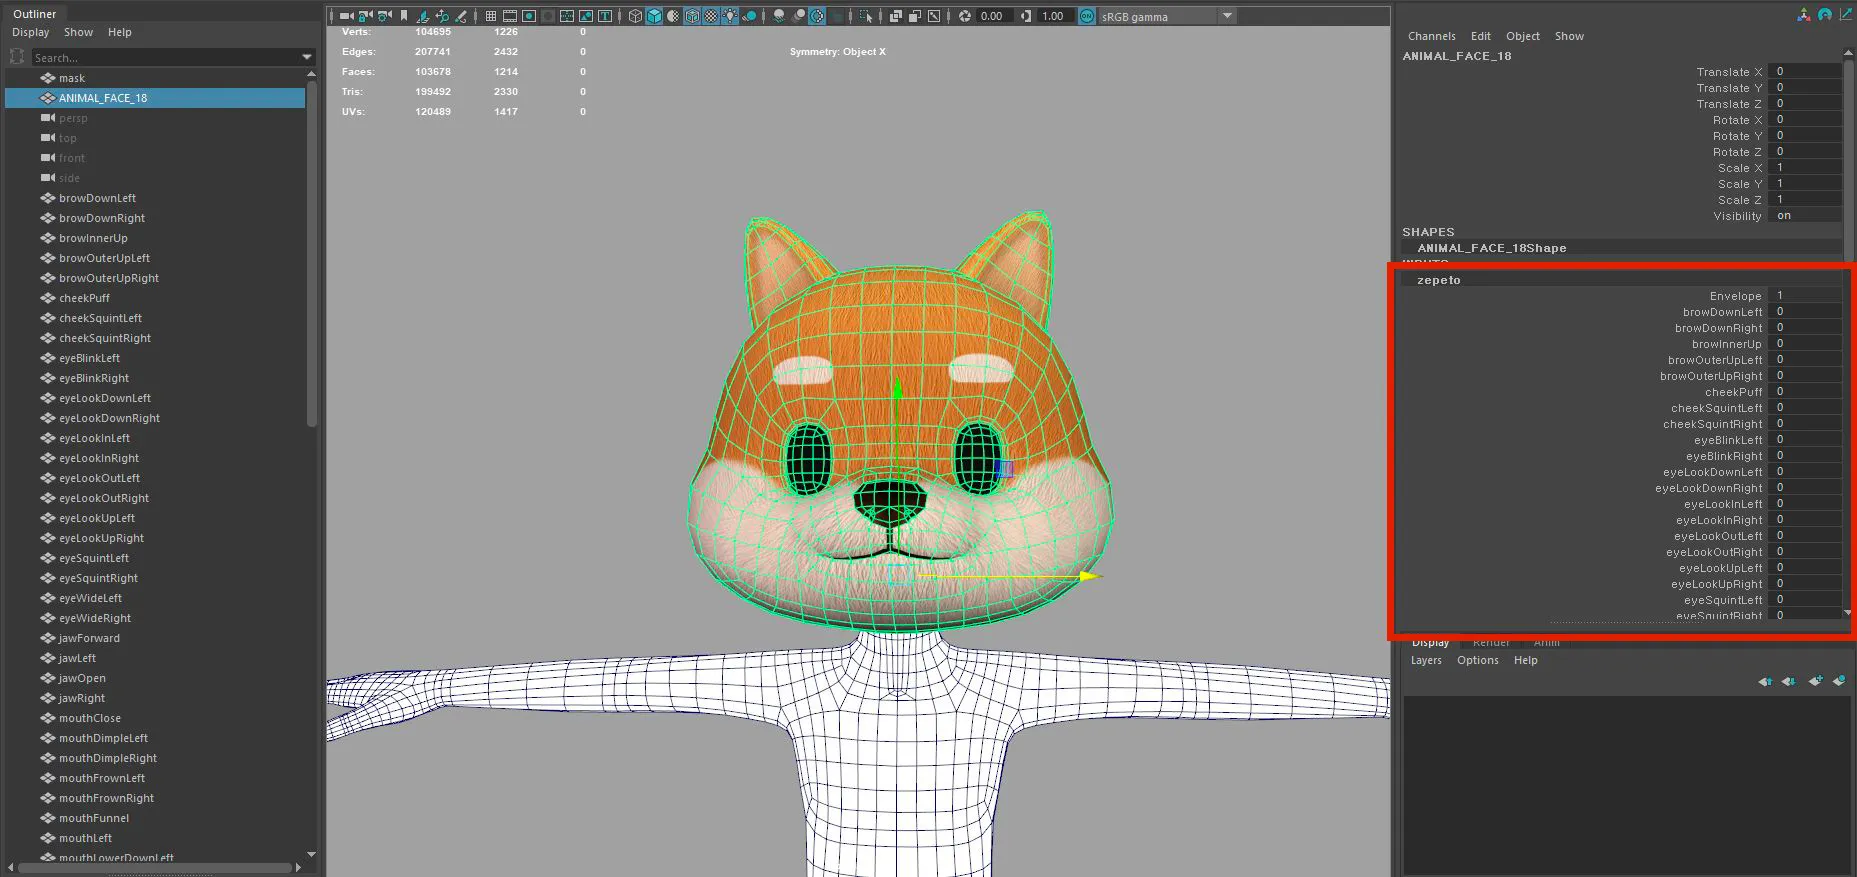
- ブレンドシェイプは、ベースメッシュの頂点と表情メッシュの頂点を使用して表情を作成します。
- ベースメッシュとUVS以外は、表情メッシュのすべてのカウントと頂点番号が同じでなければなりません。(ベースモデルのコピーをお勧めします)
- ベースメッシュと表情メッシュの頂点番号が同じでない場合、ブレンドシェイプは機能しません。
- 最終的な表情を持つのではなく、途中のすべての表情を適用する必要があります。
- 表情メッシュの順序に従う必要があります。
- 表情メッシュの名前は元の名前と同じでなければなりません。(小文字と大文字を含む)
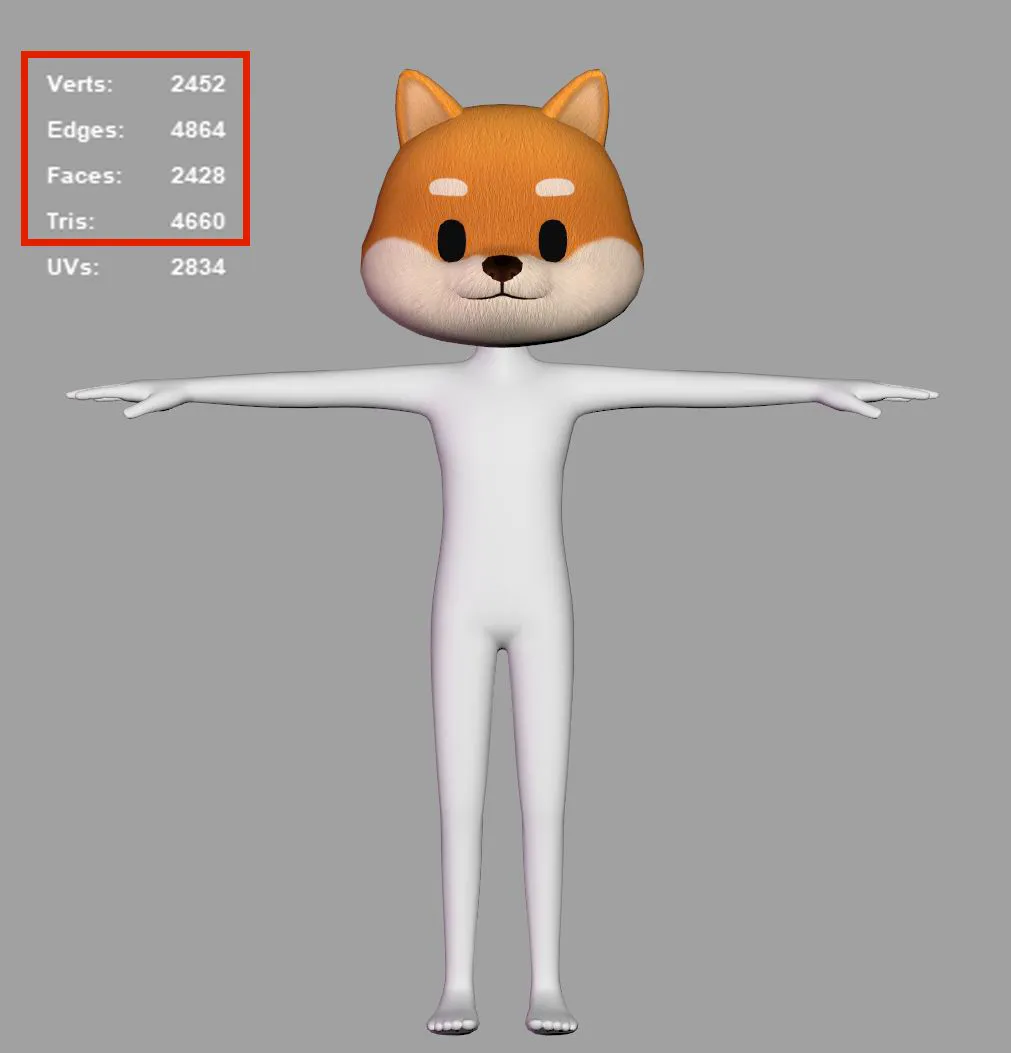
- 他のすべてのコンテンツと同様に、隠されたマスク領域を黒で塗りつぶします。
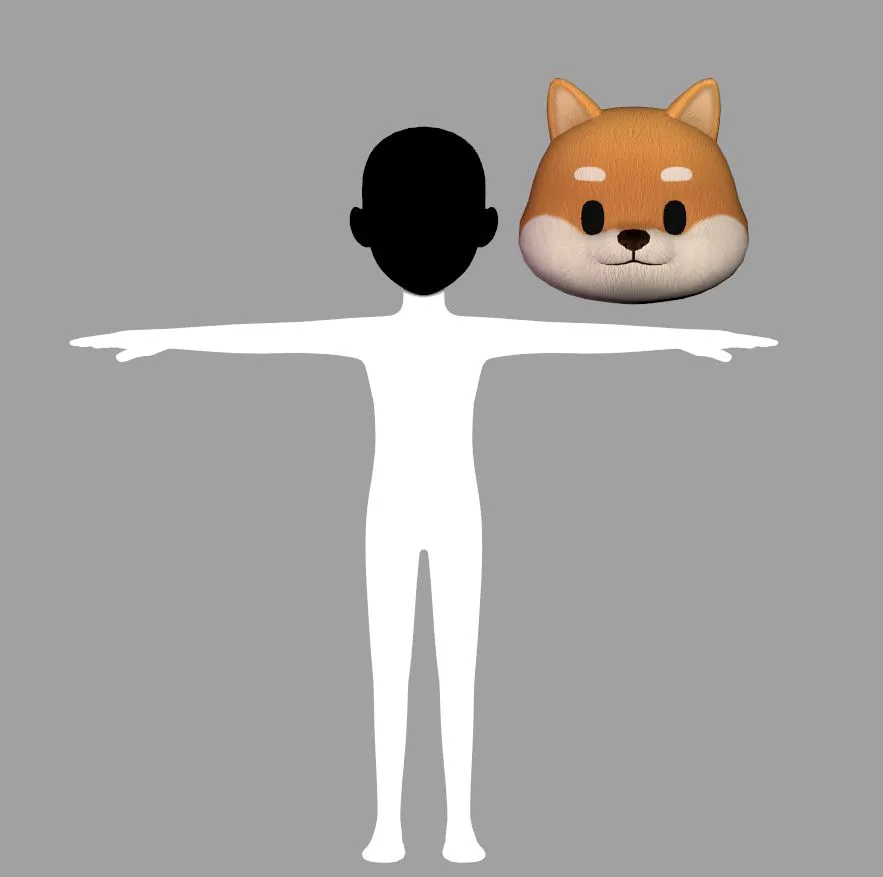
完了したら、最新バージョンのUnity(2020)を使用して変換する必要があります。(古いバージョンのUnityを使用すると、ブレンドシェイプ情報の値が欠落します)
中間を含まない71の表情があります。 中間は柔軟です--必要に応じて追加または削除できます。(中間リストに含まれていない表情は機能しません)
眉毛
- 眉毛が目と重ならないように注意してください。
- 表情が左右で異なる場合は、左右両方を確認して問題がないか確認してください。
- デザインに耳がある場合、耳専用のアニメーションキーはないので、ここに動きを追加することを忘れないでください。

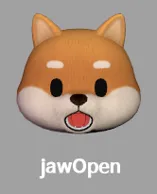
顎を開ける
- これは最も重要なキー表現です。
- 口を含むさまざまな表現をテストする際は、jawOpenキーが意図したとおりに機能していることを確認してください。
頬
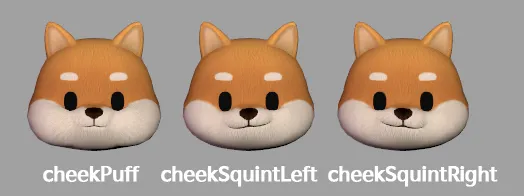
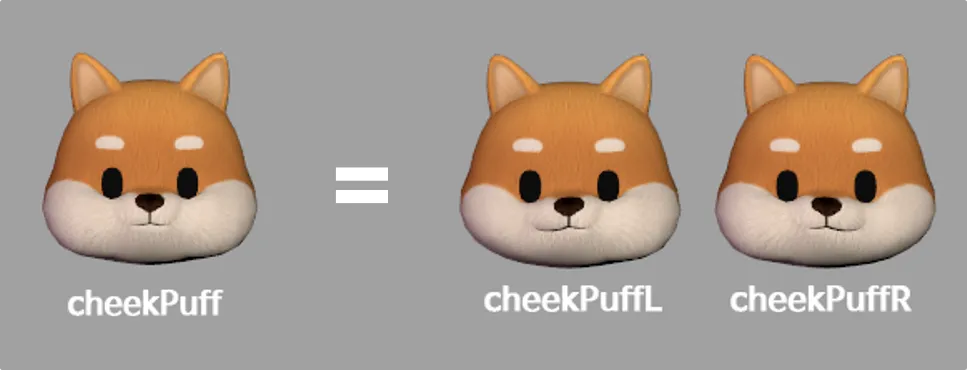
- cheekPuff = キャラクターが頬を膨らませているときの表現。(これはjawOpenには影響しませんが、同時に値を調整し、口の中の領域を確認する必要があります。異なる表現を使用する際に大きな違いが生じます)
- cheekSquint = 左右の頬を動かすとき。
目
- この値は眉毛の値に大きく影響されるため、同時に調整して最適な値を見つける必要があります。

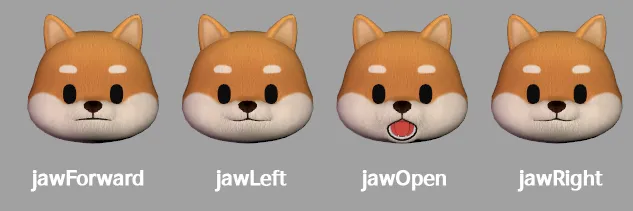
顎
- 顎の表情は顎/顎の動きに影響します。(顎の開きの値と一緒に調整してください)
口
- これが最も多くの表情を持っています。口の値と他の表情の値を同時に確認する必要があります。

- mouthCloseは単独では不自然に見える特別な表情です。jawOpenと一緒に使用する必要があります。この機能を使用する際は、必ず両方を使用してください。
- mouthFunnelは「ウー」と言うときの表情です。
- mouthPuckerは「オー」と言うときの表情です。

- mouthShrugLowerとmouthShrugUpperは一緒に使用しても問題がないはずです。

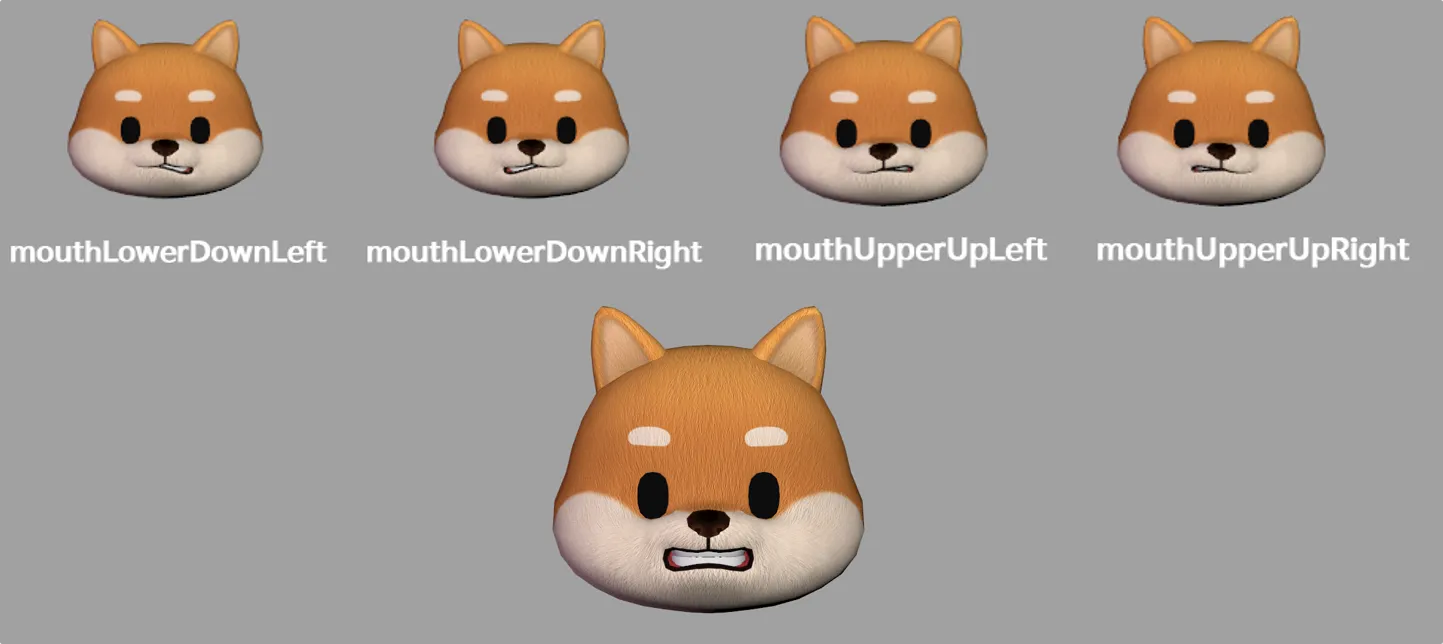
- 4つの表現は1つの表現を4つに分割したものです。したがって、4つの表現はすべて一緒に使用する必要があります。
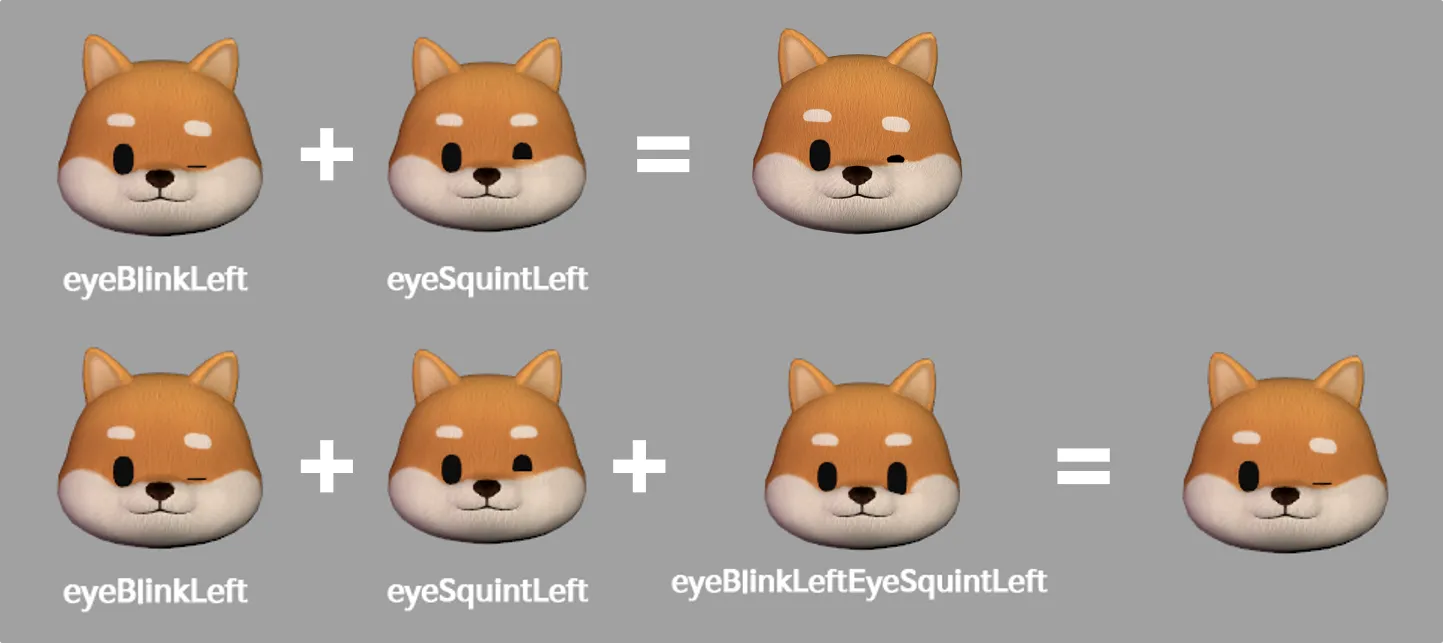
inbetween
- inbetweenは2つの表現の間に使用される特別な表現です。
- 適用するには、表現名を持っている必要があります。
- より多くの表現はより多くのデータを占有するため、利用可能な表現の数を最小限に抑えました。
- 現在、これはeyeBlinkおよび関連する表現にのみ適用できます。
- 使用されていないinbetween表現は削除できます。
animator
- これらの表現はアニメーション制作者のための細分化された表現です。
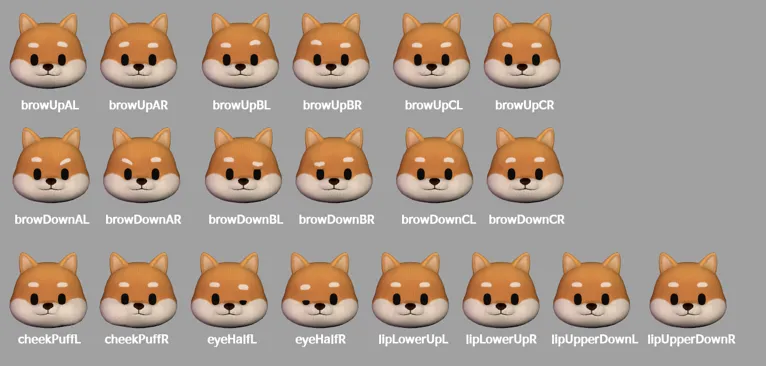
- 眉の動きは3つの部分に分かれています。(A、B、C)
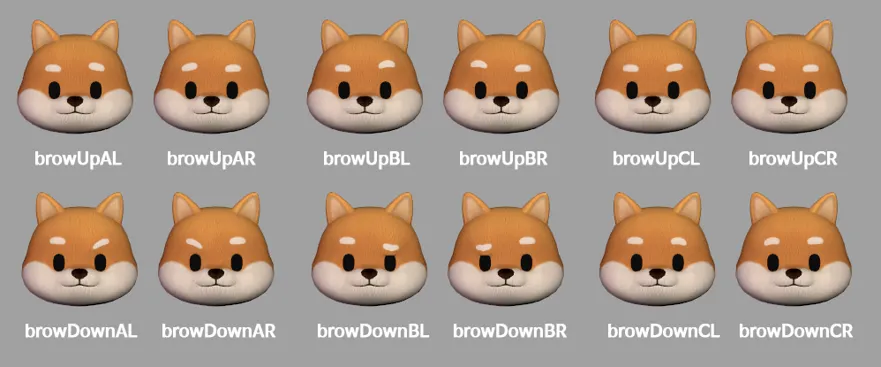
- チークパフの表情は左右に分かれています。
Unityから作業をインポートした後、2つのオプションを確認してください
- まず、FBXファイルをクリックし、オプションメニューで「インポートブレンドシェイプ」を有効にします。
- 次に、マテリアルの命名後に「(NoColor)」を追加します
❗️ 注意 追加しないと、髪の色の値が混ざります
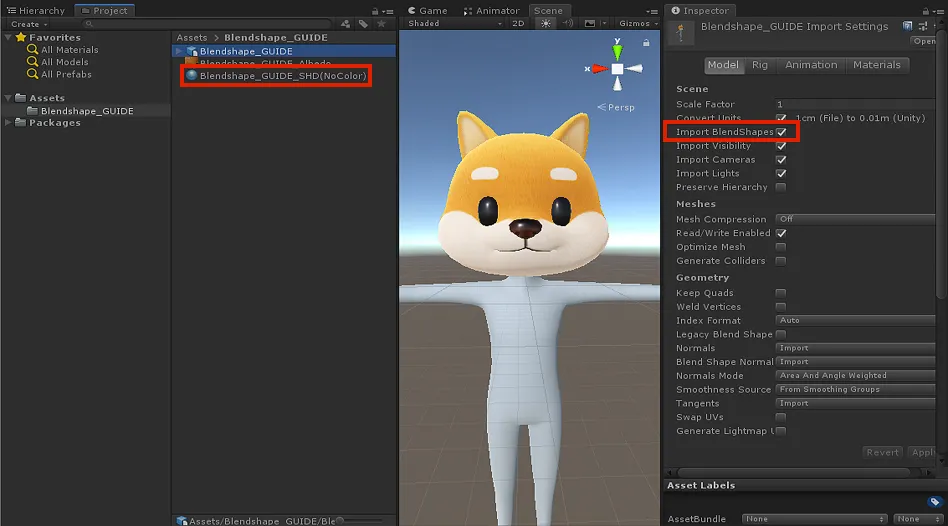
両方の項目を確認した後、変換できます

