ゲームオブジェクトとコンポーネント
世界では、オブジェクトを作成したり、特定のコンポーネントをオブジェクトに変更または追加することが非常に一般的です。
ZEPETOScriptは、Unityスクリプトで使用されるのと同じインターフェースをサポートしています。
GameObjectとComponentの基本例
ゲームオブジェクトの作成と削除:
// GameObject 作成
const tempObj = new GameObject();
const obj = Object.Instantiate(tempObj);

// GameObject 削除
Object.Destroy(obj);
GameObjectsのコンポーネントを取得したり、新しいものを追加するには、GetComponentまたはAddComponentを使用します。
// ジェネリックを使用したGetComponent
const myTransform = this.GetComponent<Transform>();

// ジェネリックを使用したAddComponent
const animator = this.gameObject.AddComponent<Animator>();
GameObject Componentの完全なコード例を確認してください。
こちらは、GameObjectの作成とプロパティの変更、コンポーネントの追加、破壊をカバーする例です。
import { GameObject, Object, Transform, Animator, Vector3, WaitForSeconds } from 'UnityEngine';
import { ZepetoScriptBehaviour } from 'ZEPETO.Script';

export default class GameObjectSample extends ZepetoScriptBehaviour {

    private _testObject : GameObject;

    Start() {

        // 空のGameObjectを作成
        const tempObj = new GameObject();
        this._testObject = Object.Instantiate(tempObj) as GameObject;

        // オブジェクトの名前を変更
        this._testObject.name = "TestObject";

        // オブジェクトの変換情報を変更
        this._testObject.transform.position = new Vector3(3,3,3);

        // オブジェクトにコンポーネントを追加
        this._testObject.gameObject.AddComponent<Animator>();

        // GetComponentの使用例
        const animator = this._testObject.GetComponent<Animator>();
        if(animator != null) {
            console.log("GetComponent 成功");
        }

        // コルーチンを使用して5秒後にオブジェクトを削除
        this.StartCoroutine(this.DestroyObject());

    }

    *DestroyObject() {
        yield new WaitForSeconds(5);

        // GameObjectを削除
        Object.Destroy(this._testObject);
    }
}
Findの活用
Find関連メソッドは、Unityスクリプトと同様にZEPETOScriptで同じインターフェーススタイルをサポートしています。
メソッド | 説明 |
|---|---|
GameObject.Find() | - 現在のシーン内の名前に基づいてアクティブなGameObjectオブジェクトを見つけて返します。 - 見つからない場合はnullを返します。 |
GameObject.FindGameObjectWithTag() | - 現在のシーン内のタグに基づいてアクティブなGameObjectオブジェクトを見つけて返します。 - アクティブなオブジェクトの中から指定されたタグに一致する最初のオブジェクトを見つけて返し、見つからない場合はnullを返します。 |
GameObject.FindGameObjectsWithTag() | - 現在のシーン内の特定のタグを持つすべてのアクティブなGameObjectオブジェクトを見つけて配列として返します。 - 見つからない場合は空の配列を返します。 |
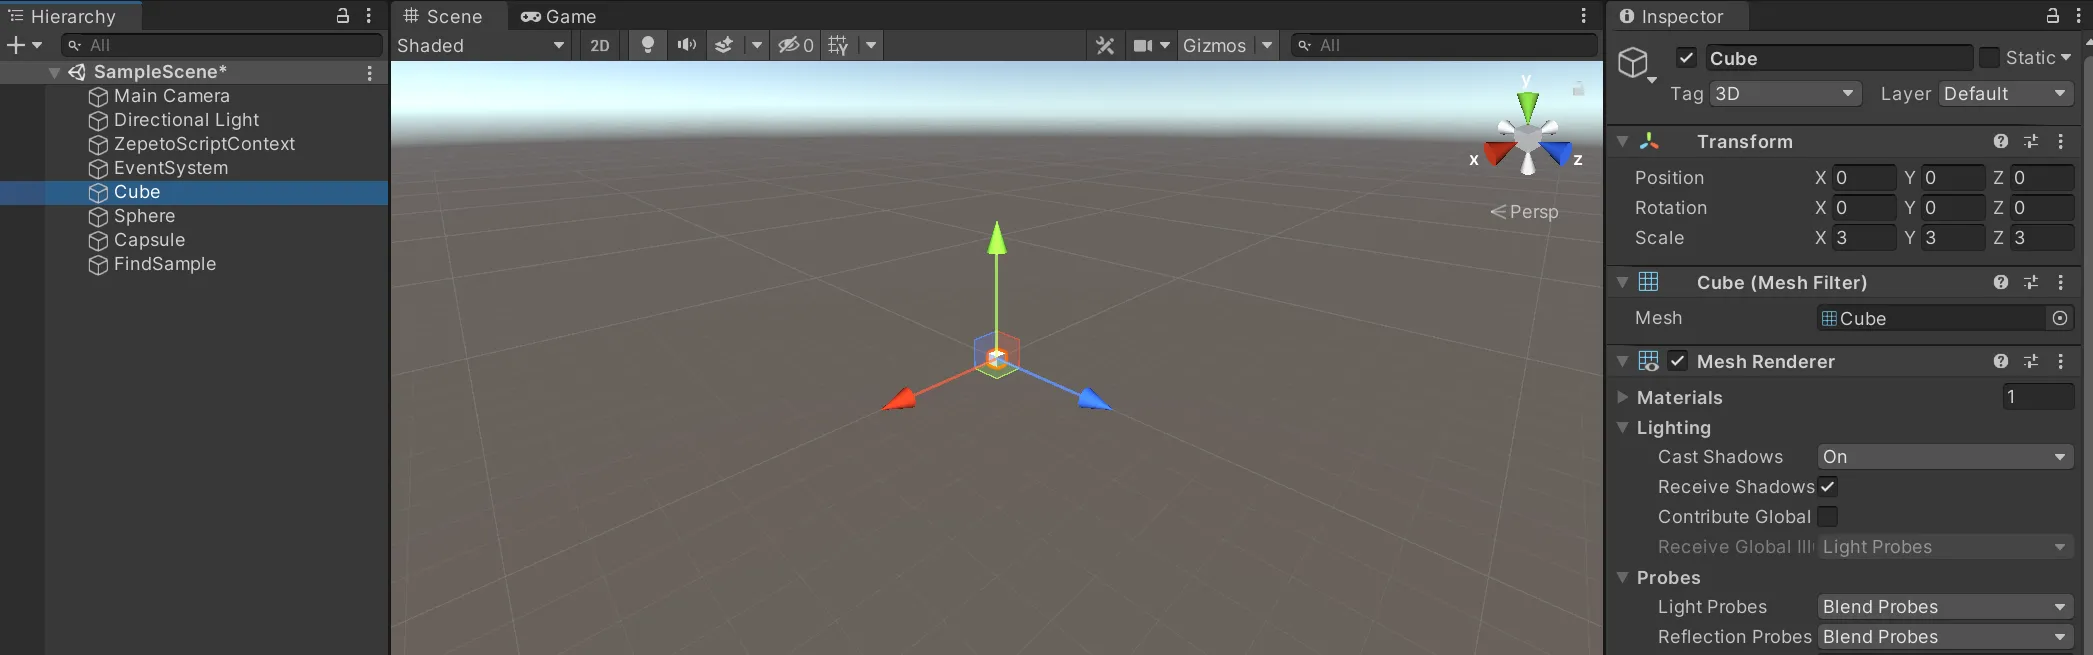
例として、シーンを次のように設定します:
- いくつかの3Dオブジェクトを追加し、すべてのタグを3Dとして指定します。
- スクリプトをアタッチするための空のオブジェクトを作成し、それをFindSampleに名前変更します。
import { ZepetoScriptBehaviour } from 'ZEPETO.Script';
import { GameObject, Transform } from 'UnityEngine';

export default class FindSample extends ZepetoScriptBehaviour {

    public tempObj1: GameObject;
    public tempObj2: GameObject;
    public tempObj3: GameObject[];

    Start() {
        // 指定された名前のターゲットGameObjectを見つけます。
        // 同じ名前のGameObjectが複数ある場合、最初に見つかったものが返されます。
        this.tempObj1 = GameObject.Find("Cube");
        if(this.tempObj1 != null) {
            console.log("GameObjectの検索成功");
        }

        // 指定されたタグのターゲットGameObjectを見つけます。
        // 同じタグのGameObjectが複数ある場合、最初に見つかったものが返されます。
        this.tempObj2 = GameObject.FindGameObjectWithTag("3D");
        if(this.tempObj2 != null) {
            console.log("FindGameObjectWithTagの成功");
        }

        // 指定されたタグを持つGameObjectの配列を返します。
        this.tempObj3 = GameObject.FindGameObjectsWithTag("3D");
        if(this.tempObj3 != null) {
            console.log("FindGameObjectsWithTagの成功");
        }
    }
}
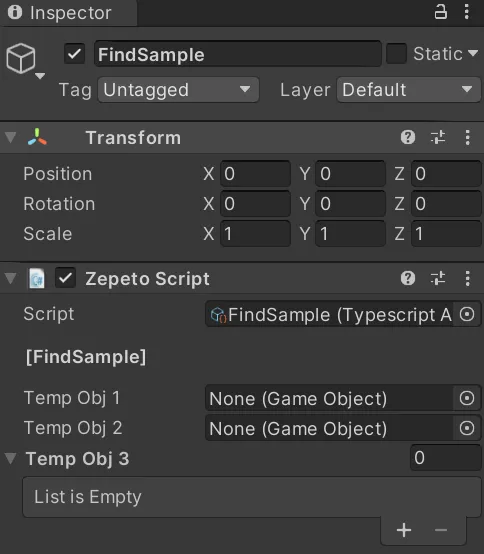
- FindSampleオブジェクトにスクリプトを追加すると、インスペクタは空になります。
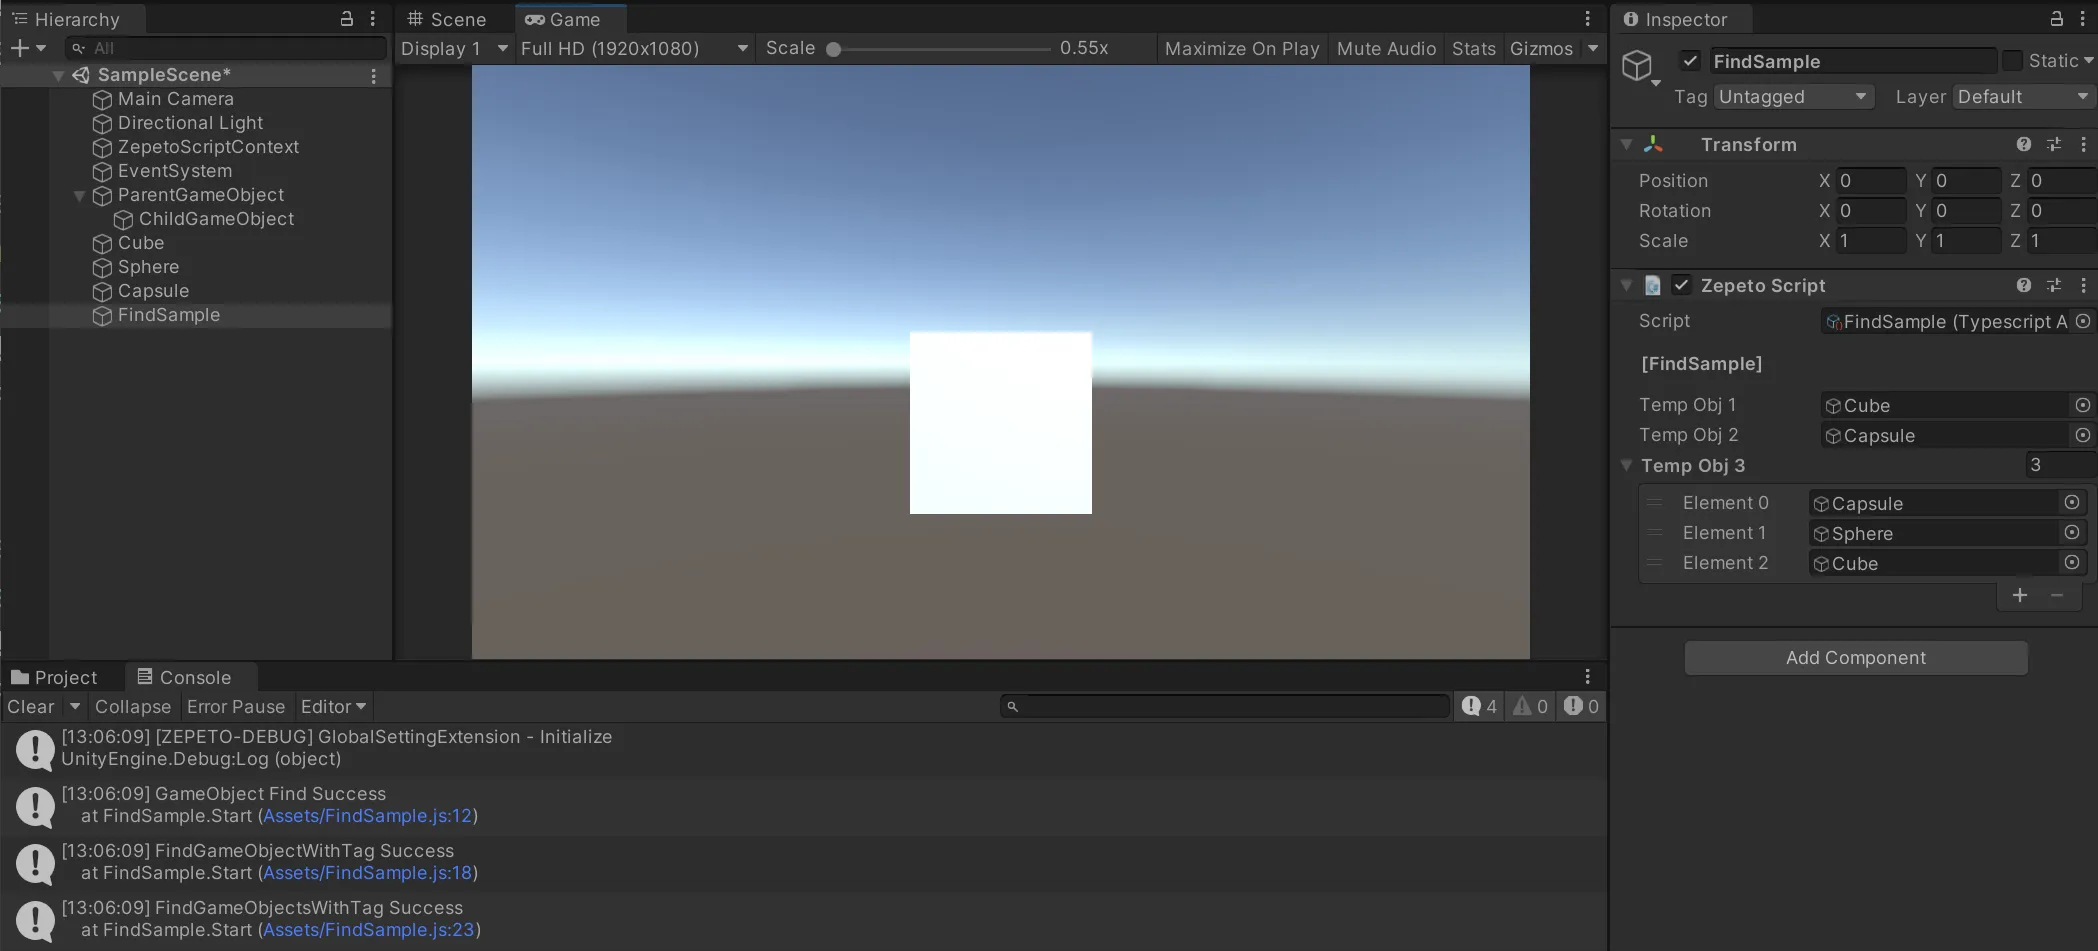
- 再生ボタンを押して実行し、インスペクタウィンドウで各オブジェクトが割り当てられていることを確認し、コンソールウィンドウを通じてオブジェクトの検索成功を確認できます。
プレハブの作成
ランタイム中にプレハブを作成する方法を探ってみましょう。
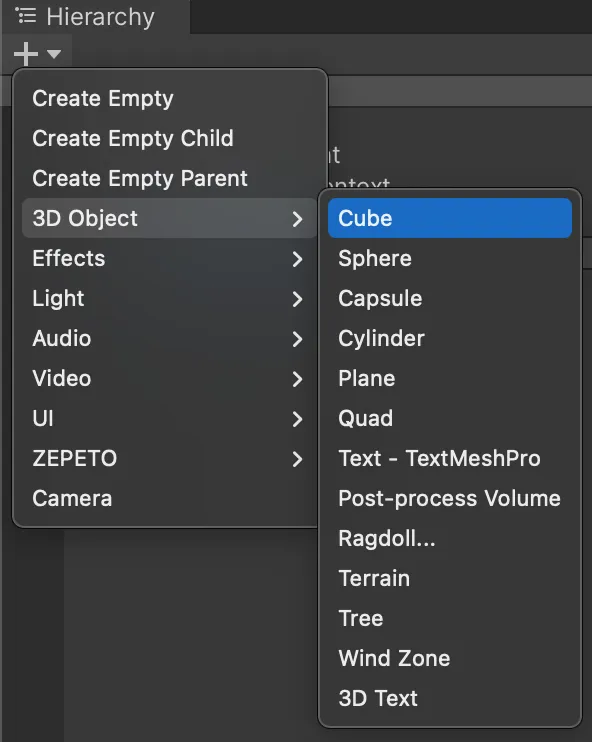
- まず、3Dオブジェクト > キューブをシーンに追加します。
- キューブのインスペクターで「コンポーネントを追加」を押し、Rigidbodyを追加します。
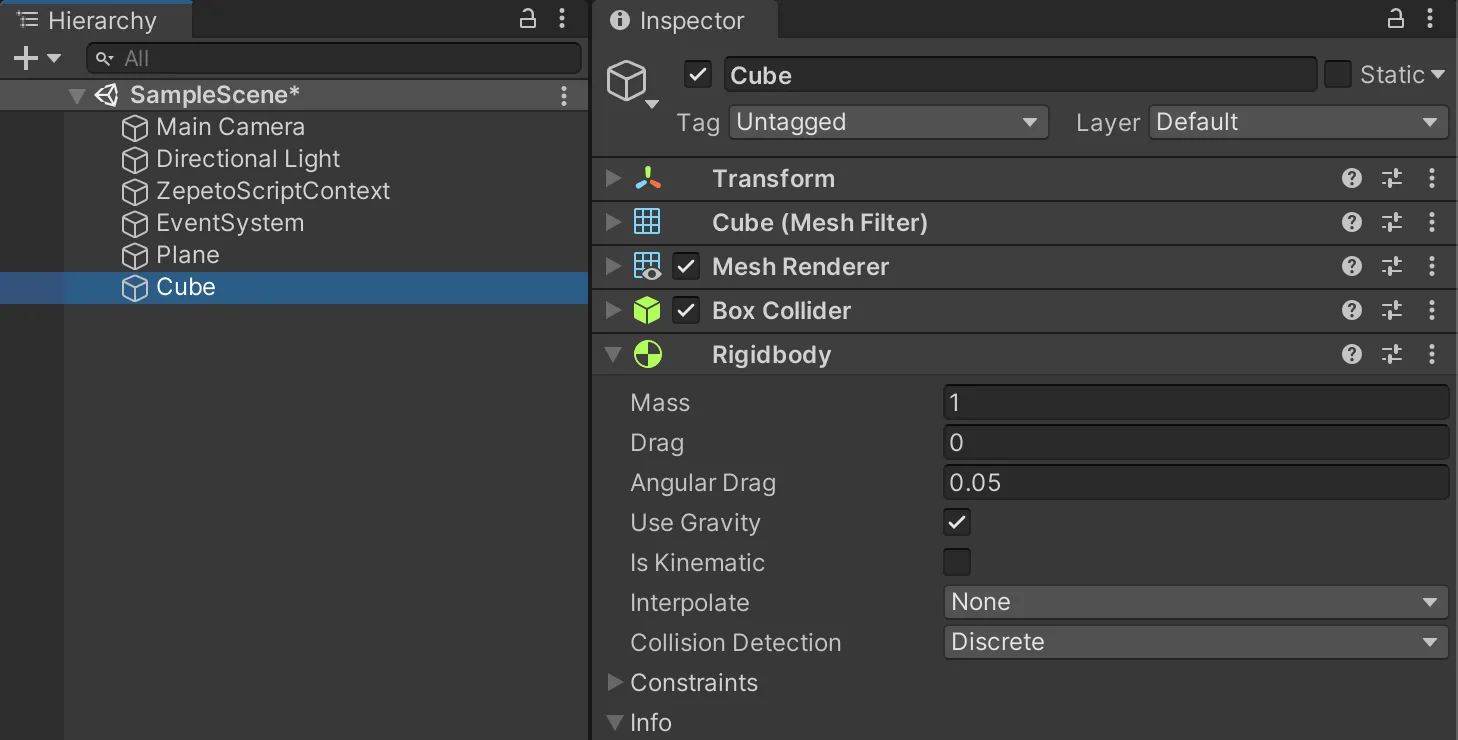
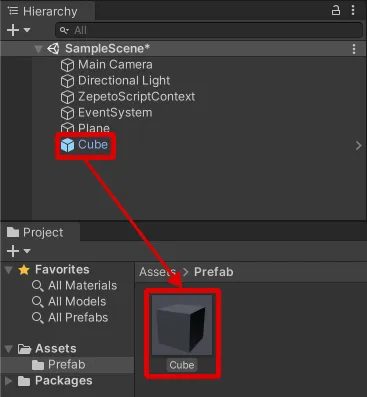
- 次に、キューブをプロジェクトエリアにドラッグしてプレハブにします。
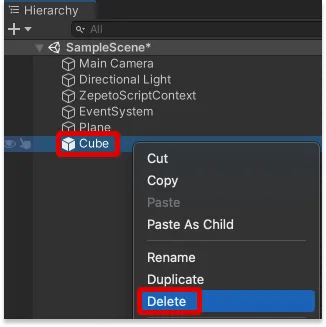
プレハブを利用するため、シーン内のキューブを削除します。
- 以下のスクリプトを書いてください。
import { GameObject, Object, Vector3, WaitForSeconds } from 'UnityEngine';
import { ZepetoScriptBehaviour } from 'ZEPETO.Script';

export default class CloneSample extends ZepetoScriptBehaviour {

    public clonePrefab : GameObject;

    Start() {

        this.StartCoroutine(this.DoRoutine());

    }

    *DoRoutine() {
        while(true) {
            yield null;
            // Create a clone
            const clone = Object.Instantiate(this.clonePrefab) as GameObject;

            // Set the height of the clone object
            clone.transform.position = new Vector3(0, 10, 0);

            // Destroy it after 5 seconds of creation
            GameObject.Destroy(clone, 5);
            yield new WaitForSeconds(1);
        }
    }
}
- 次に、Unityエディタに戻り、プレハブをスクリプトインスペクタにドラッグして追加します。
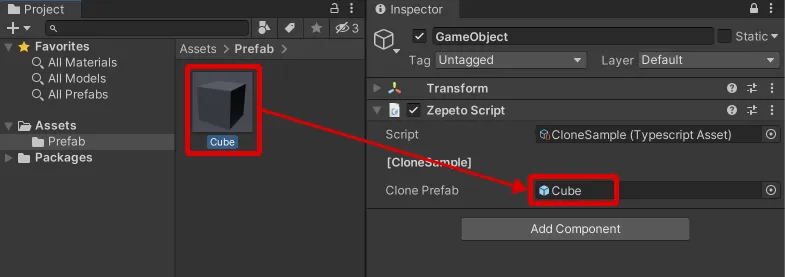
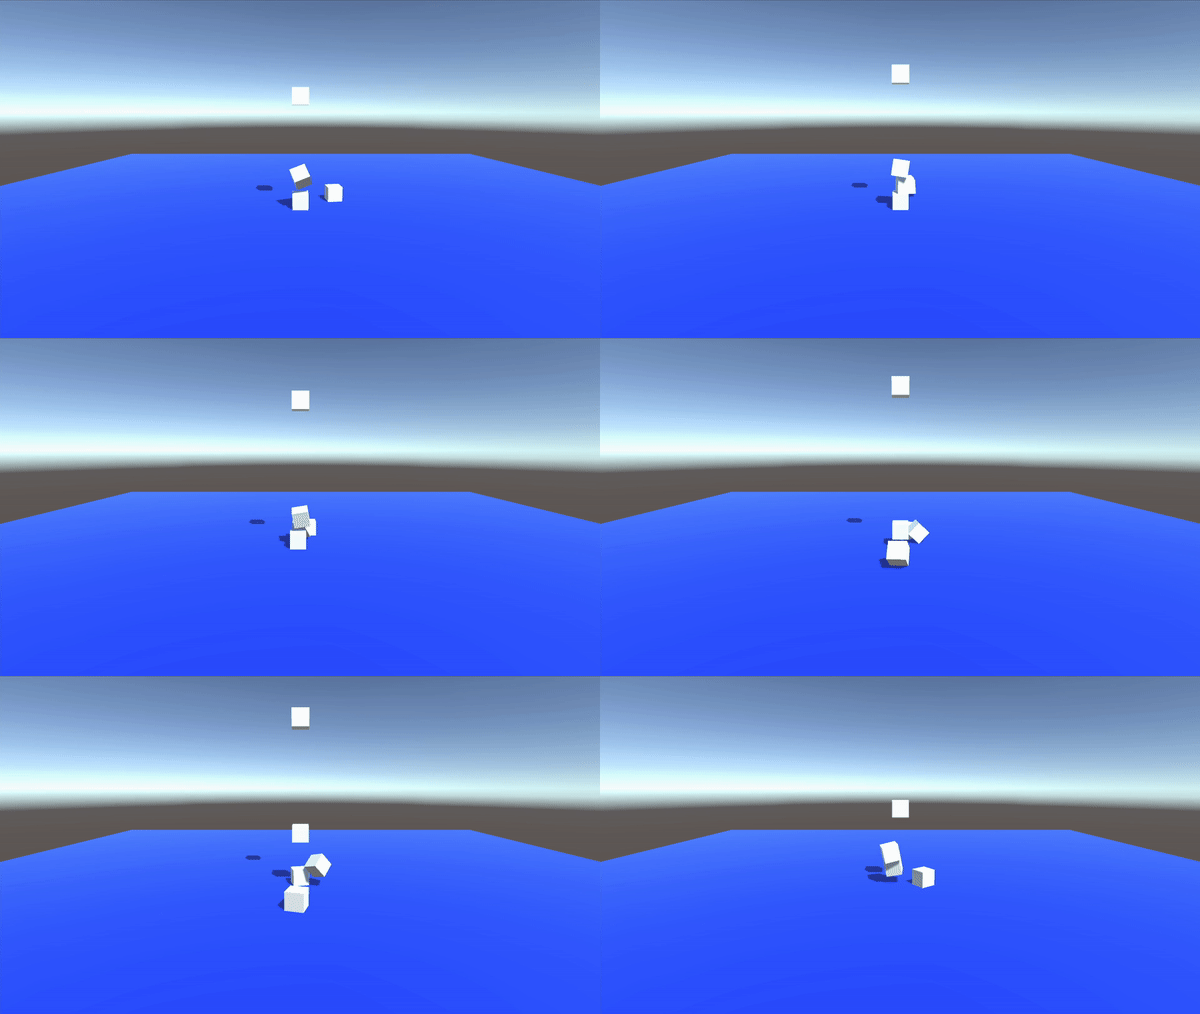
- 再生ボタンを押して、3Dオブジェクトが作成され、毎秒上から落ちてくることを確認します。
以下のリンクをクリックして、ZEPETOScriptが提供するUnityのGameObjectsとComponentsについて詳しく学んでください。