STEP 1 : Installing Unity and Registering ZEPETO Template
ZEPETO Worlds can be created using the Unity Tool.
The following is a list of packages required for creating a ZEPETO World.
- Download Unity Hub and Unity 2022.3.34f1 version. (Download)
- Download the ZEPETO World Template from the following link
ZEPETO World Template Installer Download
Caution
- ZEPETO World can only be developed in Unity 2022.3.34f1 version
- If you have been using a different version of Unity, please follow the guide below to upgrade to version 2022.3.34f1
Create a new project on Unity Hub.
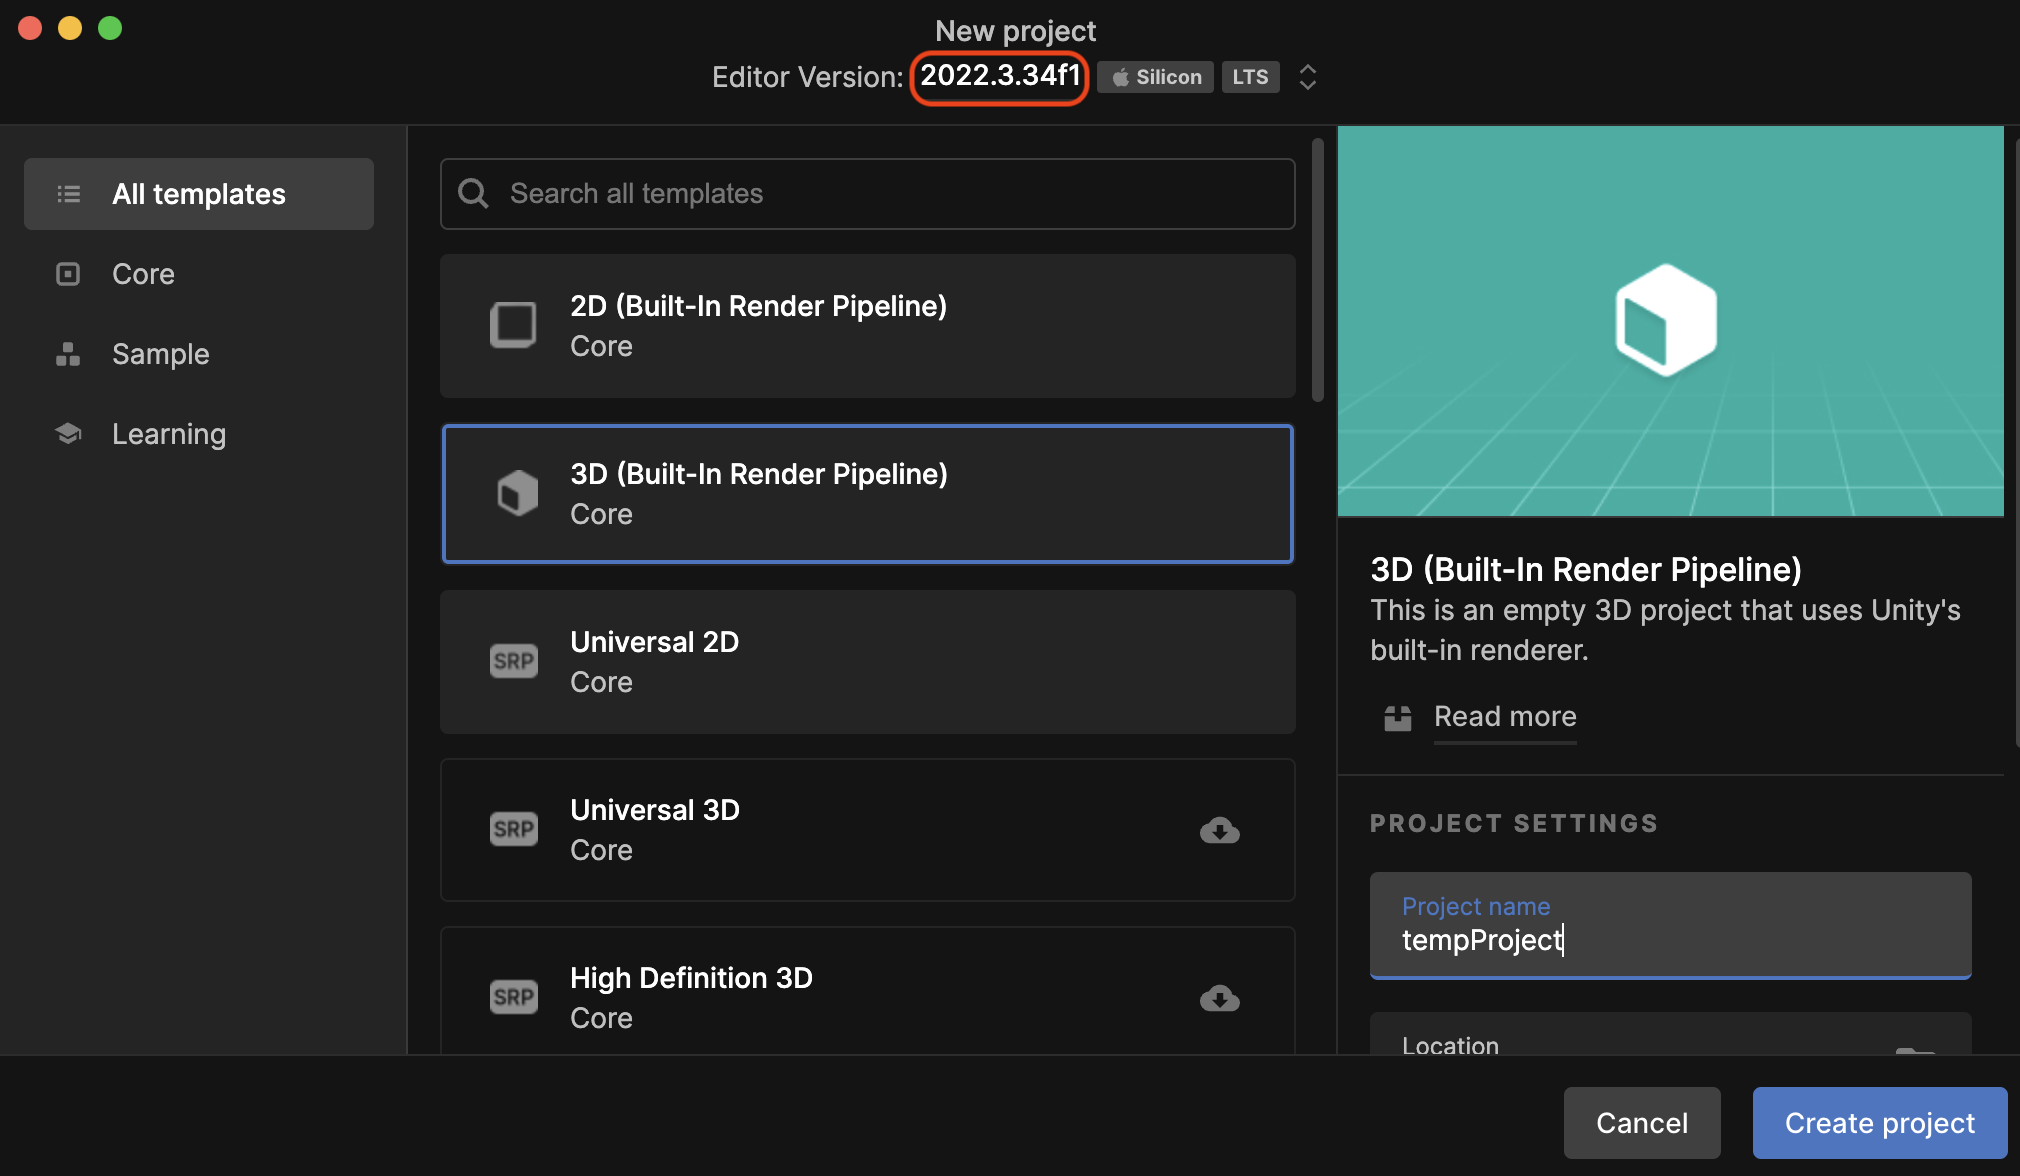
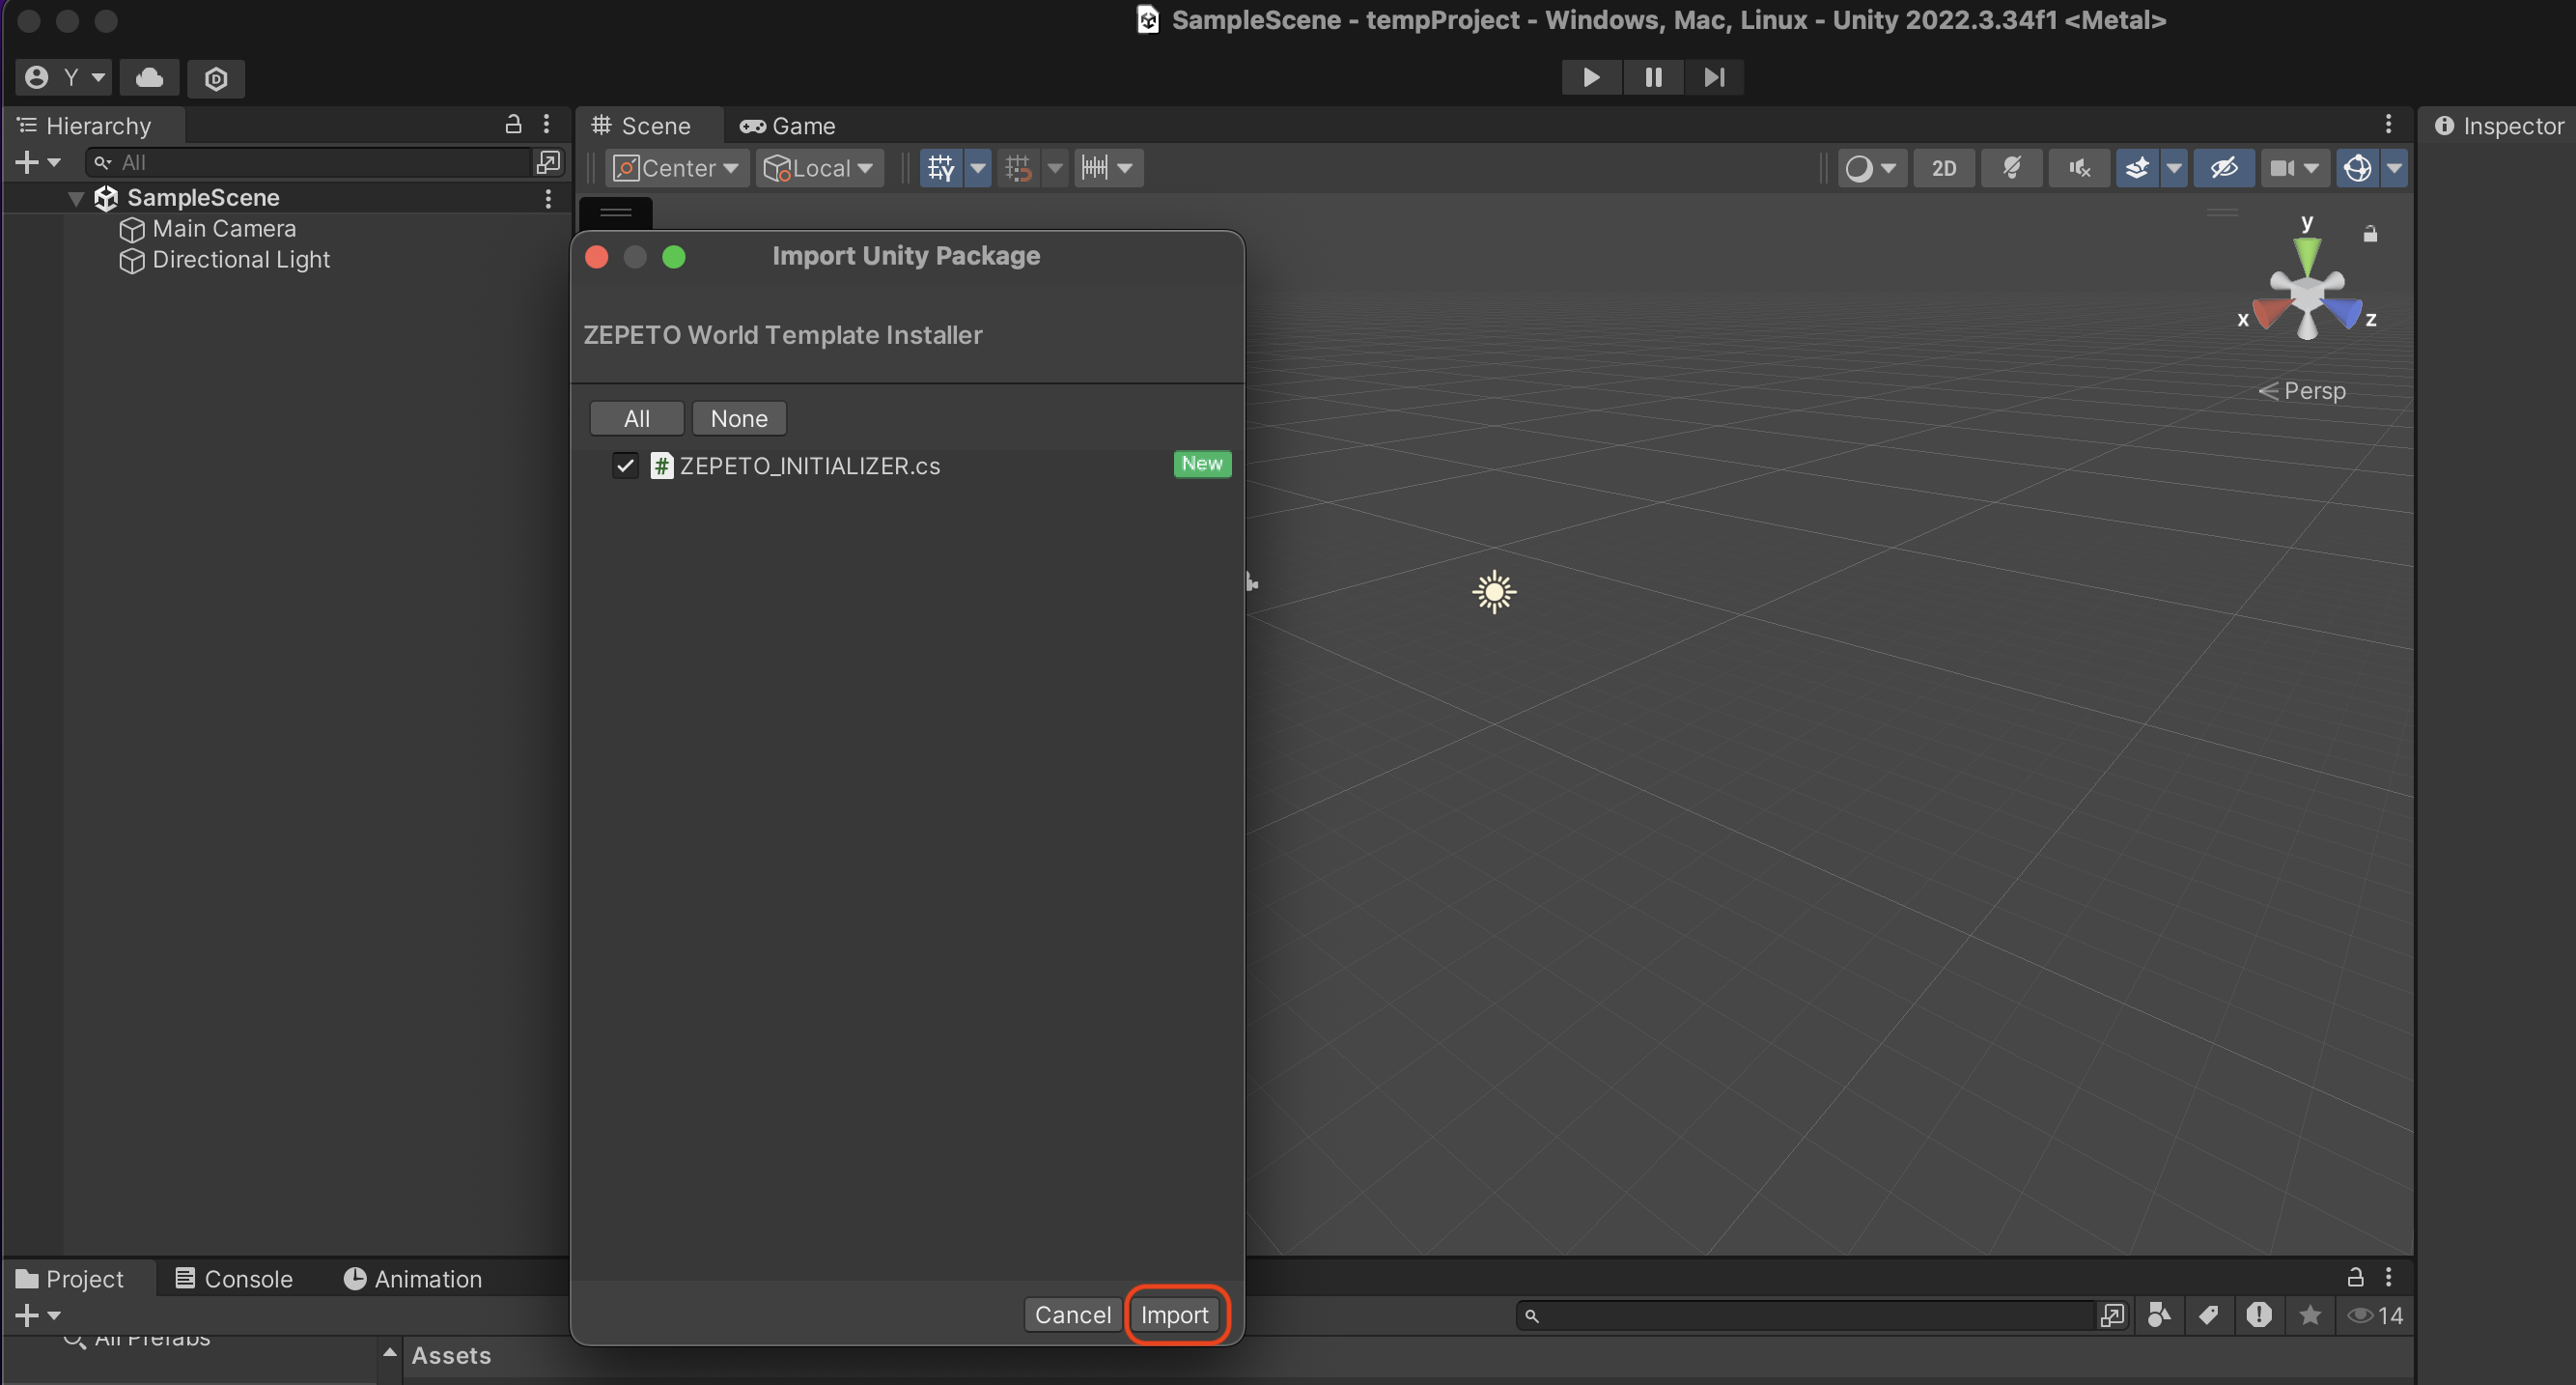
After a new project is created, go to Unity Menu → Assets → Import Package → Custom Package,
then add the downloaded ZEPETO World Template Installer(ZEPETO.World.unitypackage file).
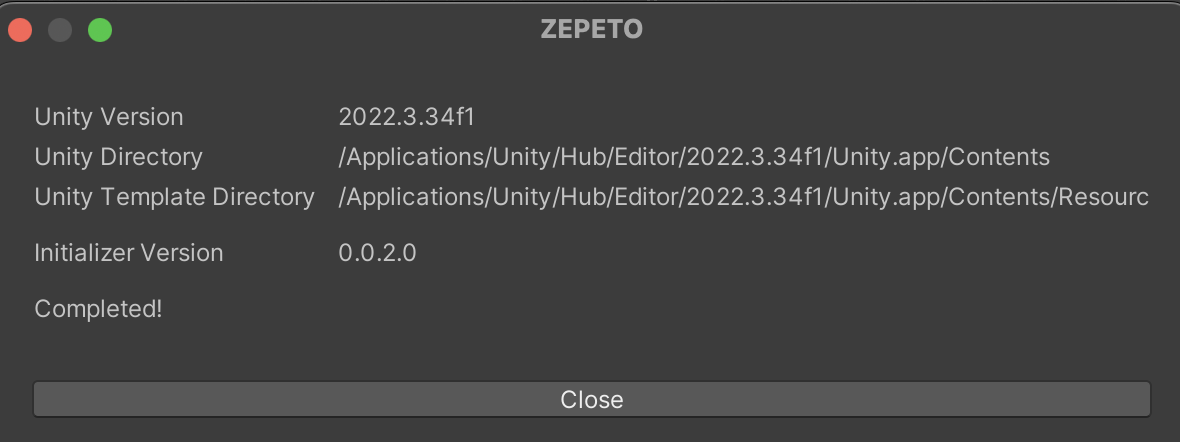
Once the ZEPETO World Template Installer has completed the auto configuration, restart the Unity Editor and Unity Hub to complete the template registration.
Caution
- Errors may occur during template installation if there are Korean or full-width characters in the installation path.
- Please proceed after changing the folder name to English.
- The operating system account name must also be in English to prevent errors.
STEP 2 : Getting Started with Templates
Templates make it easy to test the World development process.
Go to the Template menu by clicking on the [New] button at the upper right of Unity Hub.
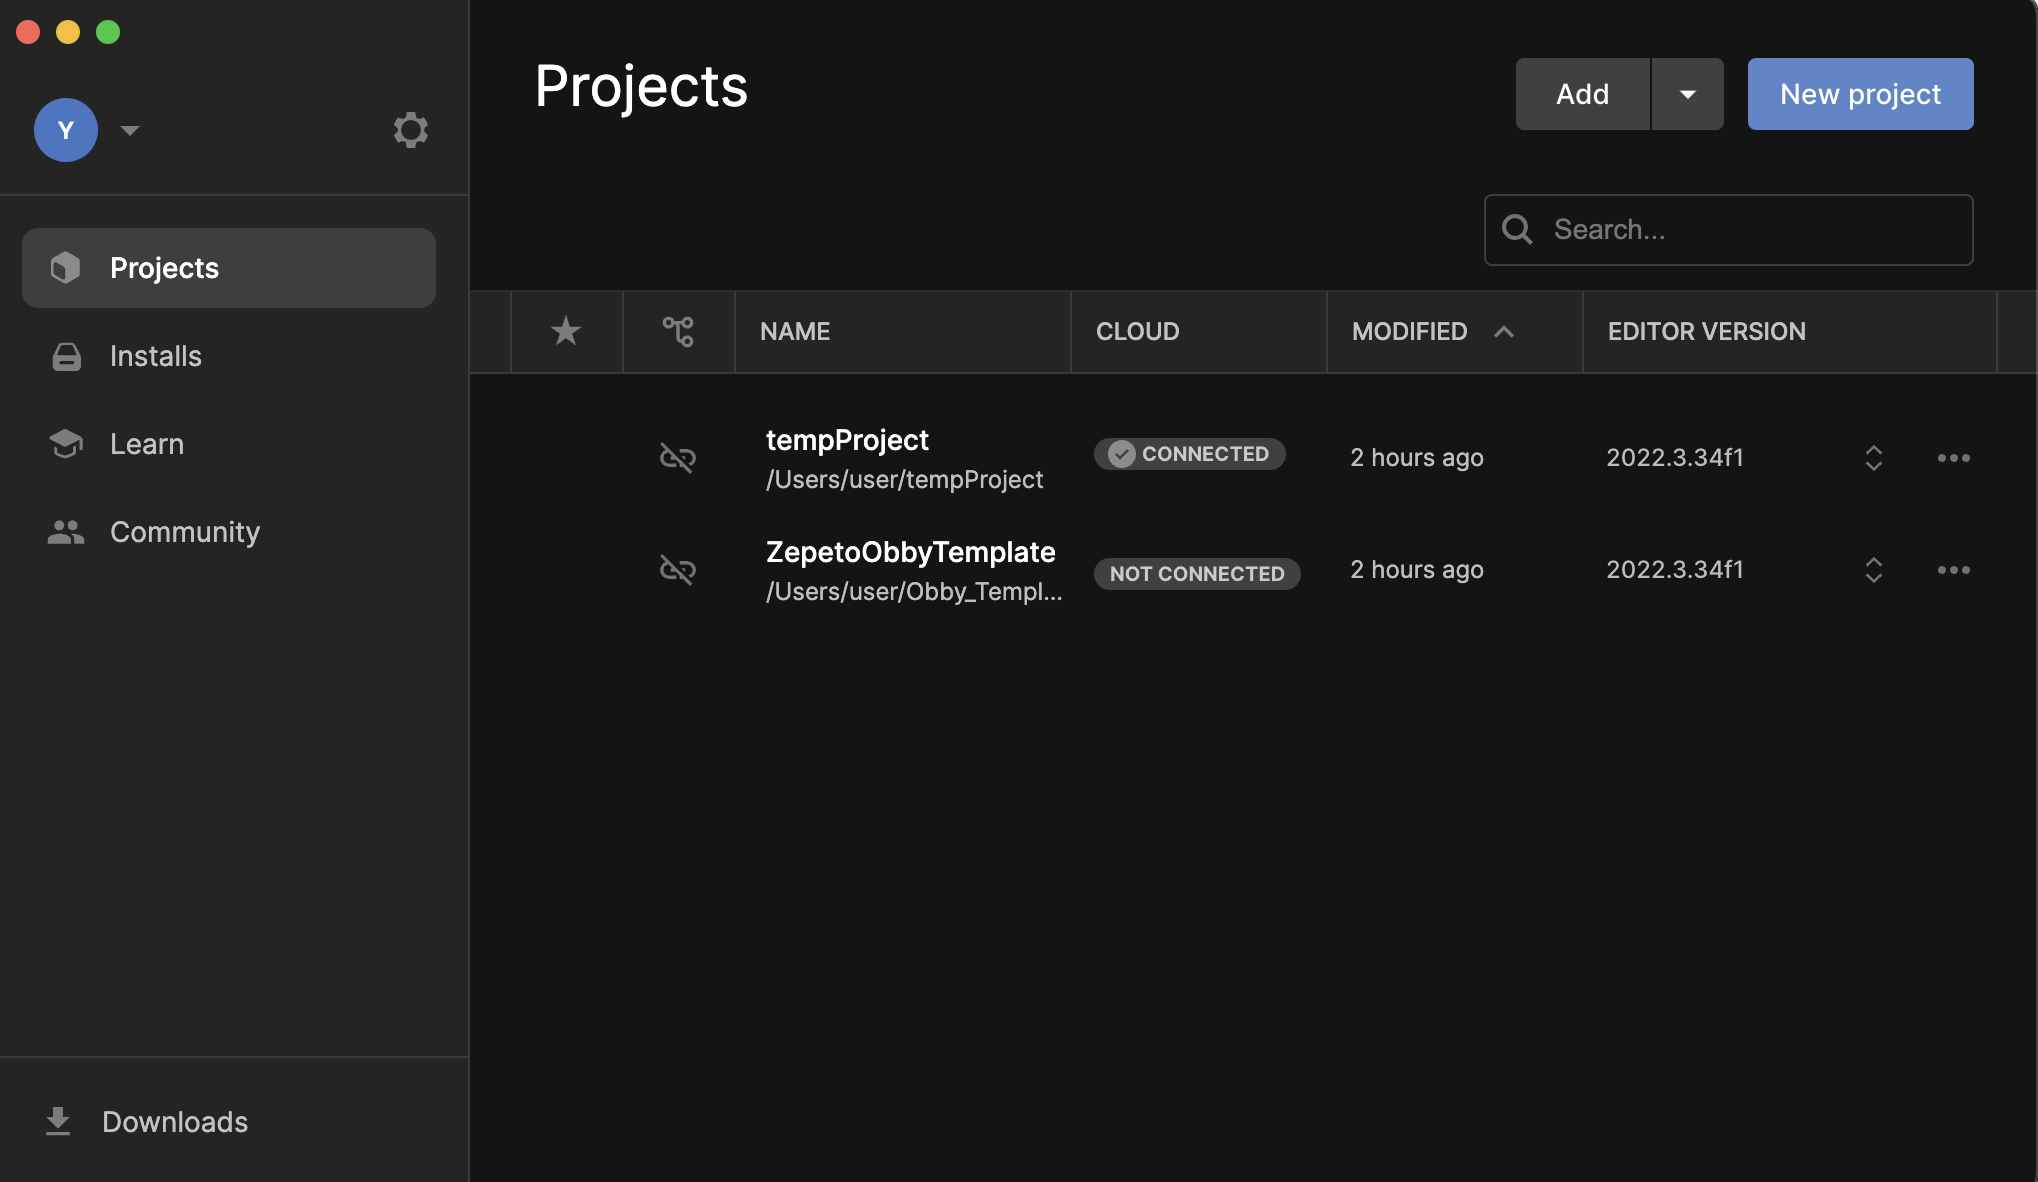
Select [ZEPETO Default Project], and enter the project name and save location.
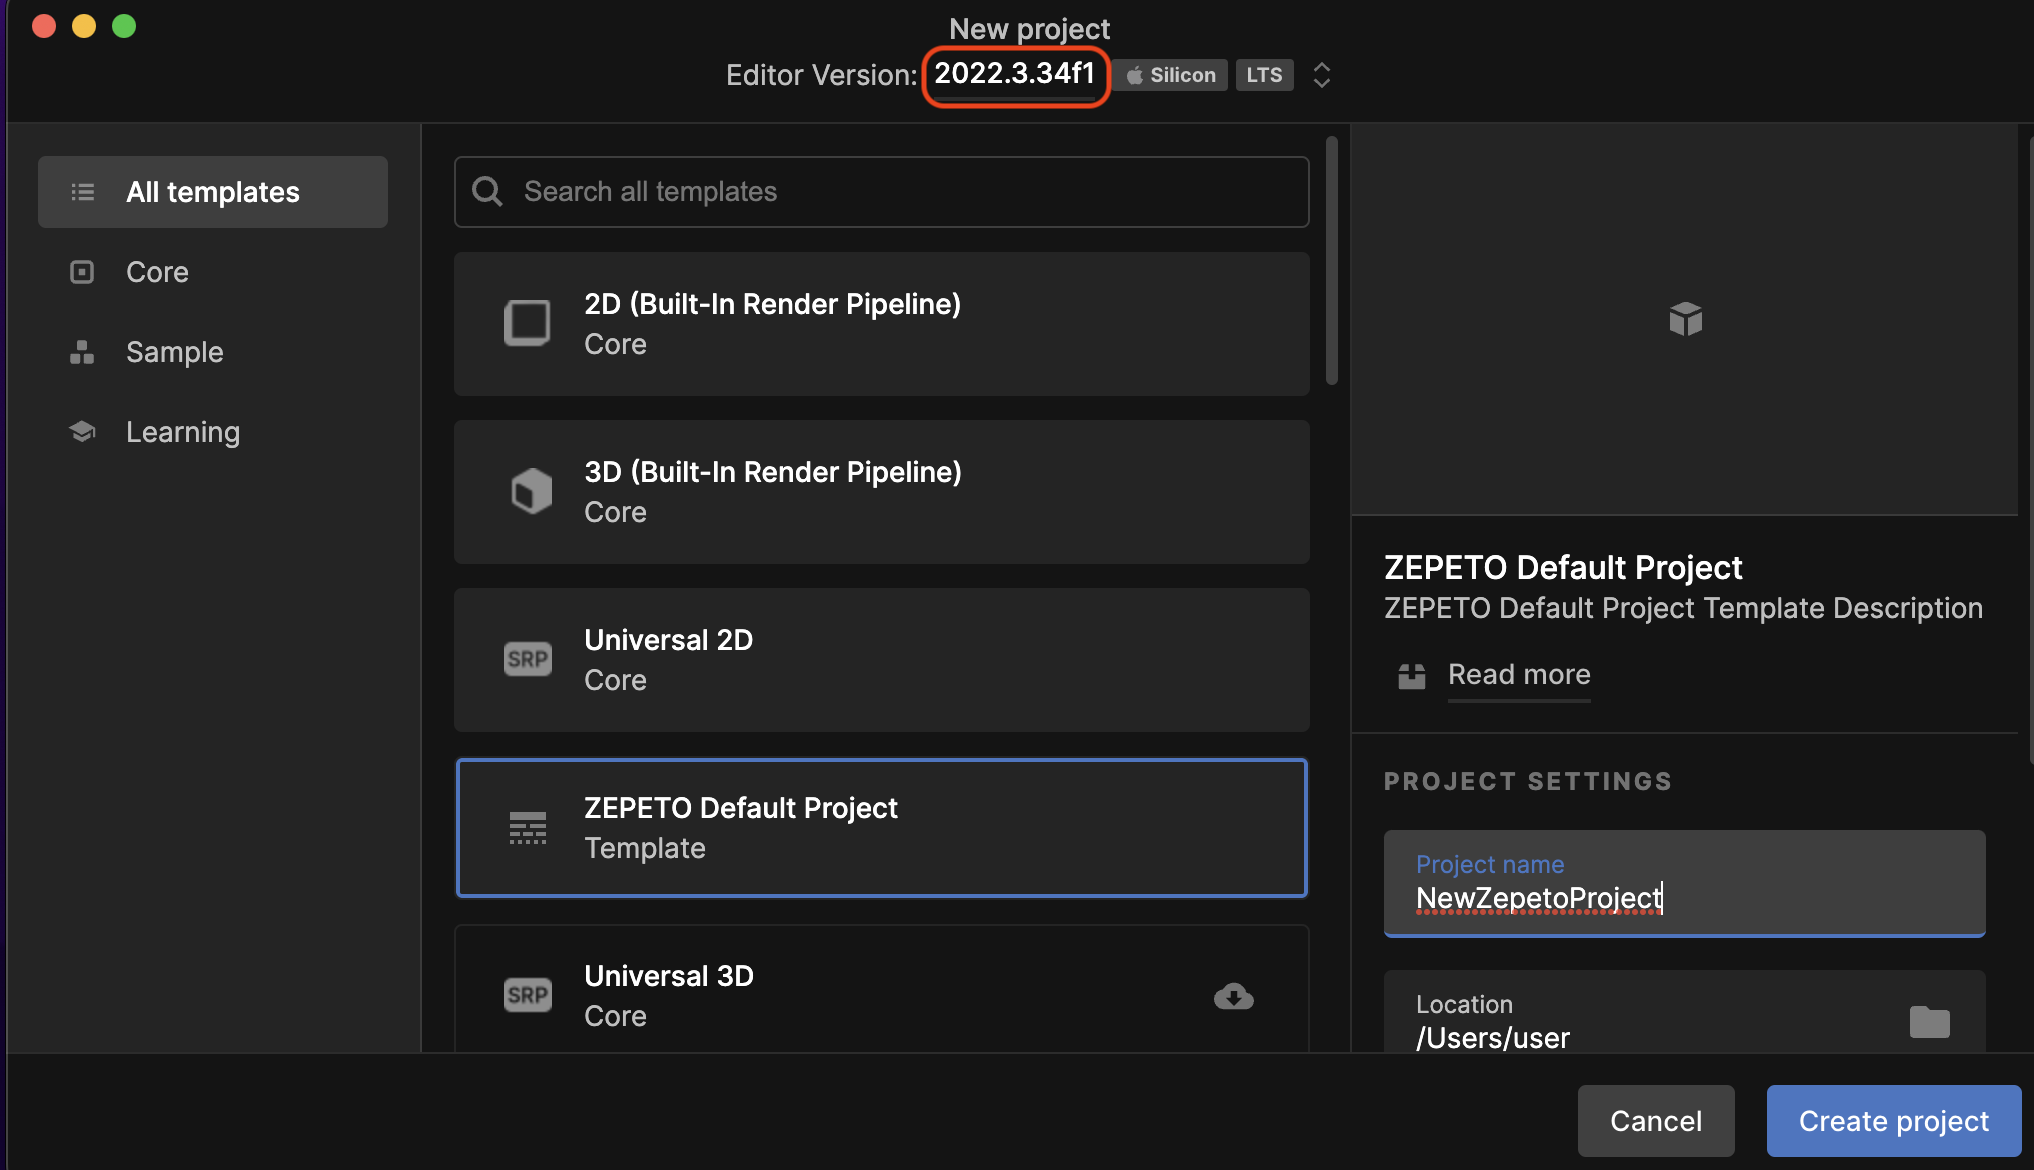
Once the project is created, open SampleScene.
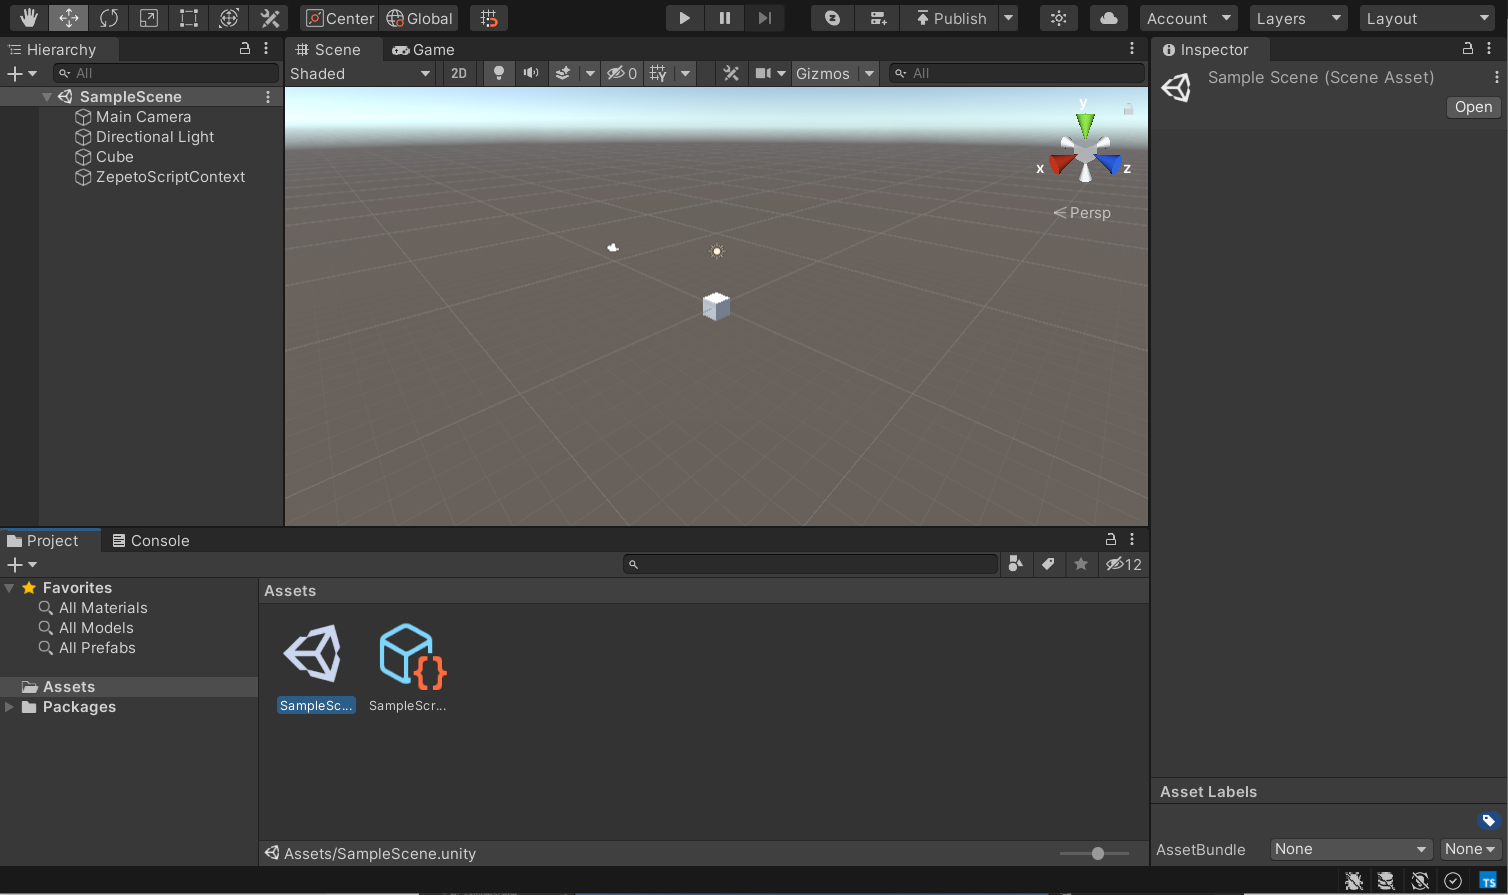
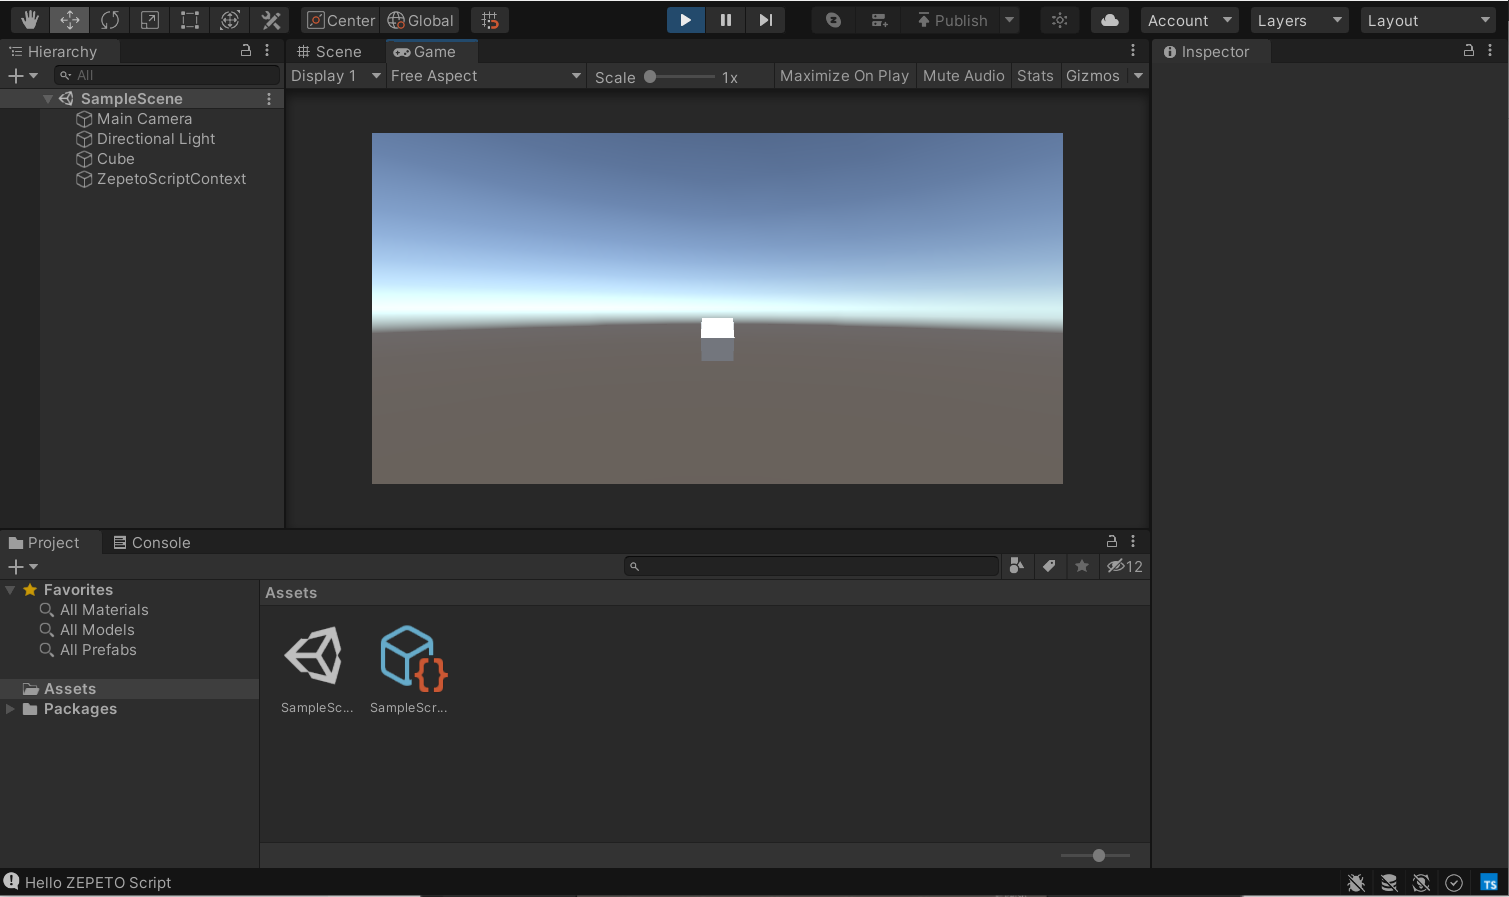
Click on the [▶︎(play)] button on the top center of Unity Editor to view default example actions.
Verify that the cube at the center of the screen is rotating properly.
STEP 3 : Registering a World in ZEPETO Studio
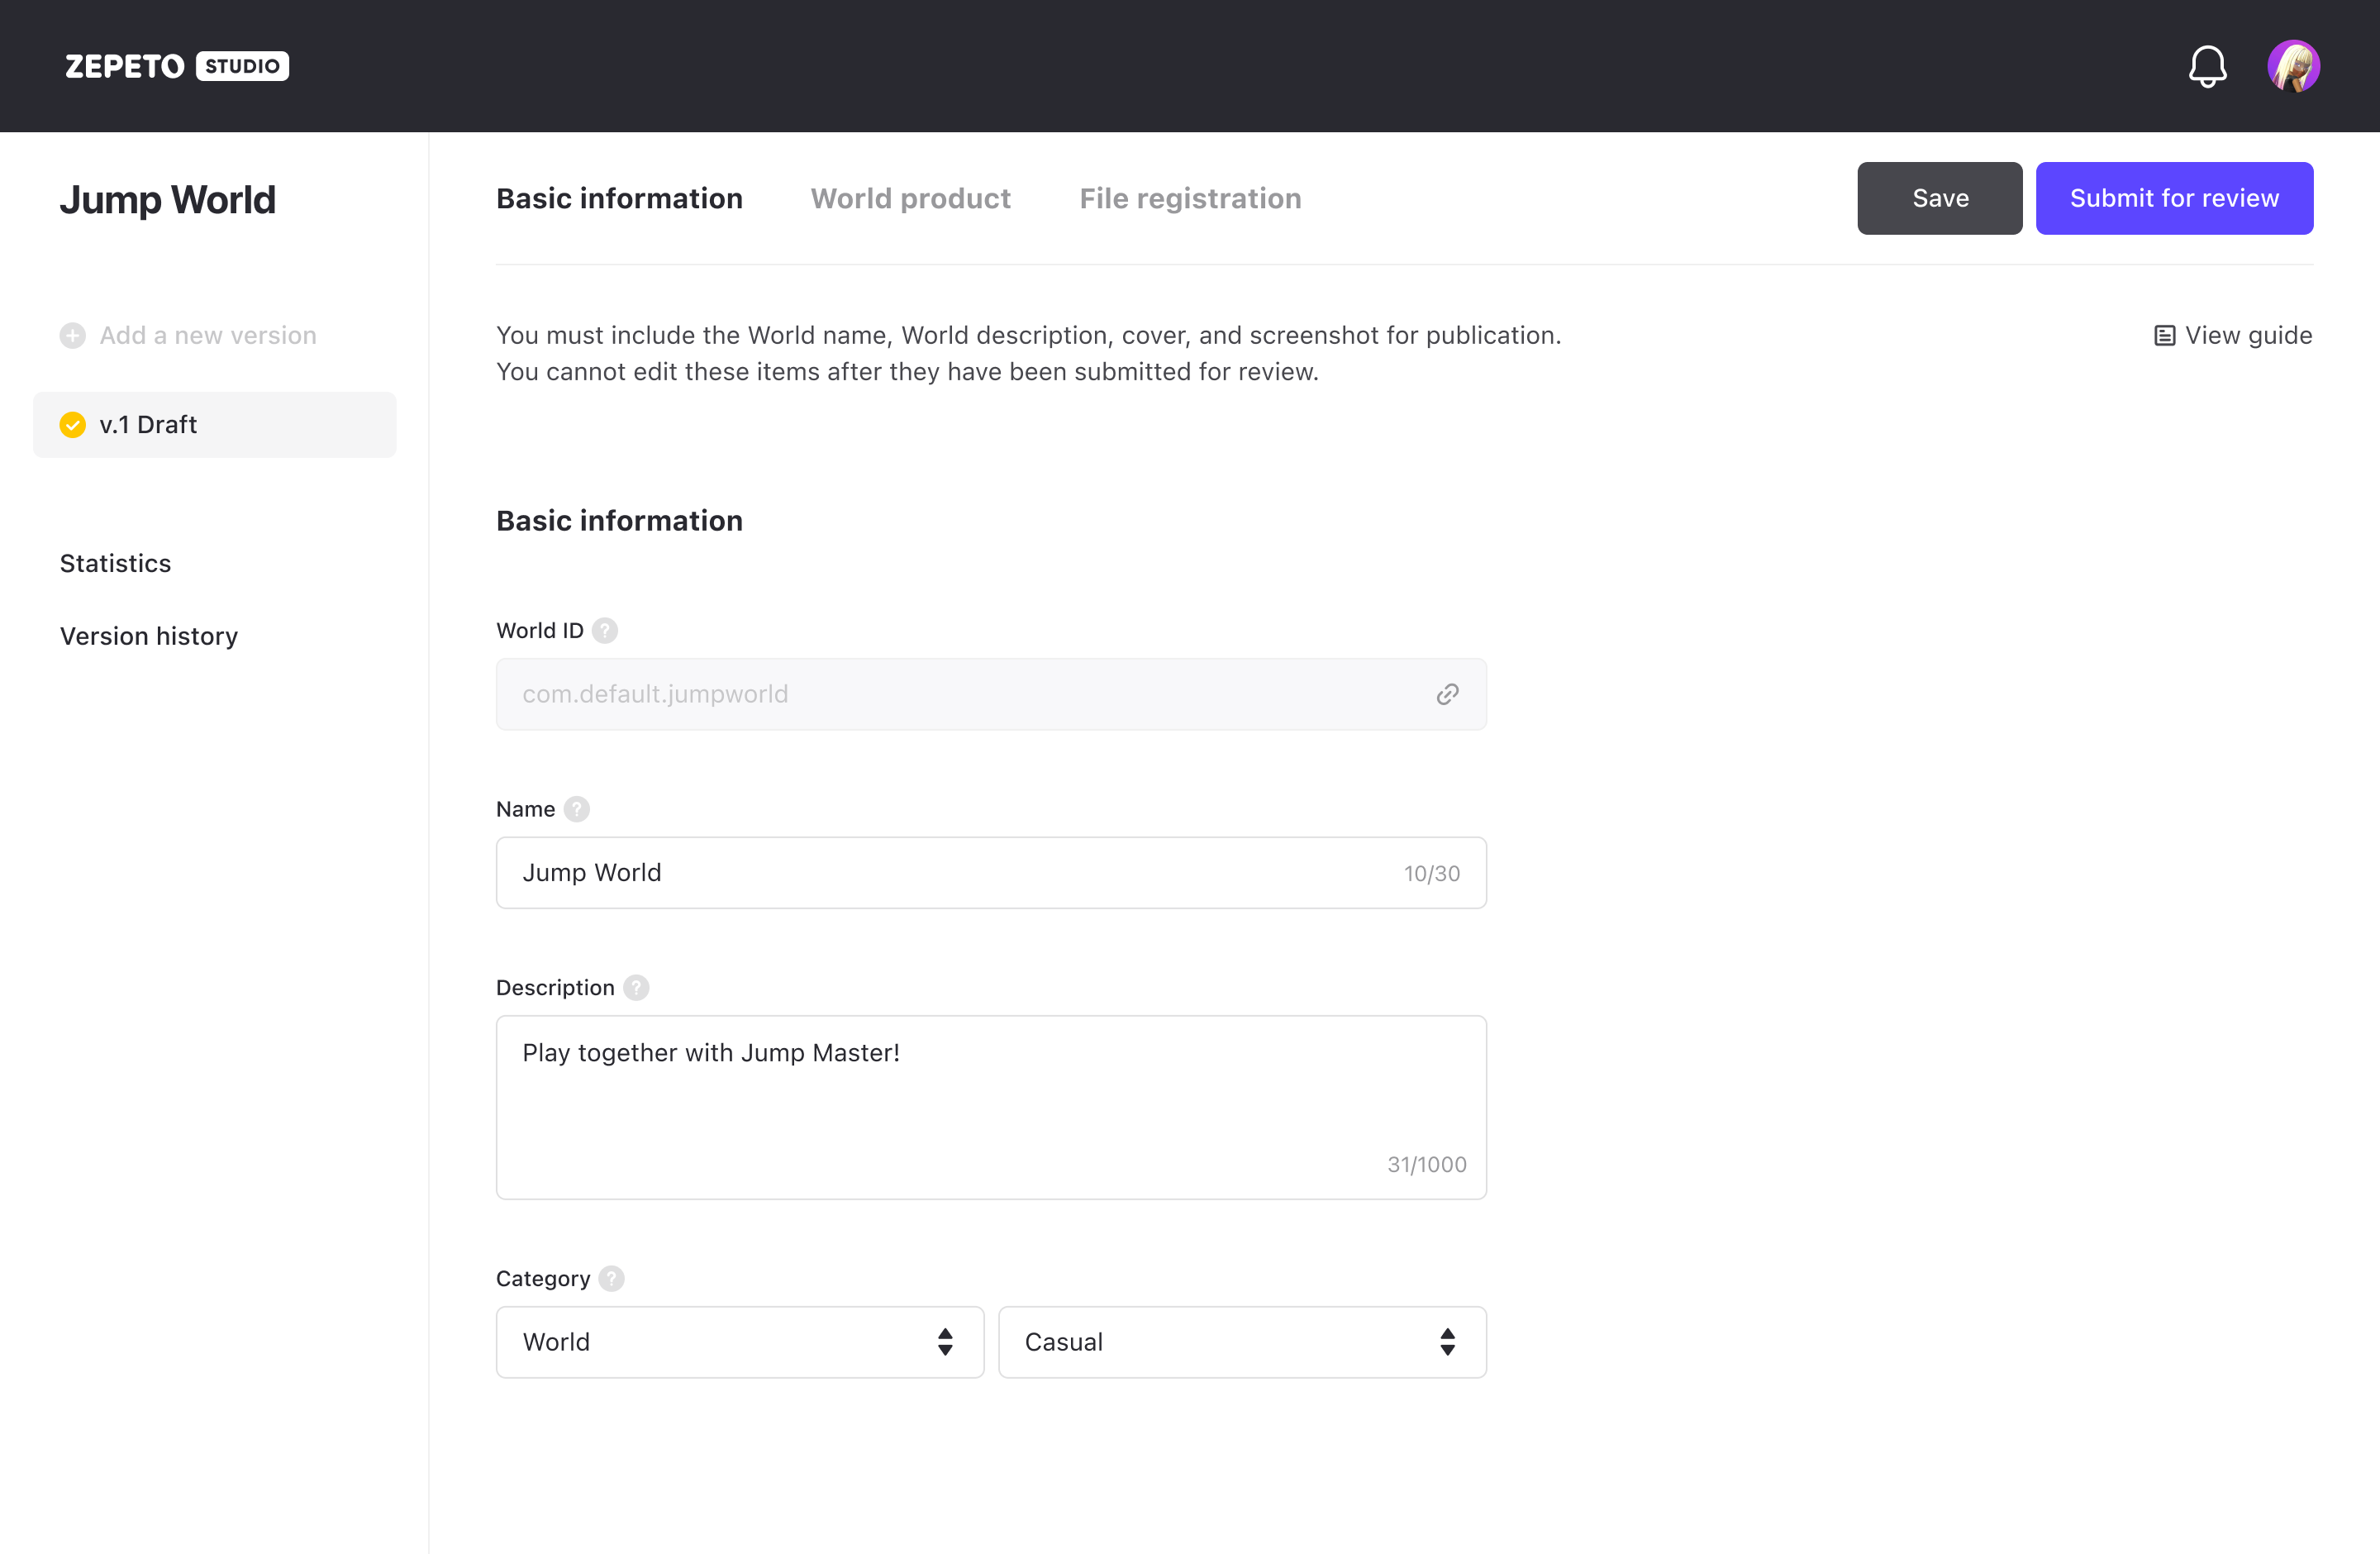
To create a World, basic information such as the World ID must be registered on the World console.
Please refer to the following guide. [Making a World Console]
Check the World ID on the studio console screen.(ex: com.default.jumpworld)
STEP 4 : Logging in to Unity Editor
You must log in to ZEPETO to use the various tools for creating a World. On the menu in the middle of the screen, click the [▼] button to open a second menu.
Click the [Login] button in the submenu.
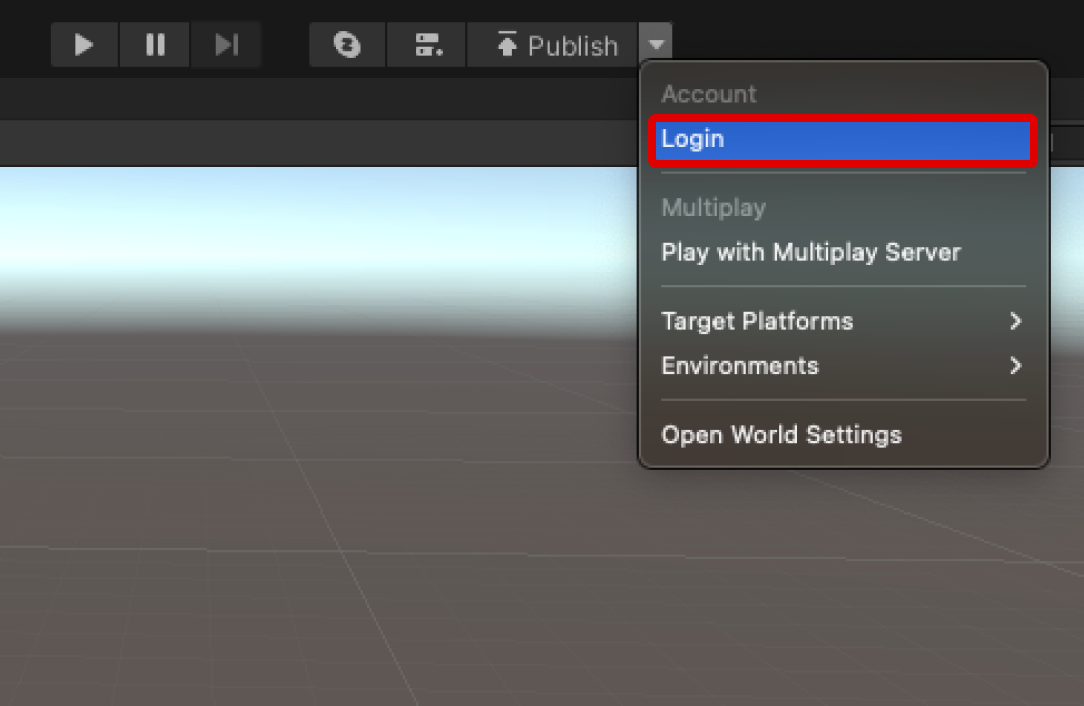
Selecting [Login] takes you to Project Setting > ZEPETO Service feature, where you can log in to ZEPETO Service.
There are three ways to log in:
- Email: Log in using your ZEPETO account email or ZEPETO ID.
- Phone: Log in using your ZEPETO account phone number.
- QR: Open the ZEPETO app and use the scan QR feature to log in.
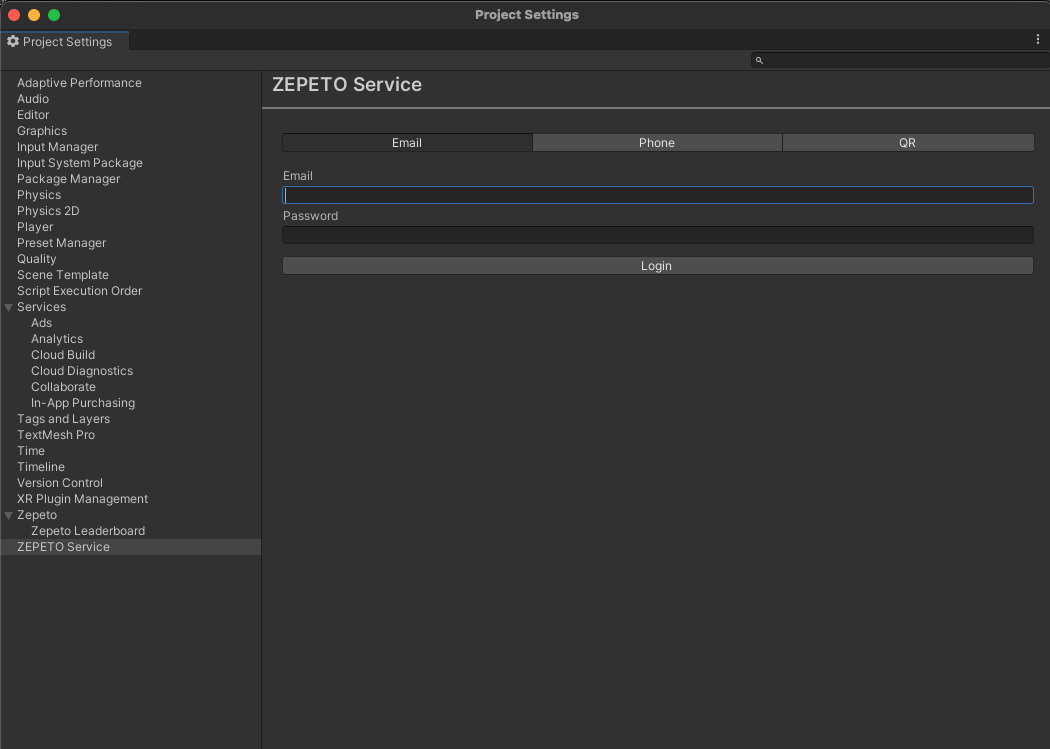
Project Setting > ZEPETO Service
STEP 5: Linking World Information in ZEPETO Service
Once you have successfully logged in, you can view a list of world names created in ZEPETO Studio in the ZEPETO Service window.
Select the world name and click the Link to Selected World button.
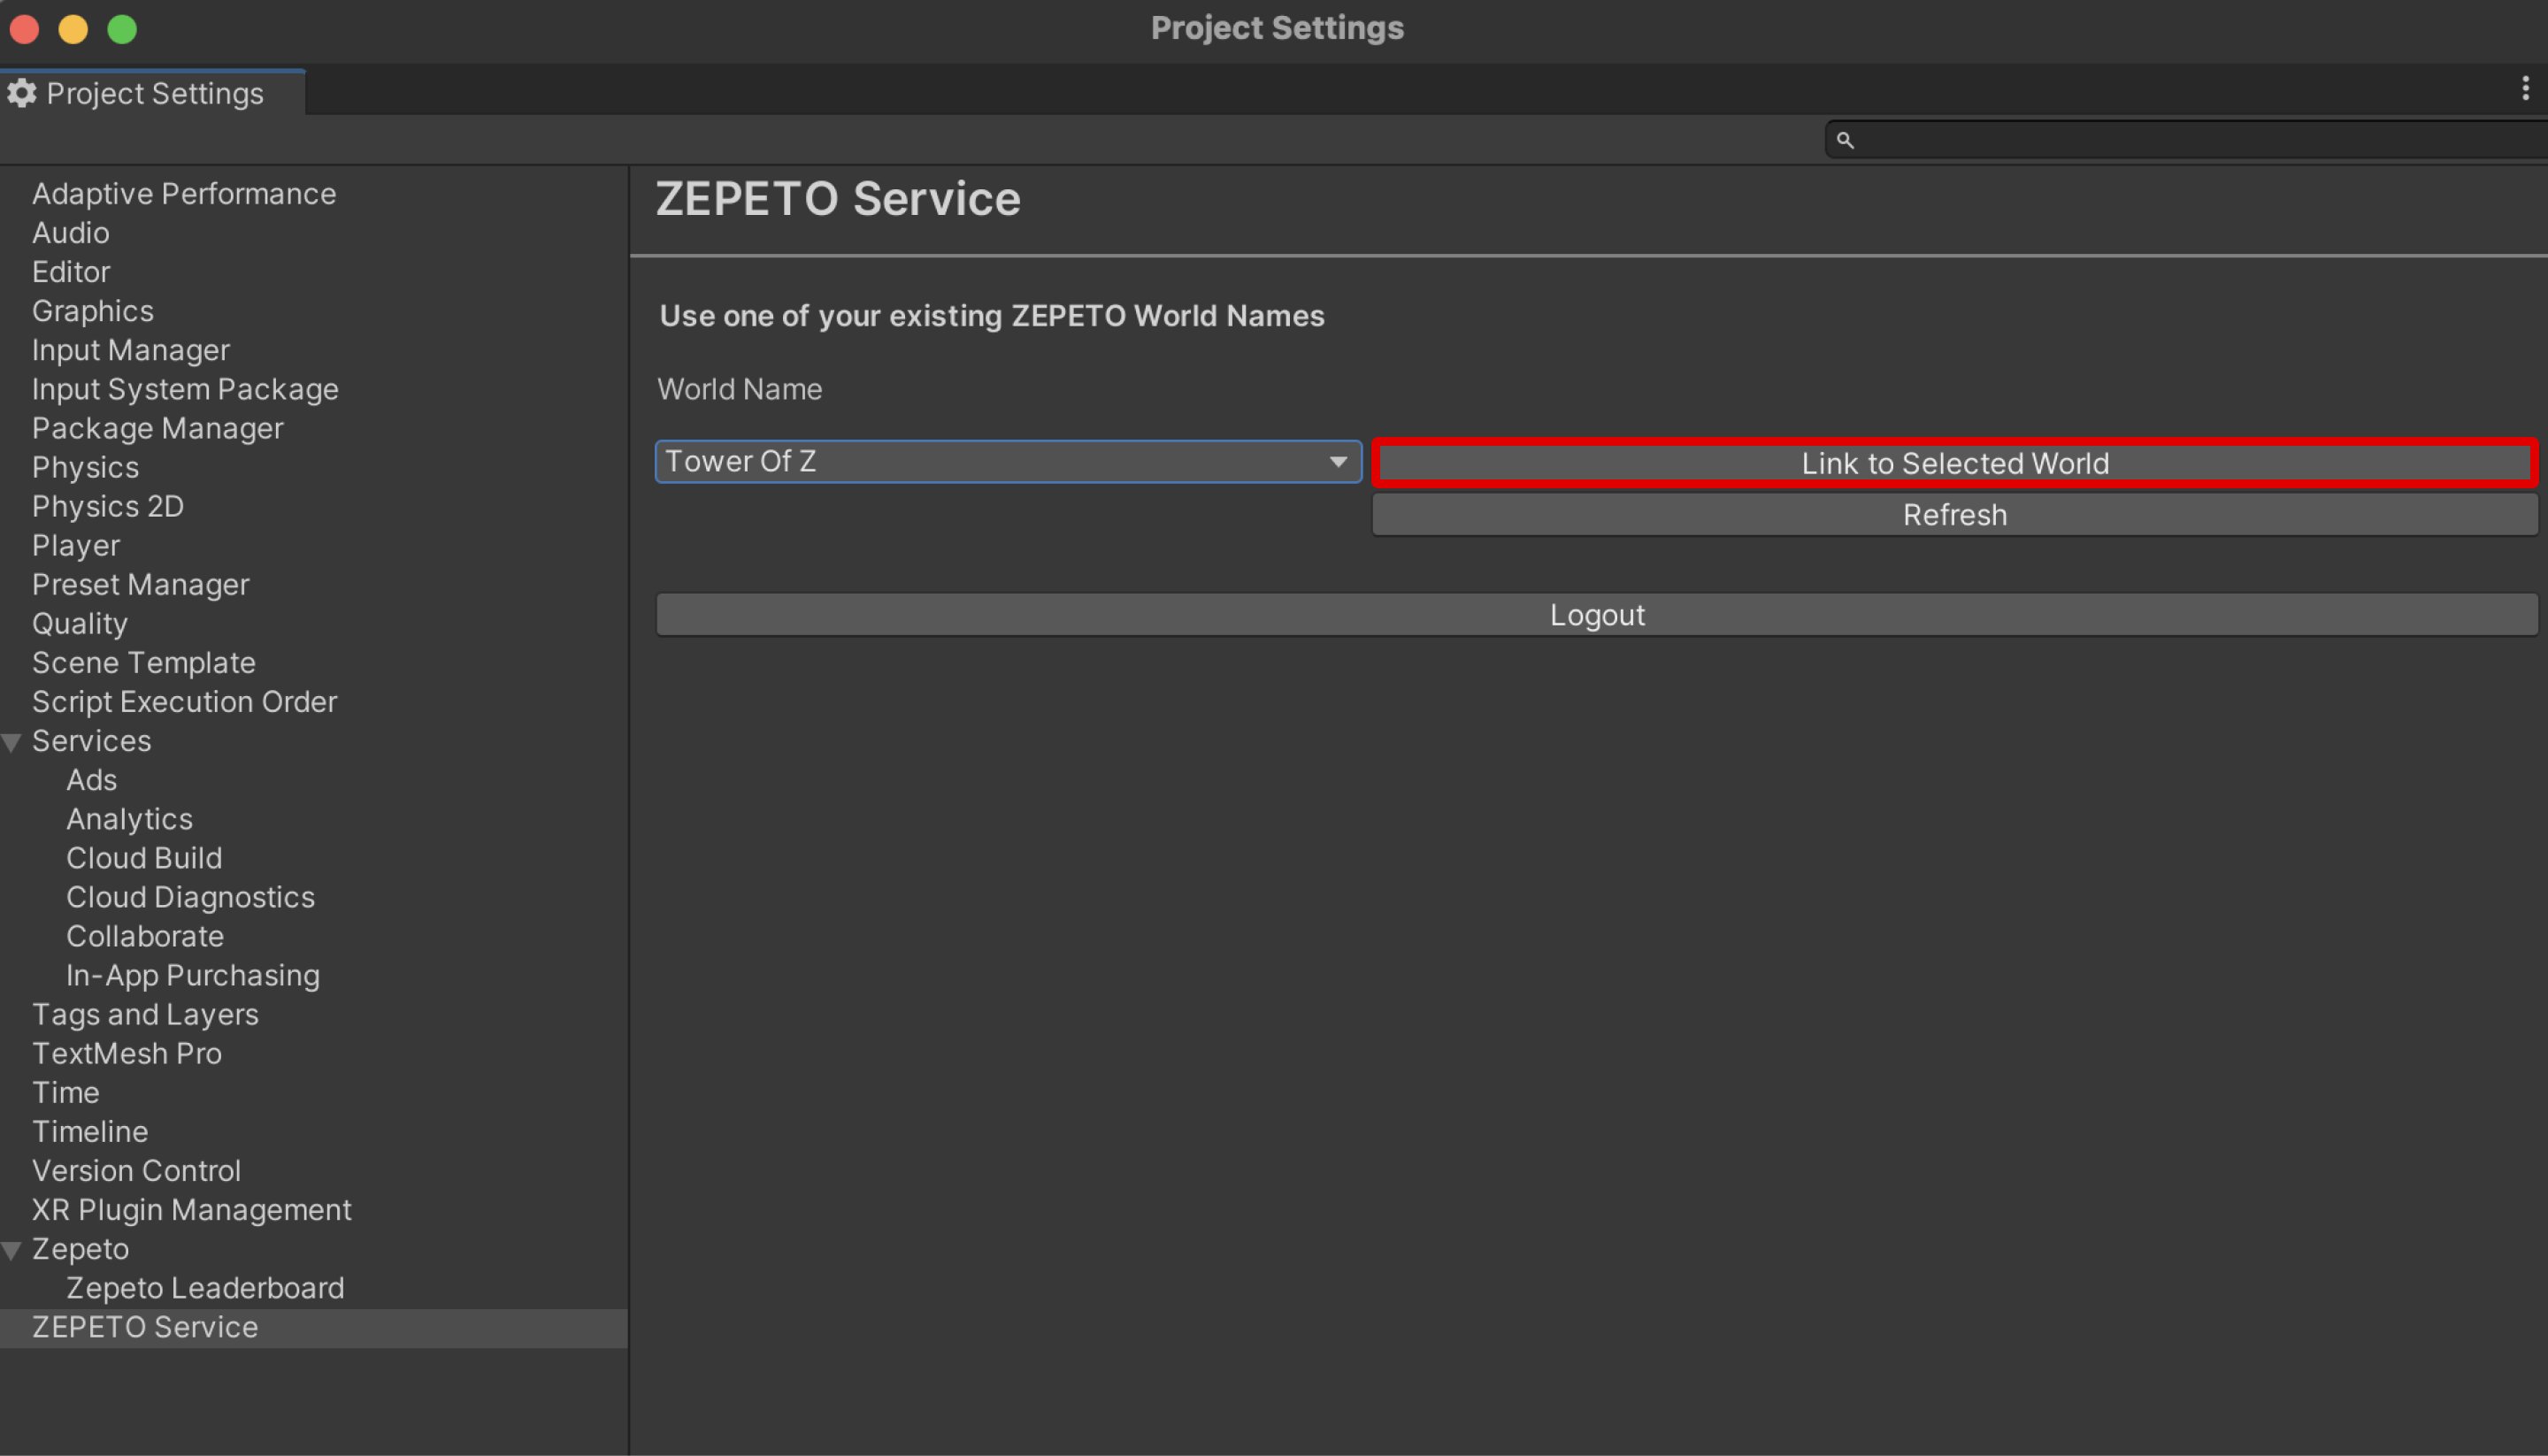
Screen showing successful login
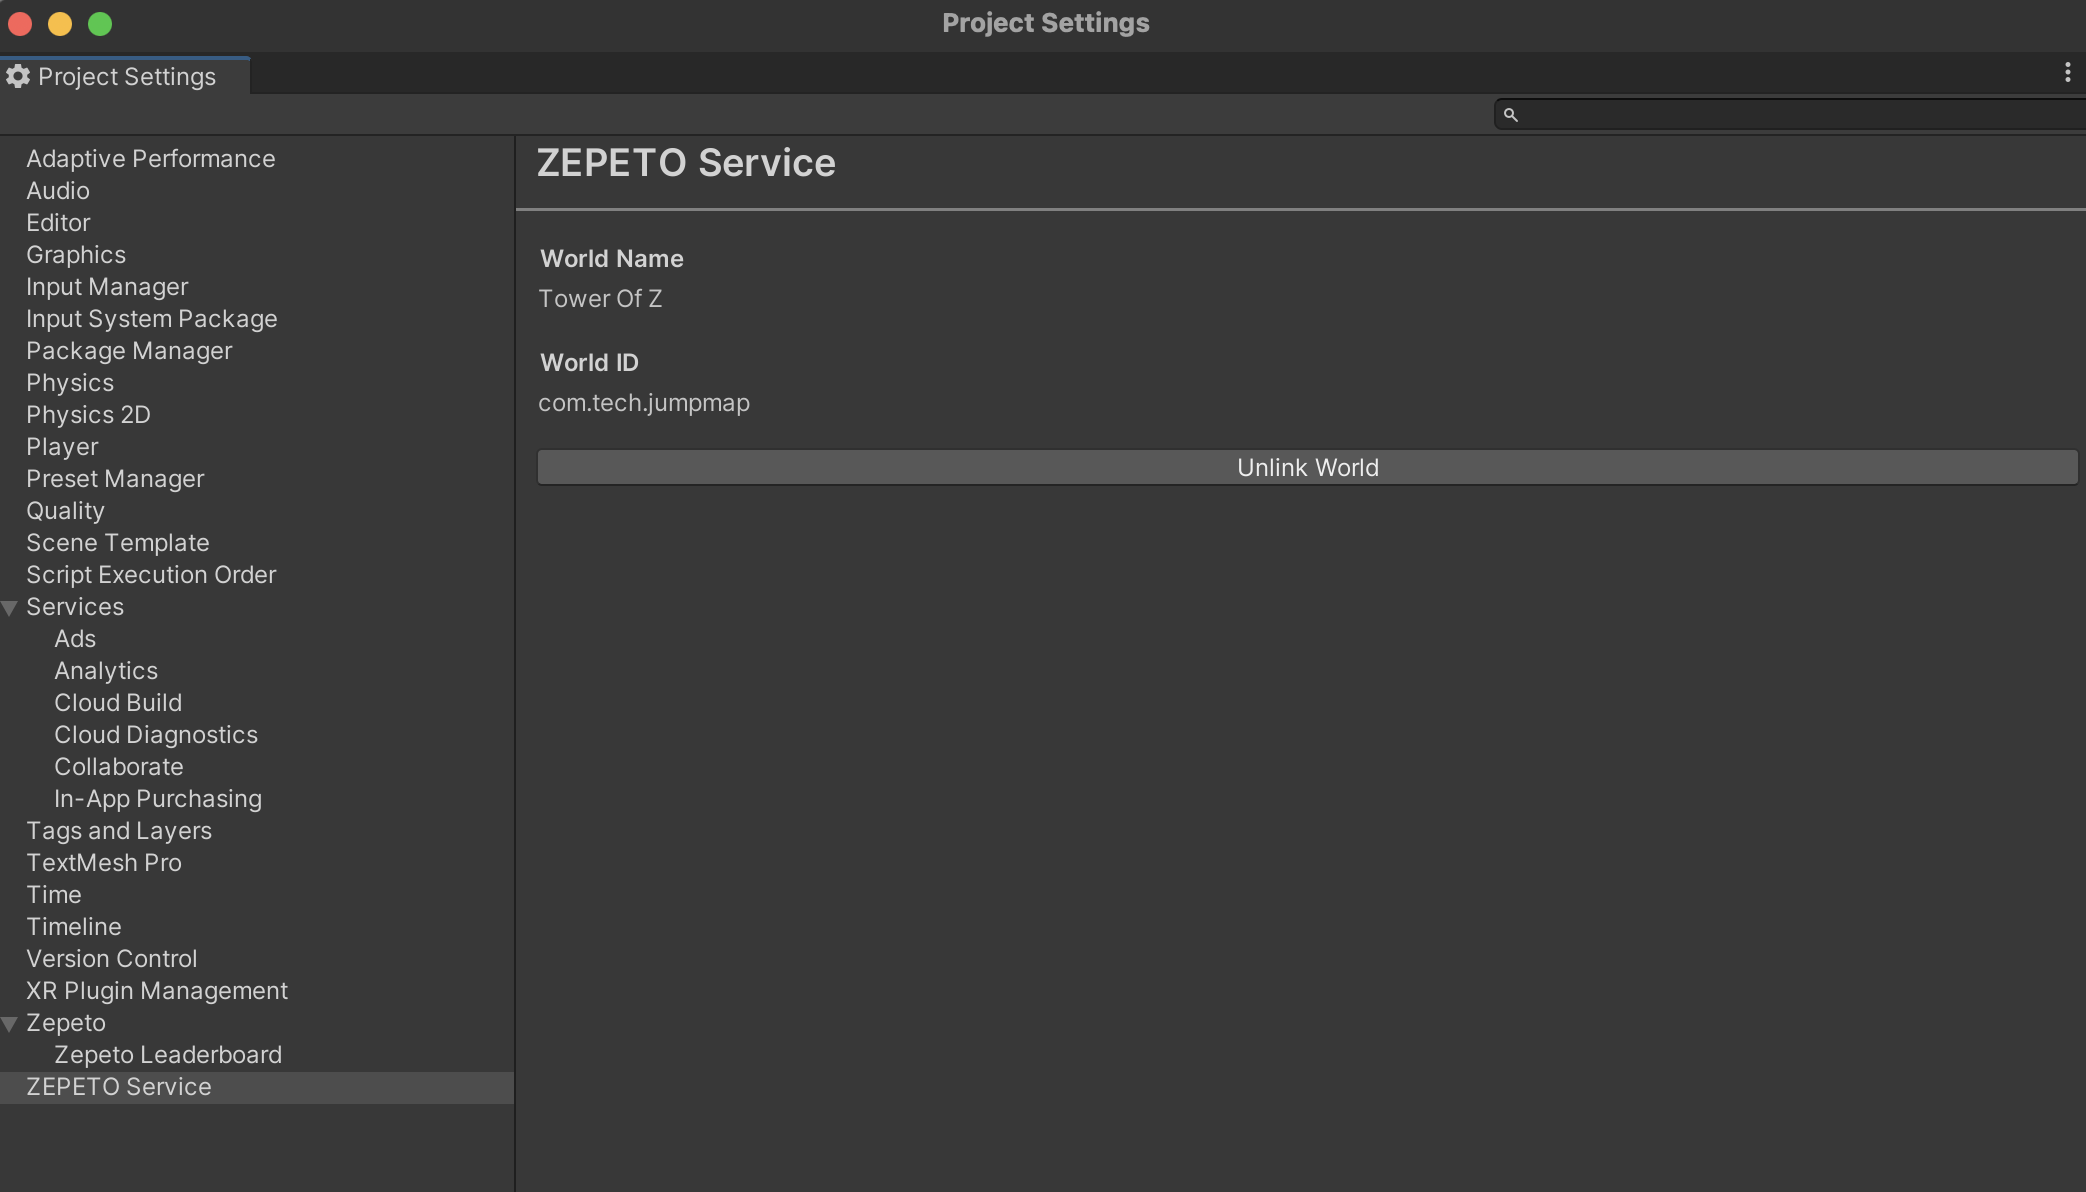
Screen showing successful World Link
Tip
- To log out, click
Unlink World > Logout.- Once you sign in, the login authentication is valid for one month. After one month, your login authentication will expire, and you may be automatically signed out.
- If you logged into the Unity Editor in versions of World before 1.21.14, Make sure to update to World 1.21.14 or newer, then log in again in Project Settings > ZEPETO Service.
STEP 6: Setting Up the World
Click the [▼] button in the middle of the Unity project menu.
On the pop-up menu, click the [Open World Settings].
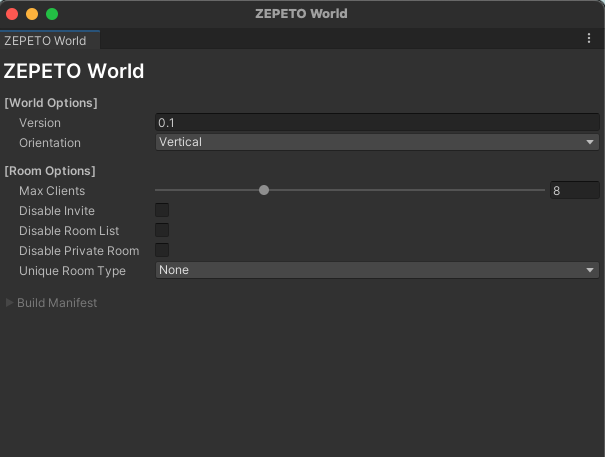
World Settings
Click the [Open World Settings] as shown in the image below to set the World Setting.
| Property | Summary |
|---|---|
| Version | Enter the version of your file to be registered. |
| MaxClients | Set the maximum number of people who can access the room. |
| Orientation | Choose the orientation of the screen. - Vertical - Horizontal |
| Room Options | - Disable Invite : Disables room invitation function. - Disable Room List : Disables the ability to check the room list. - Disable Private Room : Disables the ability to create a private room. |
Invitation via test link
Even if the room invitation function is off, you can send invites through the test link.
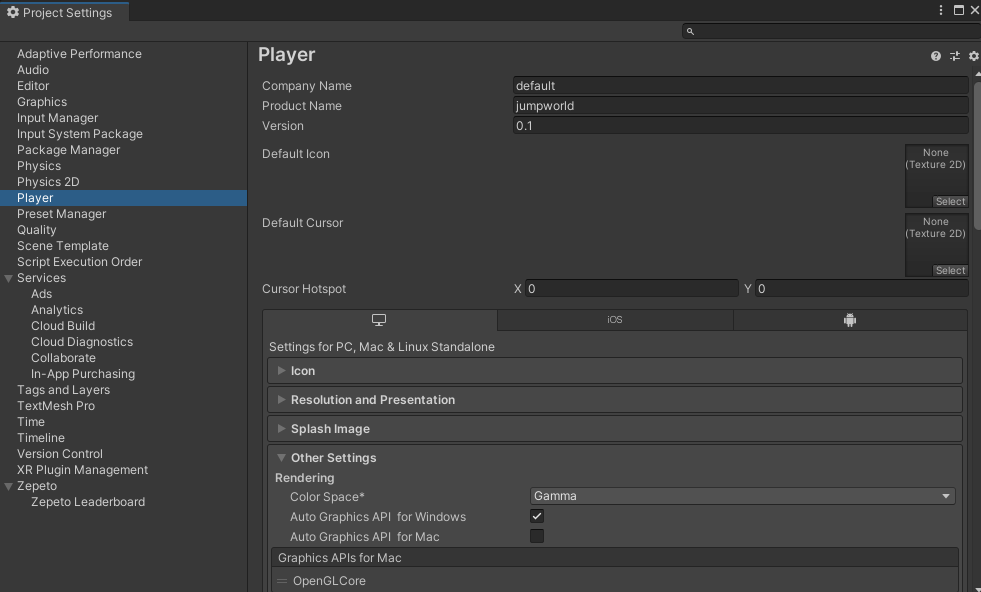
In the Unity project, select Menu → Edit → Project Settings to open the [Project Settings] window.
On the [Player] tab on the left, enter the Company Name and Product Name as follows:
- Company Name: default
- Product Name: jumpworld(name of the World)
STEP 7 : Registering Scenes
In the Unity project, open the Settings window by going to Menu → File → Build Settings.
Register all scenes needed for the actions in your World in [Scenes in Build].
Scenes must be in chronological order(start screen first)
Caution
If you do not register the scene, it may not appear correctly when QR tested or published.
